Erasing Parts 69
Erasing Parts
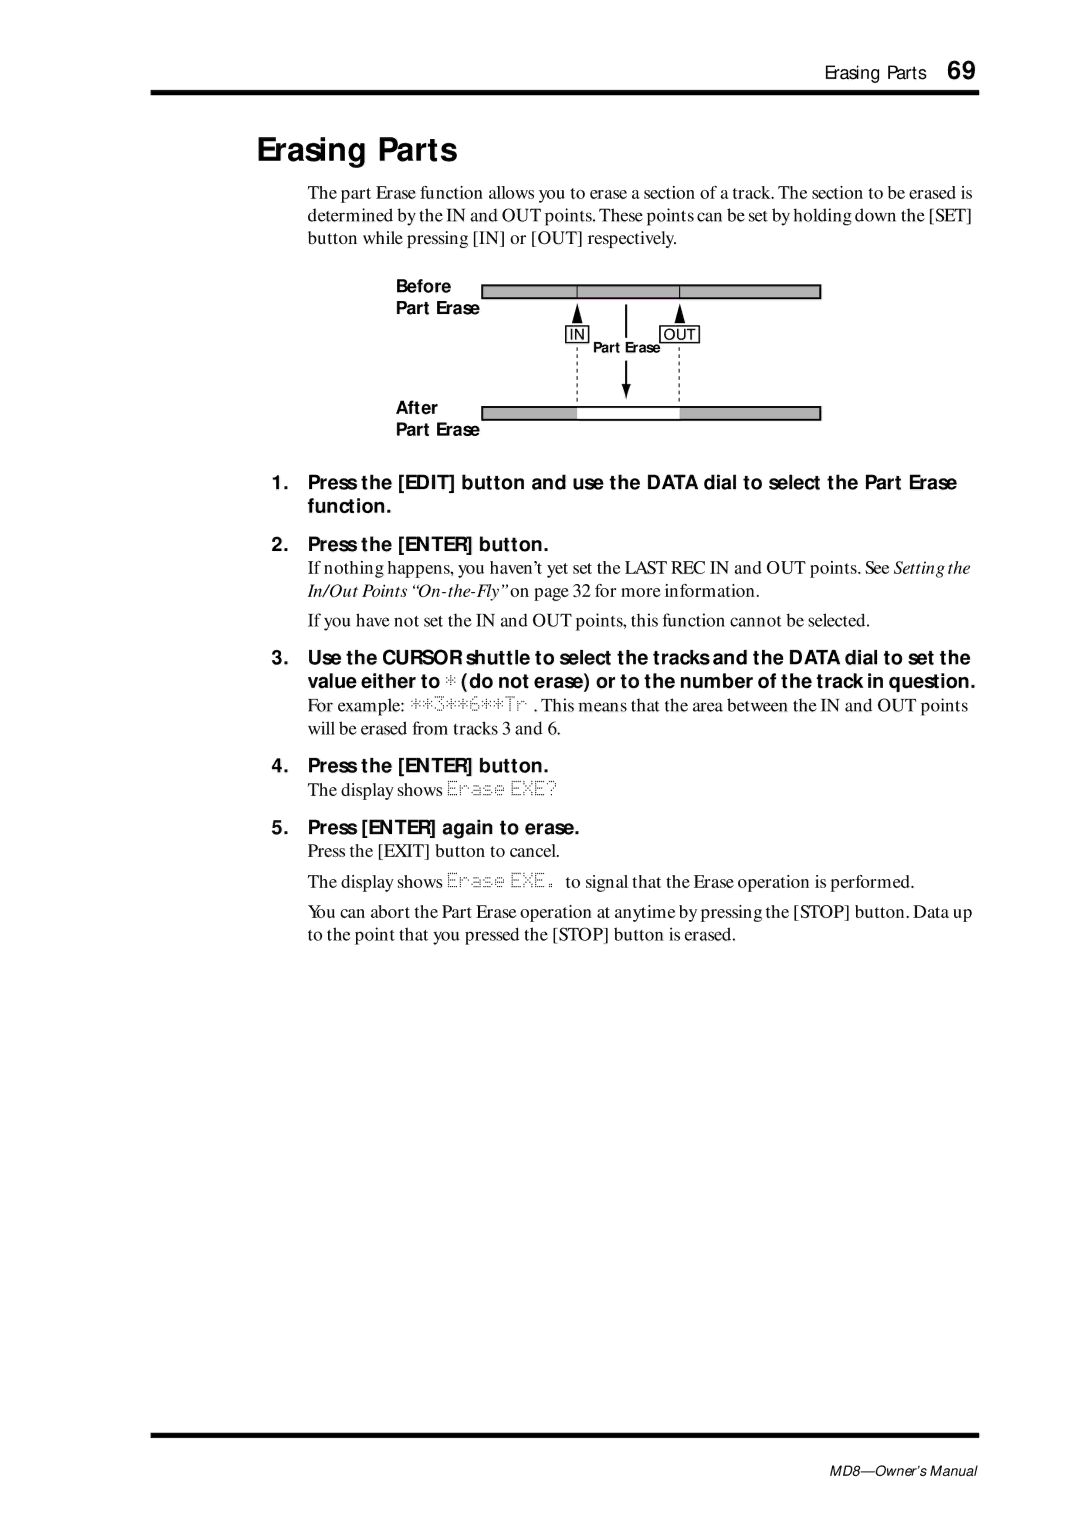
The part Erase function allows you to erase a section of a track. The section to be erased is determined by the IN and OUT points. These points can be set by holding down the [SET] button while pressing [IN] or [OUT] respectively.
Before
Part Erase
[IN] [OUT]
Part Erase
After
Part Erase
1.Press the [EDIT] button and use the DATA dial to select the Part Erase function.
2.Press the [ENTER] button.
If nothing happens, you haven’t yet set the LAST REC IN and OUT points. See Setting the In/Out Points
If you have not set the IN and OUT points, this function cannot be selected.
3.Use the CURSOR shuttle to select the tracks and the DATA dial to set the value either to * (do not erase) or to the number of the track in question.
For example: **3**6**Tr . This means that the area between the IN and OUT points will be erased from tracks 3 and 6.
4.Press the [ENTER] button.
The display shows Erase EXE?
5.Press [ENTER] again to erase.
Press the [EXIT] button to cancel.
The display shows Erase EXE. to signal that the Erase operation is performed.
You can abort the Part Erase operation at anytime by pressing the [STOP] button. Data up to the point that you pressed the [STOP] button is erased.