Installation
External PSII
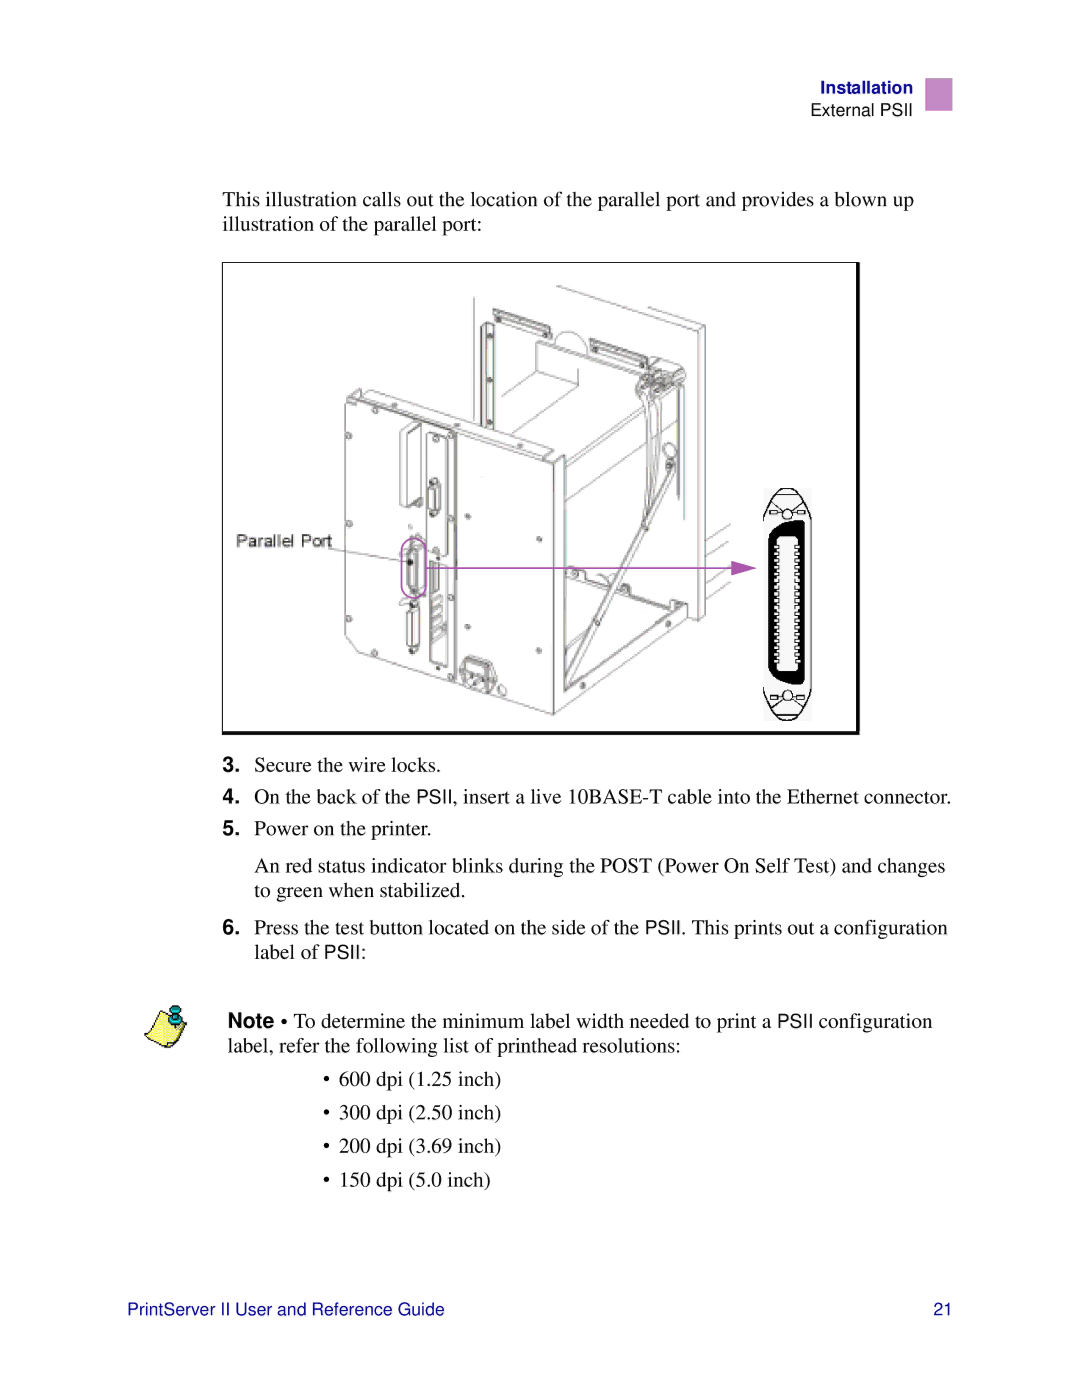
This illustration calls out the location of the parallel port and provides a blown up illustration of the parallel port:
3.Secure the wire locks.
4.On the back of the PSII, insert a live
5.Power on the printer.
An red status indicator blinks during the POST (Power On Self Test) and changes to green when stabilized.
6.Press the test button located on the side of the PSII. This prints out a configuration label of PSII:
Note • To determine the minimum label width needed to print a PSII configuration label, refer the following list of printhead resolutions:
•600 dpi (1.25 inch)
•300 dpi (2.50 inch)
•200 dpi (3.69 inch)
•150 dpi (5.0 inch)
PrintServer II User and Reference Guide | 21 |