Chapter 2 Hardware Installation
2.9.Drive Tray Installation
Before drive tray installation, you need to access the drive bays on the left- and
To access drive bays hidden behind the forearm handles, first release the retention latches on the enclosure front handles, and then swing the handles to the left and
Figure 2-16: Closing the front handles
Install the drive trays into the subsystem once the hard drives have been installed in the drive trays.
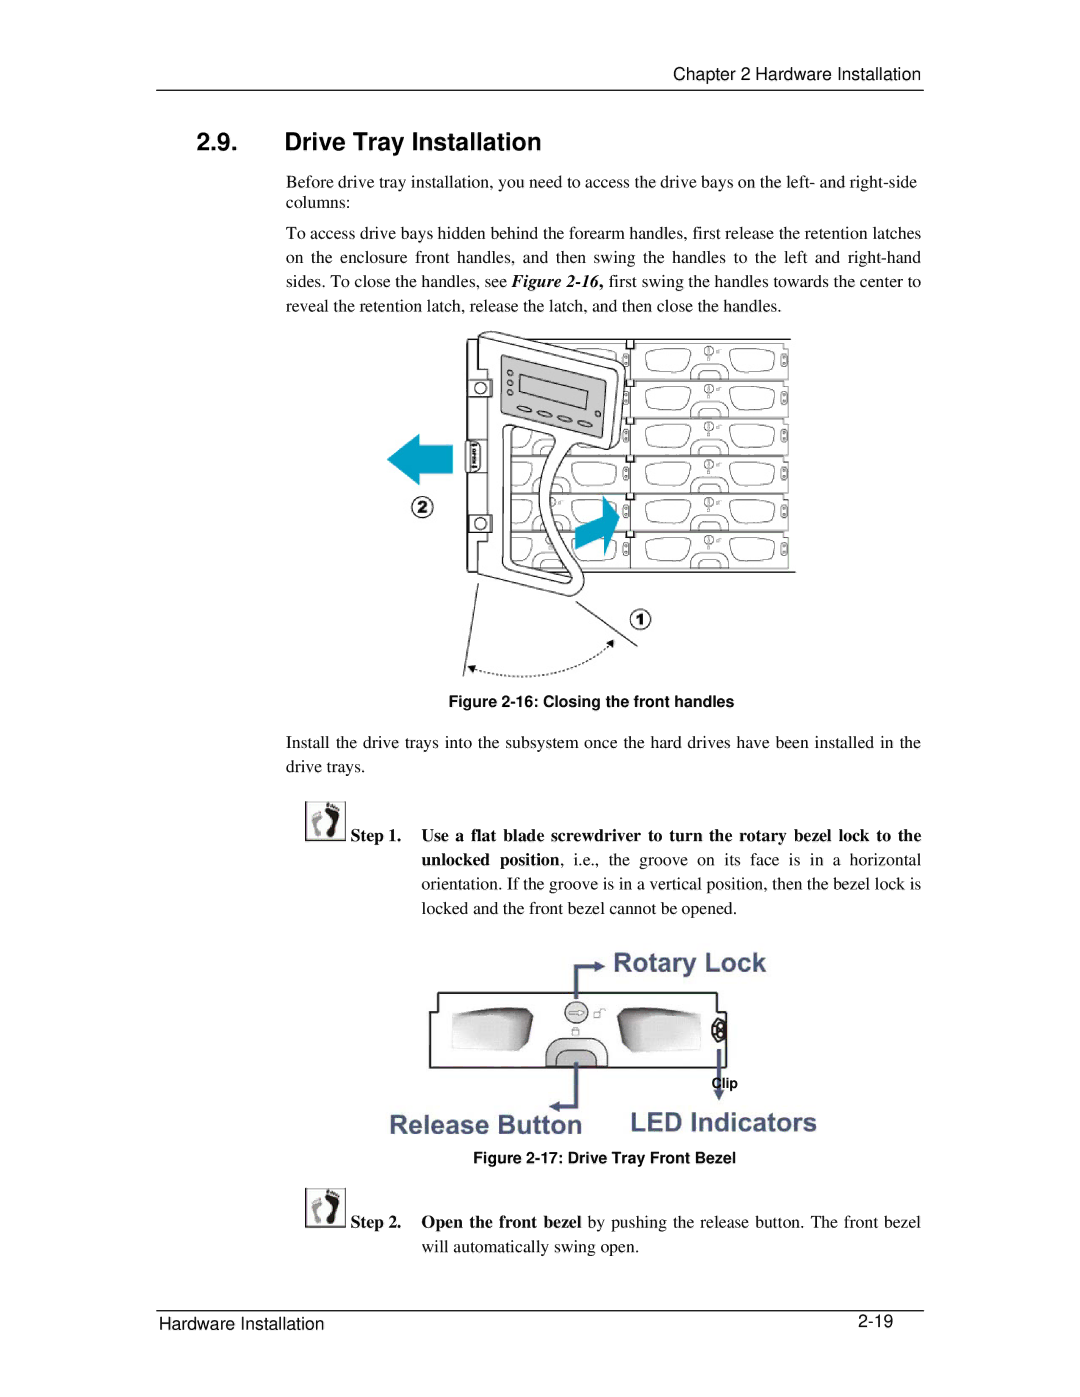
![]() Step 1. Use a flat blade screwdriver to turn the rotary bezel lock to the unlocked position, i.e., the groove on its face is in a horizontal orientation. If the groove is in a vertical position, then the bezel lock is locked and the front bezel cannot be opened.
Step 1. Use a flat blade screwdriver to turn the rotary bezel lock to the unlocked position, i.e., the groove on its face is in a horizontal orientation. If the groove is in a vertical position, then the bezel lock is locked and the front bezel cannot be opened.
Clip
Figure 2-17: Drive Tray Front Bezel
![]() Step 2. Open the front bezel by pushing the release button. The front bezel will automatically swing open.
Step 2. Open the front bezel by pushing the release button. The front bezel will automatically swing open.
Hardware Installation |