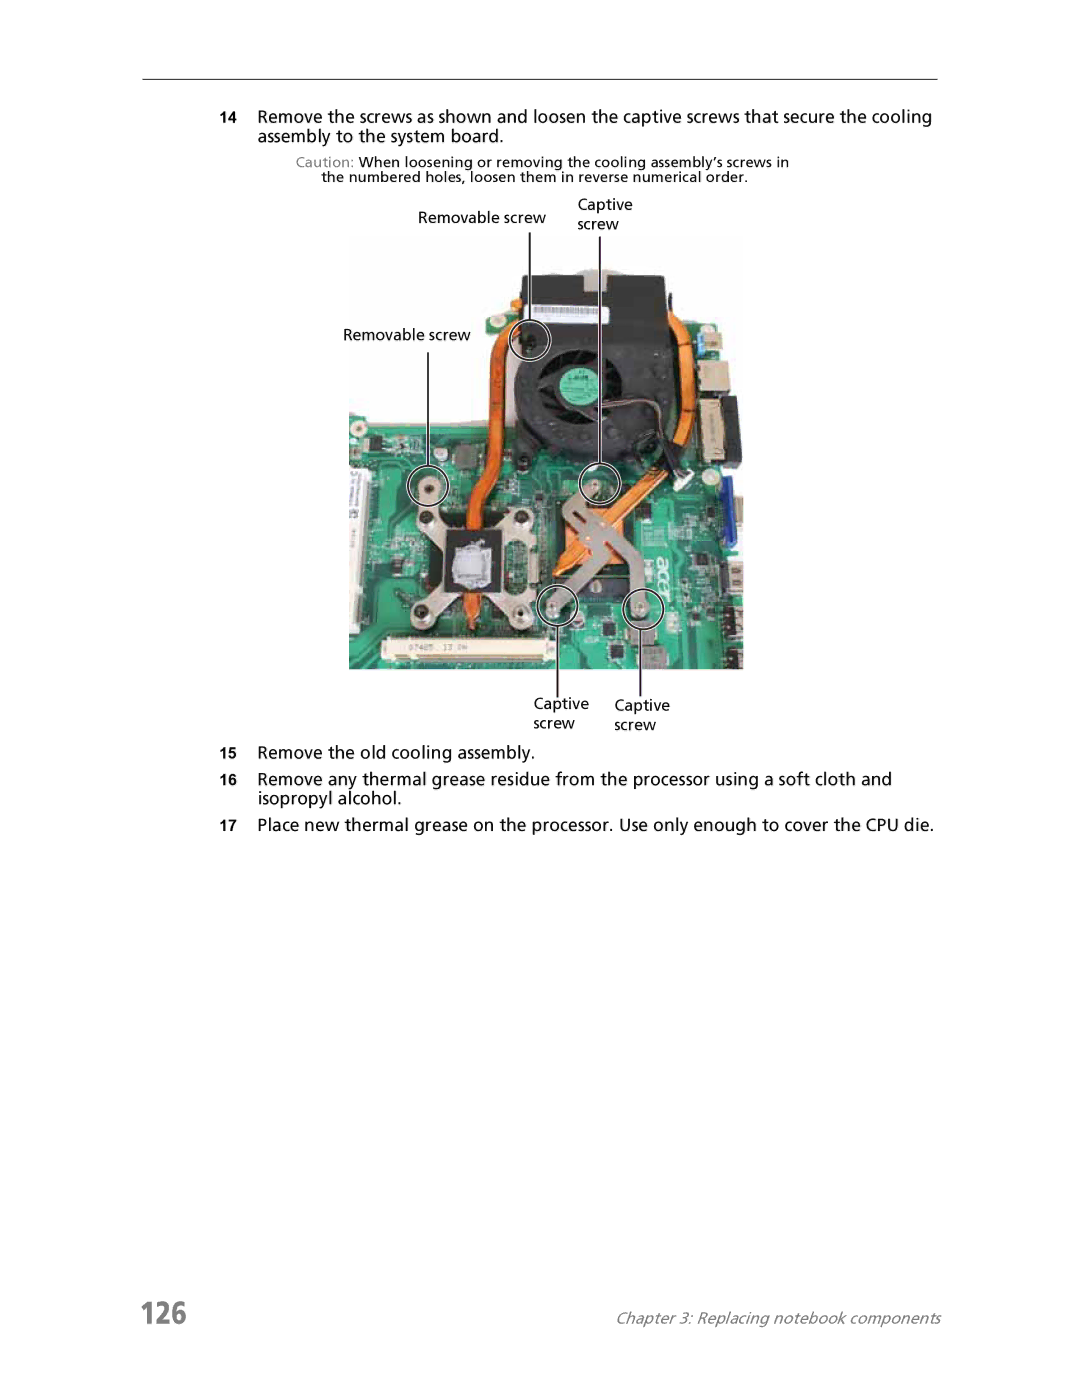
14Remove the screws as shown and loosen the captive screws that secure the cooling assembly to the system board.
Caution: When loosening or removing the cooling assembly’s screws in the numbered holes, loosen them in reverse numerical order.
Removable screw | Captive | |
screw | ||
|
Removable screw
Captive Captive
screw screw
15Remove the old cooling assembly.
16Remove any thermal grease residue from the processor using a soft cloth and isopropyl alcohol.
17Place new thermal grease on the processor. Use only enough to cover the CPU die.
126 | Chapter 3: Replacing notebook components |