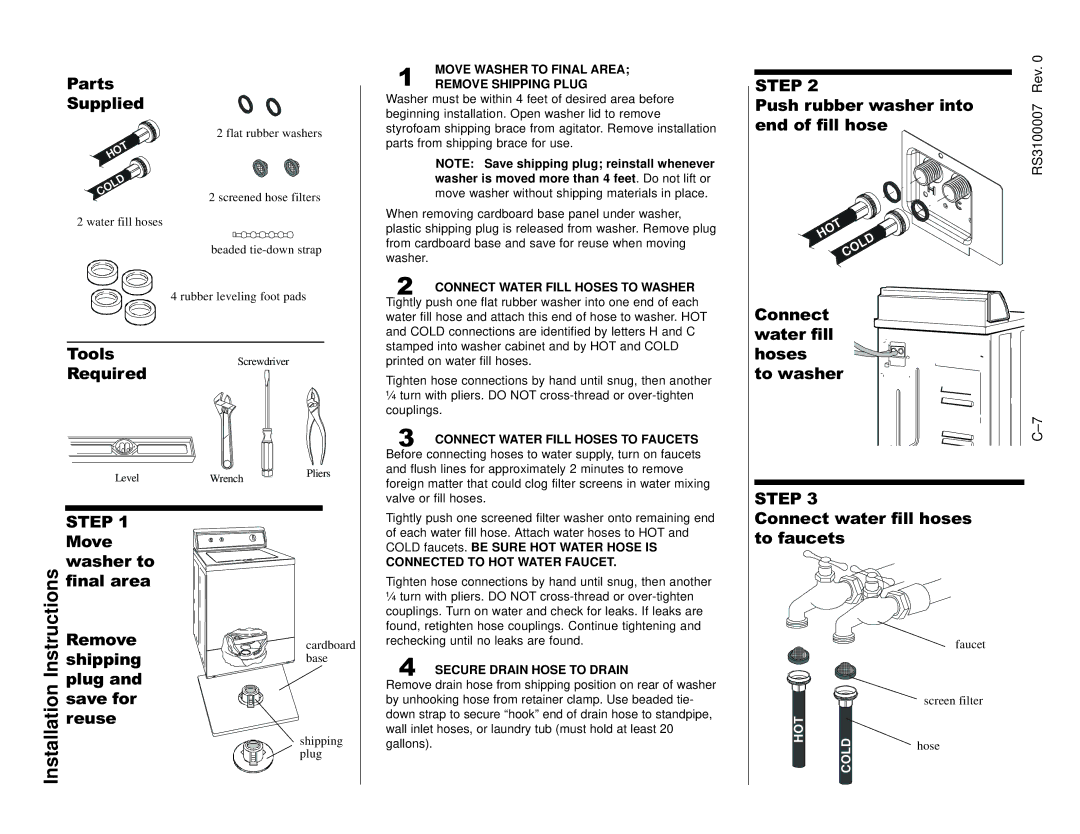
Parts
Supplied
2 flat rubber washers
HOT
COLD | 2 screened hose filters |
| |
2 water fill hoses |
|
| beaded |
| 4 rubber leveling foot pads |
ToolsScrewdriver
Required
Level | Wrench | Pliers |
| ||
STEP 1 |
|
|
Move |
|
|
washer to |
|
|
Instructions |
|
|
final area |
|
|
Remove |
| cardboard |
shipping |
| base |
plug and |
|
|
Installation |
|
|
save for |
|
|
reuse |
|
|
|
| shipping |
|
| plug |
1MOVE WASHER TO FINAL AREA; REMOVE SHIPPING PLUG
Washer must be within 4 feet of desired area before beginning installation. Open washer lid to remove styrofoam shipping brace from agitator. Remove installation parts from shipping brace for use.
NOTE: Save shipping plug; reinstall whenever washer is moved more than 4 feet. Do not lift or move washer without shipping materials in place.
When removing cardboard base panel under washer, plastic shipping plug is released from washer. Remove plug from cardboard base and save for reuse when moving washer.
2CONNECT WATER FILL HOSES TO WASHER Tightly push one flat rubber washer into one end of each water fill hose and attach this end of hose to washer. HOT and COLD connections are identified by letters H and C stamped into washer cabinet and by HOT and COLD printed on water fill hoses.
Tighten hose connections by hand until snug, then another
¼turn with pliers. DO NOT
3CONNECT WATER FILL HOSES TO FAUCETS Before connecting hoses to water supply, turn on faucets and flush lines for approximately 2 minutes to remove foreign matter that could clog filter screens in water mixing valve or fill hoses.
Tightly push one screened filter washer onto remaining end of each water fill hose. Attach water hoses to HOT and COLD faucets. BE SURE HOT WATER HOSE IS
CONNECTED TO HOT WATER FAUCET.
Tighten hose connections by hand until snug, then another
¼turn with pliers. DO NOT
4SECURE DRAIN HOSE TO DRAIN
Remove drain hose from shipping position on rear of washer by unhooking hose from retainer clamp. Use beaded tie- down strap to secure “hook” end of drain hose to standpipe, wall inlet hoses, or laundry tub (must hold at least 20 gallons).
STEP 2
Push rubber washer into end of fill hose
HOT | COLD |
|
Connect water fill hoses
to washer
STEP 3
Connect water fill hoses to faucets
faucet
screen filter
HOT | COLD | hose |
|
|
RS3100007 Rev. 0