DISASSEMBLY PROCEDURES - RST MODELS

FIRE OR EXPLOSION - TO AVOID THE RISK OF ELECTRICAL SHOCK, PERSONAL INJURY, OR DEATH, DISCONNECT POWER TO THE OVEN BEFORE SERVICING.

CLOCK DISPLAY BOARD REMOVAL

Slide In Models

1.Shut off power to the range.

2.Partially remove the control panel. Follow Control Panel Removal Procedures, Steps 2 - 5.

3.Remove the six (6) clock control buttons by pulling them out of the clock display board.

4.Remove the left rear and right rear top burner knobs.

5.Remove the two (2) screws that secure the clock display board mounting bracket to the control panel.

6.Disconnect the wire harness connector plug from the back of the display board and remove the display board and mounting bracket assembly.

7.Lift the clock glass out of the mounting bracket.

8.Remove the four (4) clock display board mounting screws and remove the board from the bracket.

9.Follow reverse procedures to install the clock display board.

TOP BURNER ACTUATOR SWITCH

1.Disconnect electricity at main disconnect plug.

2.Remove top burner knobs.

3.Remove screw under control panel and remove screws securing control panel end caps on top left and right sides. Pull control panel towards you then lift up on control panel to clear top burner valve stems.

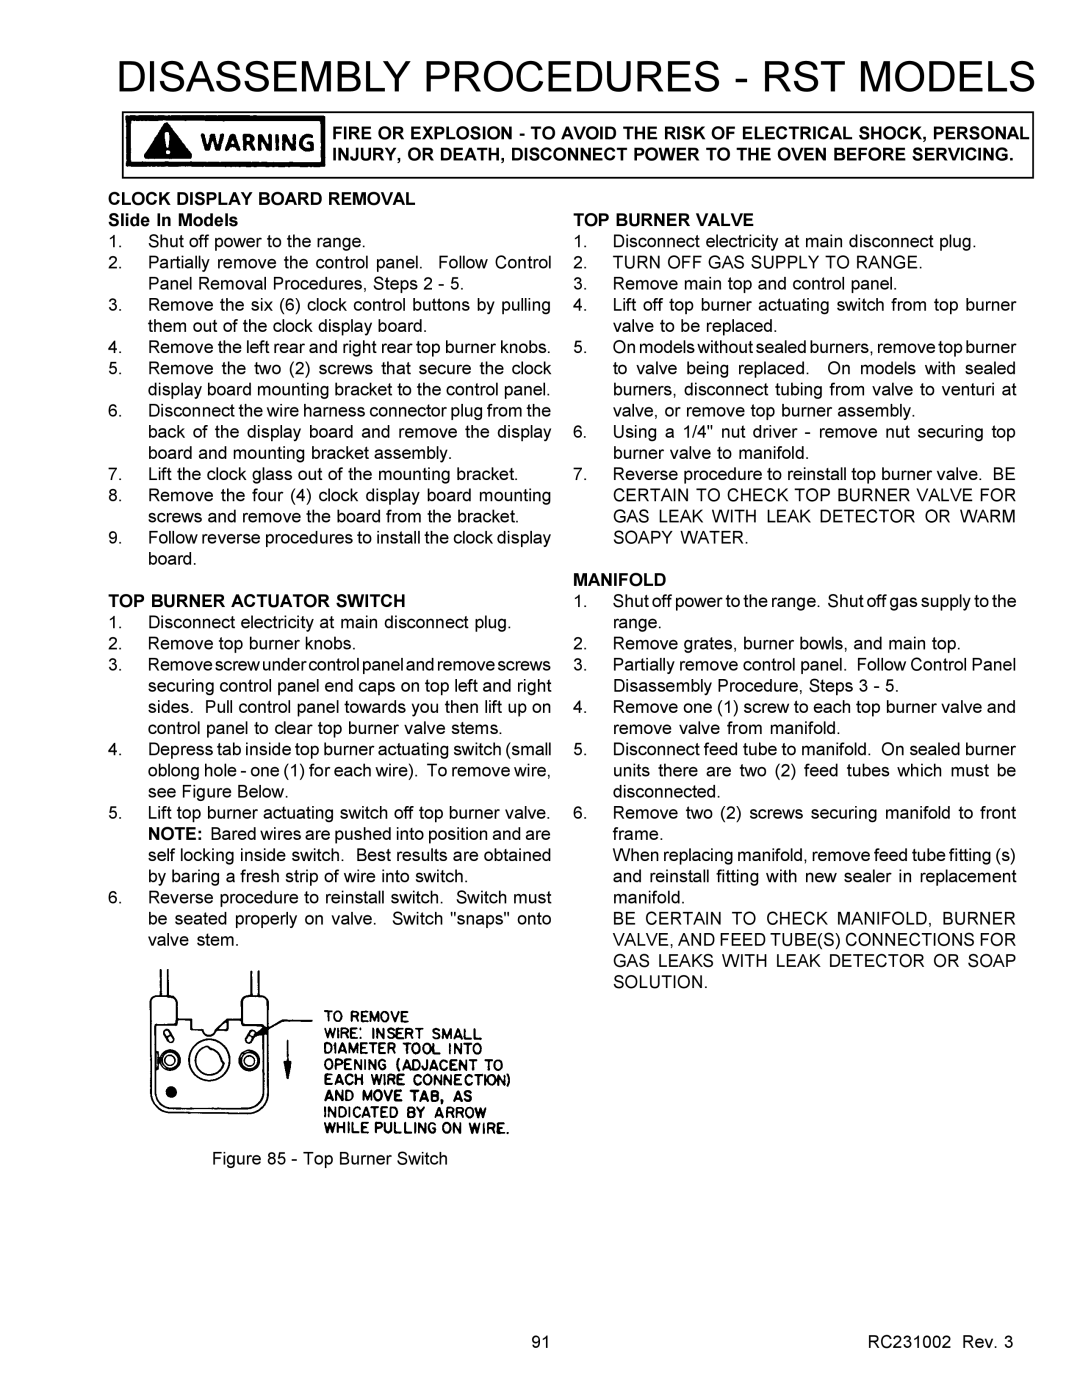
4.Depress tab inside top burner actuating switch (small oblong hole - one (1) for each wire). To remove wire, see Figure Below.

5.Lift top burner actuating switch off top burner valve. NOTE: Bared wires are pushed into position and are self locking inside switch. Best results are obtained by baring a fresh strip of wire into switch.

6.Reverse procedure to reinstall switch. Switch must be seated properly on valve. Switch "snaps" onto valve stem.

TOP BURNER VALVE

1.Disconnect electricity at main disconnect plug.

2.TURN OFF GAS SUPPLY TO RANGE.

3.Remove main top and control panel.

4.Lift off top burner actuating switch from top burner valve to be replaced.

5.On models without sealed burners, remove top burner to valve being replaced. On models with sealed burners, disconnect tubing from valve to venturi at valve, or remove top burner assembly.

6.Using a 1/4" nut driver - remove nut securing top burner valve to manifold.

7.Reverse procedure to reinstall top burner valve. BE CERTAIN TO CHECK TOP BURNER VALVE FOR GAS LEAK WITH LEAK DETECTOR OR WARM SOAPY WATER.

MANIFOLD

1.Shut off power to the range. Shut off gas supply to the range.

2.Remove grates, burner bowls, and main top.

3.Partially remove control panel. Follow Control Panel Disassembly Procedure, Steps 3 - 5.

4.Remove one (1) screw to each top burner valve and remove valve from manifold.

5.Disconnect feed tube to manifold. On sealed burner units there are two (2) feed tubes which must be disconnected.

6.Remove two (2) screws securing manifold to front frame.

When replacing manifold, remove feed tube fitting (s) and reinstall fitting with new sealer in replacement manifold.

BE CERTAIN TO CHECK MANIFOLD, BURNER VALVE, AND FEED TUBE(S) CONNECTIONS FOR GAS LEAKS WITH LEAK DETECTOR OR SOAP SOLUTION.

Figure 85 - Top Burner Switch

91

RC231002 Rev. 3

Page 92
Image 92
Amana RSS, RST service manual TOP Burner Actuator Switch, Manifold

RST, RSS specifications

The Amana RSS and RST series are designed to provide exceptional performance, efficiency, and reliability in various heating and cooling applications. These models stand out in the HVAC industry for their innovative features and technologies, making them ideal for both residential and commercial environments.

One of the main features of the Amana RSS and RST series is their advanced cooling and heating capabilities. They utilize a high-efficiency compressor that delivers powerful performance while minimizing energy consumption. This efficiency is bolstered by the inclusion of a variable-speed fan motor, which allows for precise control over airflow and temperature. As a result, these systems can operate in quieter modes, significantly reducing noise levels compared to traditional HVAC units.

The Amana RSS and RST models are equipped with a robust inverter technology that optimizes energy use by adjusting the compressor speed to match the thermal load. This constant modulation allows for better energy savings and improved indoor comfort. The systems also feature multi-stage cooling, which enhances temperature control and reduces humidity levels, ensuring a comfortable environment year-round.

In terms of technology, the Amana RSS and RST series incorporate smart controls that enable users to monitor and adjust their HVAC systems via smartphone apps or home automation systems. This connectivity provides users with real-time data on energy usage and system performance, allowing for more informed decisions about settings and schedules.

Durability is a significant characteristic of the Amana series, as they are built using high-quality materials that can withstand extreme weather conditions. Their components, including corrosion-resistant cabinets and durable coils, contribute to the longevity of the units, ensuring reliable operation for years to come.

Moreover, the Amana RSS and RST units come with a comprehensive warranty, reflecting the manufacturer's confidence in their products. Homeowners and businesses can benefit from this assurance, knowing their investment is protected.

Overall, the Amana RSS and RST series exemplify high efficiency, advanced technology, and robust construction, making them an excellent choice for those seeking dependable heating and cooling solutions. By prioritizing energy efficiency and user convenience, these models continue to set a standard in the HVAC industry.