Chapter 5: The Video Viewer | 77 |
|
|
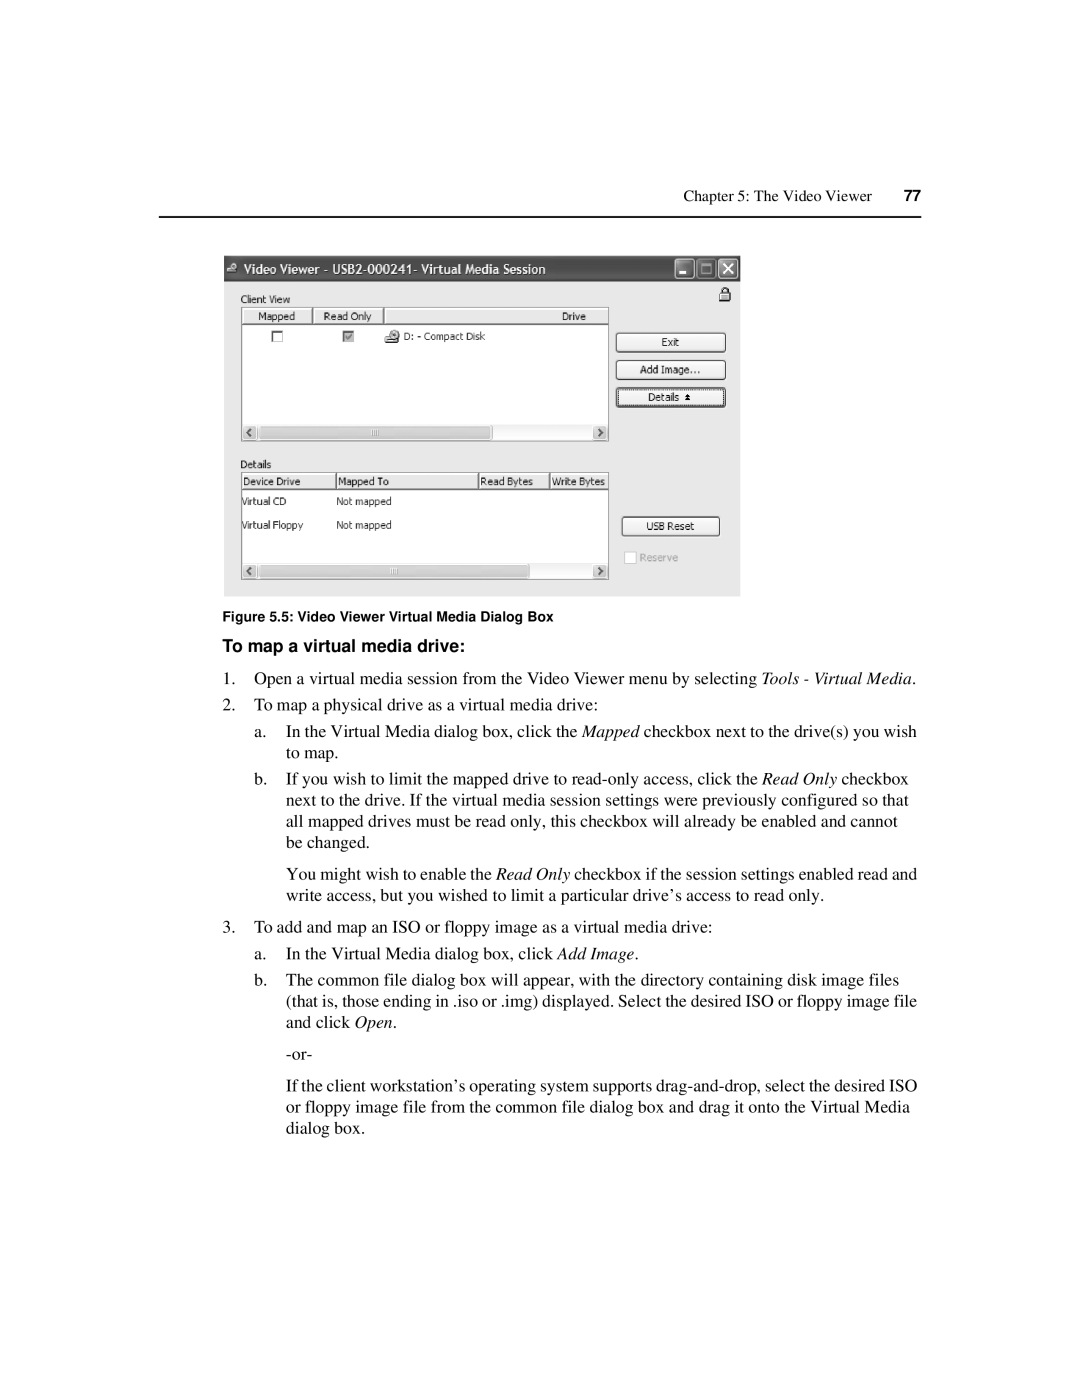
Figure 5.5: Video Viewer Virtual Media Dialog Box
To map a virtual media drive:
1.Open a virtual media session from the Video Viewer menu by selecting Tools - Virtual Media.
2.To map a physical drive as a virtual media drive:
a.In the Virtual Media dialog box, click the Mapped checkbox next to the drive(s) you wish to map.
b.If you wish to limit the mapped drive to
You might wish to enable the Read Only checkbox if the session settings enabled read and write access, but you wished to limit a particular drive’s access to read only.
3.To add and map an ISO or floppy image as a virtual media drive:
a.In the Virtual Media dialog box, click Add Image.
b.The common file dialog box will appear, with the directory containing disk image files (that is, those ending in .iso or .img) displayed. Select the desired ISO or floppy image file and click Open.
If the client workstation’s operating system supports