How to set up filter sold separately of the high ceiling
•When the height of ceiling to be installed with a filter exceeds 3.5m or when installing a filter sold separately,
Setup for high ceiling
| [S003] No.2 | [S003] No.4 | Installable |
| (Tap 1) | (Tap 2) | height of ceiling |
Standard (At shipment) | OFF | OFF | 3.5m |
Type 1 | OFF | ON | 4.0m |
|
|
|
|
[S003] No.2 (Tap 1) and
[S003] No.4 (Tap 2) are used.
| 4 | 3 | 2 1 |
2 3 4 | ON |
|
|
|
|
|
Test run
Before test run
•Before turning on the power supply, carry out the following procedure.
1)Using
2)Check the valve of the outdoor unit being opened fully.
•To protect the compressor at activation time, leave
How to execute a test run
Using the remote controller, operate the unit as usual.
For the procedure of the operation, refer to the attached Owner’s Manual.
A forced test run can be executed in the following procedure if the operation stops by
Setup for filter sold separately
| [S003] No.2 (Tap 1) | [S003] No.4 (Tap 2) | Filter sold separately |
Standard (At shipment) | OFF | OFF | Standard filter |
Type 1 | OFF | ON | Optical regeneration deodorant filter |
Type 3 | ON | OFF | |
Type 6 | ON | ON | Deodorant filter / Ammonia deodorant filter |
and returns to the usual operation.
CAUTION
When the remote controller is used for the first time, it accepts an operation approx. 5 minutes after the power supply has been turned on.
It is not a trouble, but is because the setup of the remote controller is being checked.
For the second
– 164 –
[NOTE]
If the setup has been once performed, the set contents of Type 1, 3, and 6 can be arbitrarily changed. However, it is required to turn off [S003] No.2 (Tap 1) and No.4 (Tap 2) of DIP switch and also required to rewrite by the wired remote controller sold separately to return the set content to the standard one (at shipment). (For rewriting by a wired remote controller sold separately, refer to the Installation Manual attached to the indoor unit.)
How to handle the remote controller
•In case using remote controller mounting to the wall, etc.
Check a signal is received correctly by pushing ![]() button at the position to be fixed.
button at the position to be fixed.
•Replacement of battery
1. Holding the both ends of the cover and |
remove it by sliding downward. |
NOTE
Do not use the forced test run for cases other than the test run because it applies an excessive load to the devices.
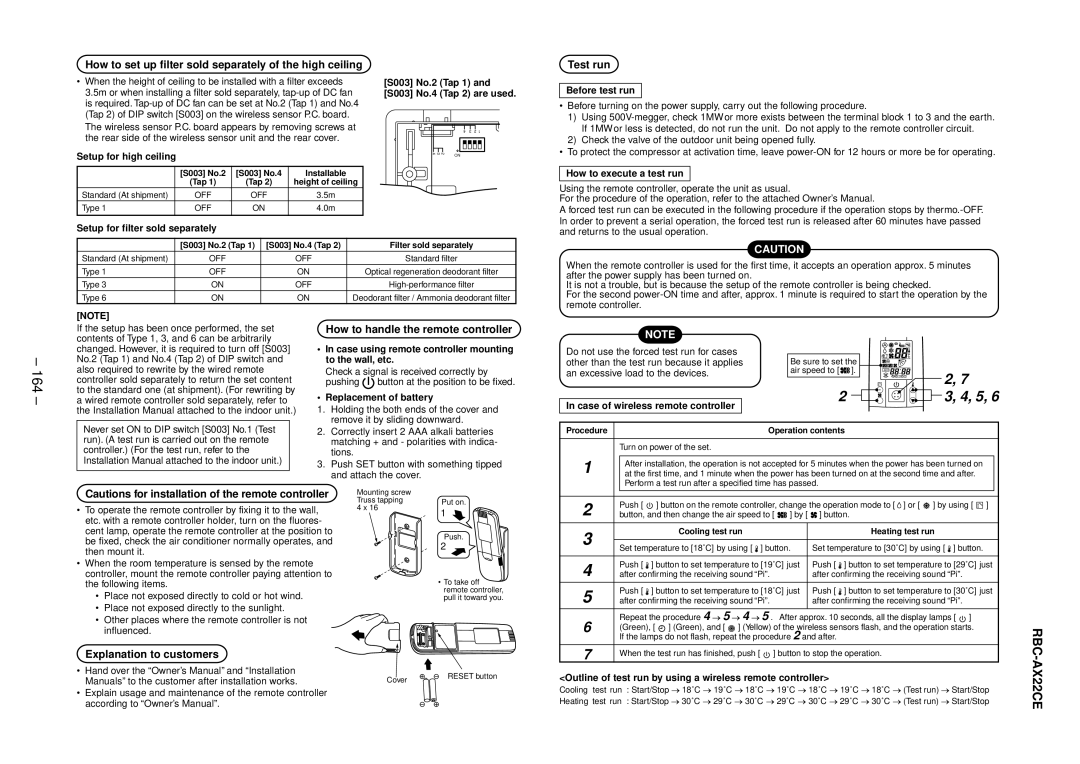
In case of wireless remote controller
Be sure to set the air speed to [![]()
![]() ].
].
2 ![]()
![]()
ADR |
2, 7
3, 4, 5, 6
Never set ON to DIP switch [S003] No.1 (Test run). (A test run is carried out on the remote controller.) (For the test run, refer to the Installation Manual attached to the indoor unit.)
2. | Correctly insert 2 AAA alkali batteries |
| matching + and - polarities with indica- |
| tions. |
3. | Push SET button with something tipped |
| and attach the cover. |
Procedure | Operation contents | |
| Turn on power of the set. | |
1 |
|
|
After installation, the operation is not accepted for 5 minutes when the power has been turned on | ||
at the first time, and 1 minute when the power has been turned on at the second time and after. | ||
| Perform a test run after a specified time has passed. | |
Cautions for installation of the remote controller
•To operate the remote controller by fixing it to the wall, etc. with a remote controller holder, turn on the fluores- cent lamp, operate the remote controller at the position to be fixed, check the air conditioner normally operates, and then mount it.
•When the room temperature is sensed by the remote controller, mount the remote controller paying attention to the following items.
•Place not exposed directly to cold or hot wind.
•Place not exposed directly to the sunlight.
•Other places where the remote controller is not influenced.
Explanation to customers
•Hand over the “Owner’s Manual” and “Installation Manuals” to the customer after installation works.
•Explain usage and maintenance of the remote controller according to “Owner’s Manual”.
Mounting screw Truss tapping 4 x 16
Cover
Put on.
1
Push.
2
•To take off remote controller, pull it toward you.
RESET button
2 | Push [ | ] button on the remote controller, change the operation mode to [ ] or [ ] by using [ ] | ||||||
button, and then change the air speed to [ | ] by [ | ] button. | ||||||
3 |
| Cooling test run |
|
|
|
| Heating test run | |
|
|
|
|
|
|
|
| |
Set temperature to [18˚C] by using [ | ] button. |
| Set temperature to [30˚C] by using [ ] button. | |||||
|
| |||||||
|
|
|
|
|
| |||
4 | Push [ | ] button to set temperature to [19˚C] just |
| Push [ | ] button to set temperature to [29˚C] just | |||
after confirming the receiving sound “Pi”. |
|
| after confirming the receiving sound “Pi”. | |||||
|
|
|
|
|
| |||
5 | Push [ | ] button to set temperature to [18˚C] just |
| Push [ | ] button to set temperature to [30˚C] just | |||
after confirming the receiving sound “Pi”. |
|
| after confirming the receiving sound “Pi”. | |||||
|
|
|
|
|
| |||
6 | Repeat the procedure 4 5 | 4 | 5 . | After approx. 10 seconds, all the display lamps [ ] | ||||
(Green), [ ] (Green), and [ | ] (Yellow) of the wireless sensors flash, and the operation starts. | |||||||
| If the lamps do not flash, repeat the procedure 2 and after. |
| ||||||
7 | When the test run has finished, push [ | ] button to stop the operation. | ||||||
<Outline of test run by using a wireless remote controller>
Cooling test run : Start/Stop ![]() 18˚C
18˚C ![]() 19˚C
19˚C ![]() 18˚C
18˚C ![]() 19˚C
19˚C ![]() 18˚C
18˚C ![]() 19˚C
19˚C ![]() 18˚C
18˚C ![]() (Test run)
(Test run) ![]() Start/Stop
Start/Stop
Heating test run : Start/Stop ![]() 30˚C
30˚C ![]() 29˚C
29˚C ![]() 30˚C
30˚C ![]() 29˚C
29˚C ![]() 30˚C
30˚C ![]() 29˚C
29˚C ![]() 30˚C
30˚C ![]() (Test run)
(Test run) ![]() Start/Stop
Start/Stop