| Trouble | Action to be taken |
|
| |
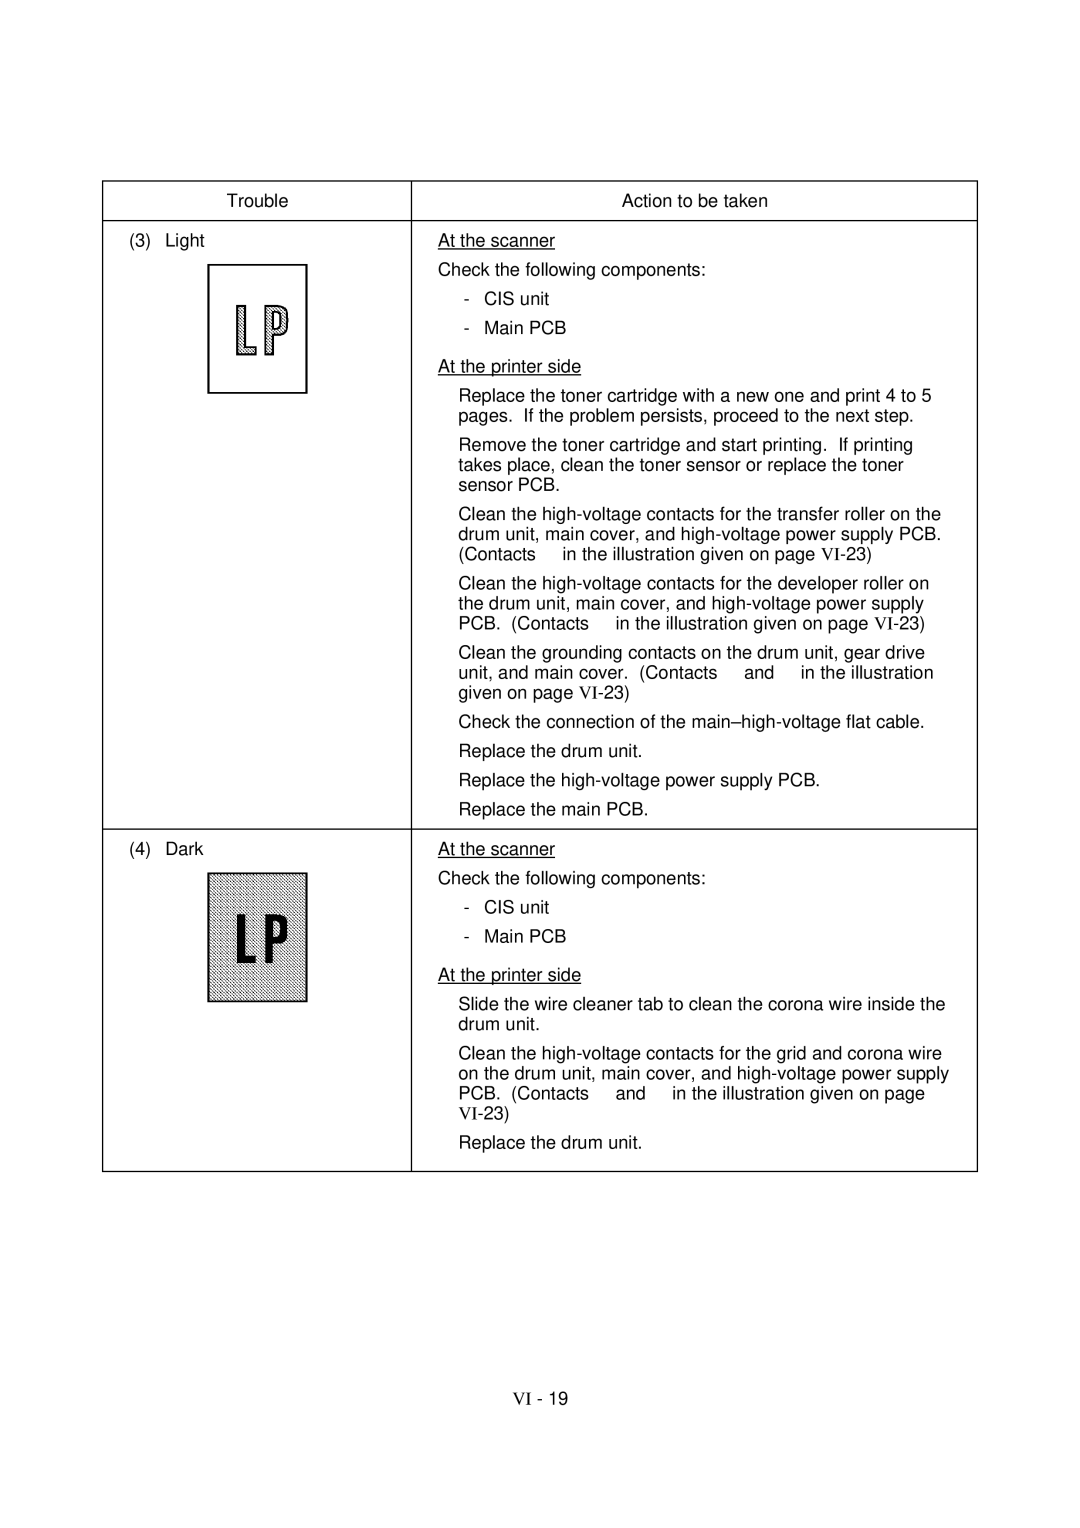
(3) Light | At the scanner | |
| Check the following components: | |
| - | CIS unit |
| - | Main PCB |
At the printer side
| • | Replace the toner cartridge with a new one and print 4 to 5 | |
|
| pages. If the problem persists, proceed to the next step. | |
| • | Remove the toner cartridge and start printing. If printing | |
|
| takes place, clean the toner sensor or replace the toner | |
|
| sensor PCB. | |
| • | Clean the | |
|
| drum unit, main cover, and | |
|
| (Contacts ƒ in the illustration given on page | |
| • | Clean the | |
|
| the drum unit, main cover, and | |
|
| PCB. (Contacts ‡ in the illustration given on page | |
| • | Clean the grounding contacts on the drum unit, gear drive | |
|
| unit, and main cover. (Contacts • and ‚ in the illustration | |
|
| given on page | |
| • | Check the connection of the | |
| • | Replace the drum unit. | |
| • | Replace the | |
| • | Replace the main PCB. | |
|
| ||
(4) Dark | At the scanner | ||
| Check the following components: | ||
|
| - | CIS unit |
|
| - | Main PCB |
| At the printer side | ||
| • | Slide the wire cleaner tab to clean the corona wire inside the | |
|
| drum unit. | |
| • | Clean the | |
|
| on the drum unit, main cover, and | |
|
| PCB. (Contacts … and † in the illustration given on page | |
|
| ||
| • | Replace the drum unit. | |
VI - 19
