Chapter 5: Local Management
5.17SNMP TRAPS SCREEN
Since the
NOTE |
It is only necessary to assign SNMP traps if the user desires the traps to be sent to different addresses than those assigned in Section 5.8 which details how to set SNMP Traps for the 6C105 chassis.
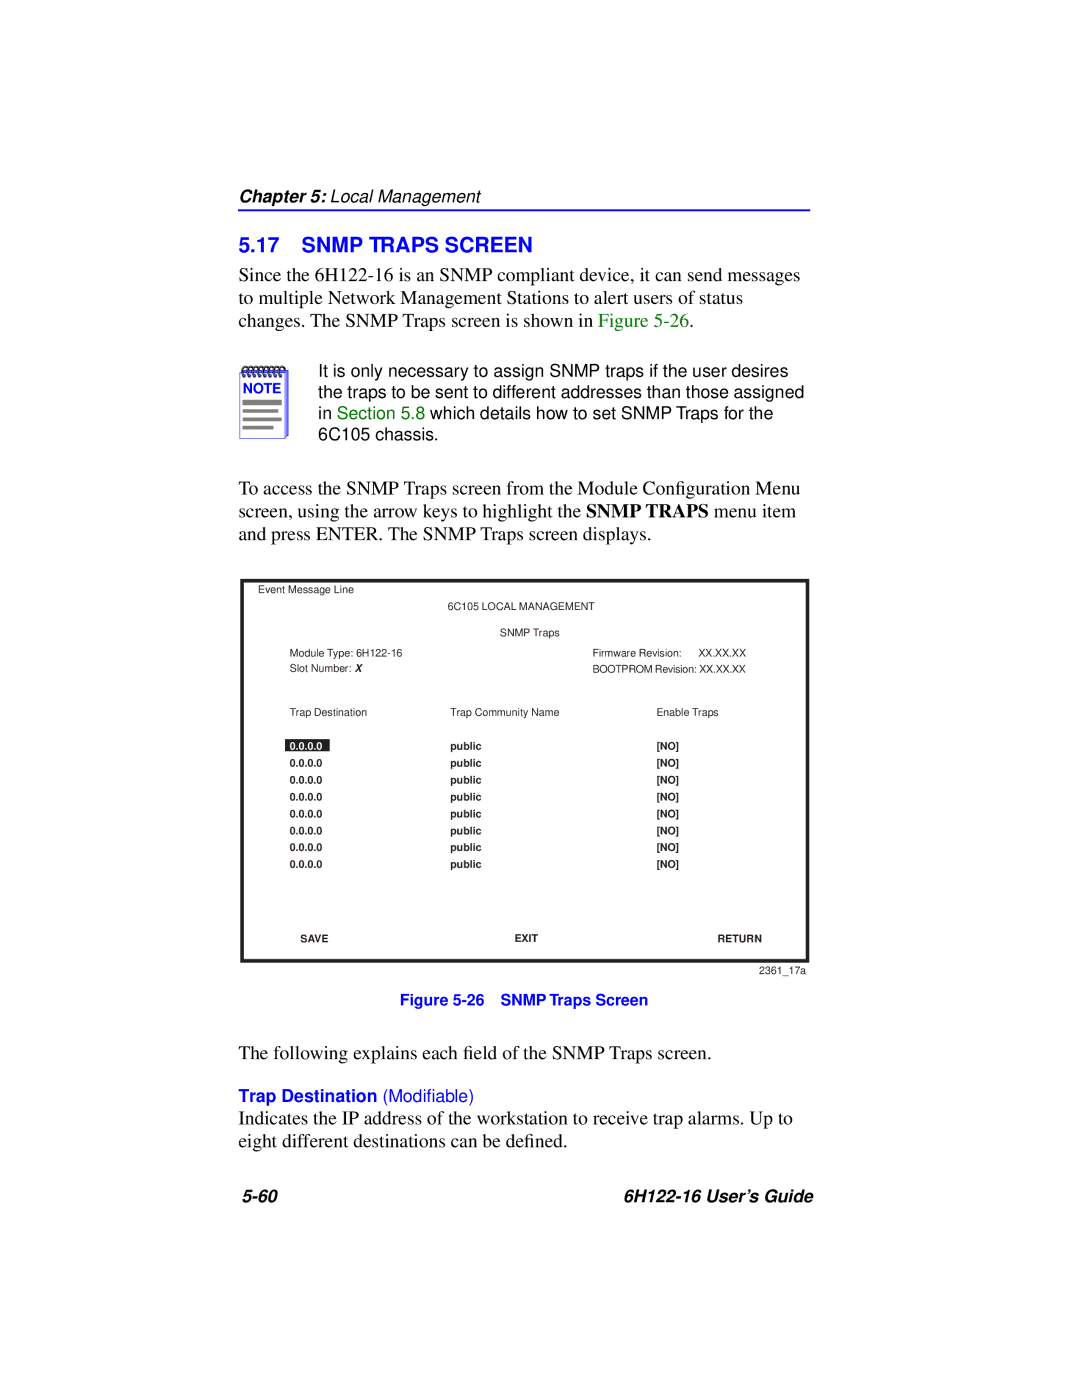
To access the SNMP Traps screen from the Module Configuration Menu screen, using the arrow keys to highlight the SNMP TRAPS menu item and press ENTER. The SNMP Traps screen displays.
Event Message Line
|
| 6C105 LOCAL MANAGEMENT | |
|
| SNMP Traps |
|
Module Type: |
| Firmware Revision: XX.XX.XX | |
Slot Number: X |
| BOOTPROM Revision: XX.XX.XX | |
Trap Destination | Trap Community Name | Enable Traps | |
|
|
| [NO] |
0.0.0.0 |
| public | |
0.0.0.0 |
| public | [NO] |
0.0.0.0 |
| public | [NO] |
0.0.0.0 |
| public | [NO] |
0.0.0.0 |
| public | [NO] |
0.0.0.0 |
| public | [NO] |
0.0.0.0 |
| public | [NO] |
0.0.0.0 |
| public | [NO] |
SAVE | EXIT | RETURN | |
2361_17a
Figure 5-26 SNMP Traps Screen
The following explains each field of the SNMP Traps screen.
Trap Destination (Modifiable)
Indicates the IP address of the workstation to receive trap alarms. Up to eight different destinations can be defined.
|