[Margin]: Select to create margins along the sides of a copy sheet. (See "Margin Mode," on p.
[Frame Erase]: Eliminates dark border areas and lines that appear around original images or shadows from punched holes. (See "Frame Erase," on p.
[Image Combination]: Automatically reduce two or four originals to fit onto a single copy sheet. (See "Image Combination," on p.
[Different Size Originals]: Make copies by feeding different size originals together in one group, by placing them in the feeder. (See "Different Size Originals," on p.
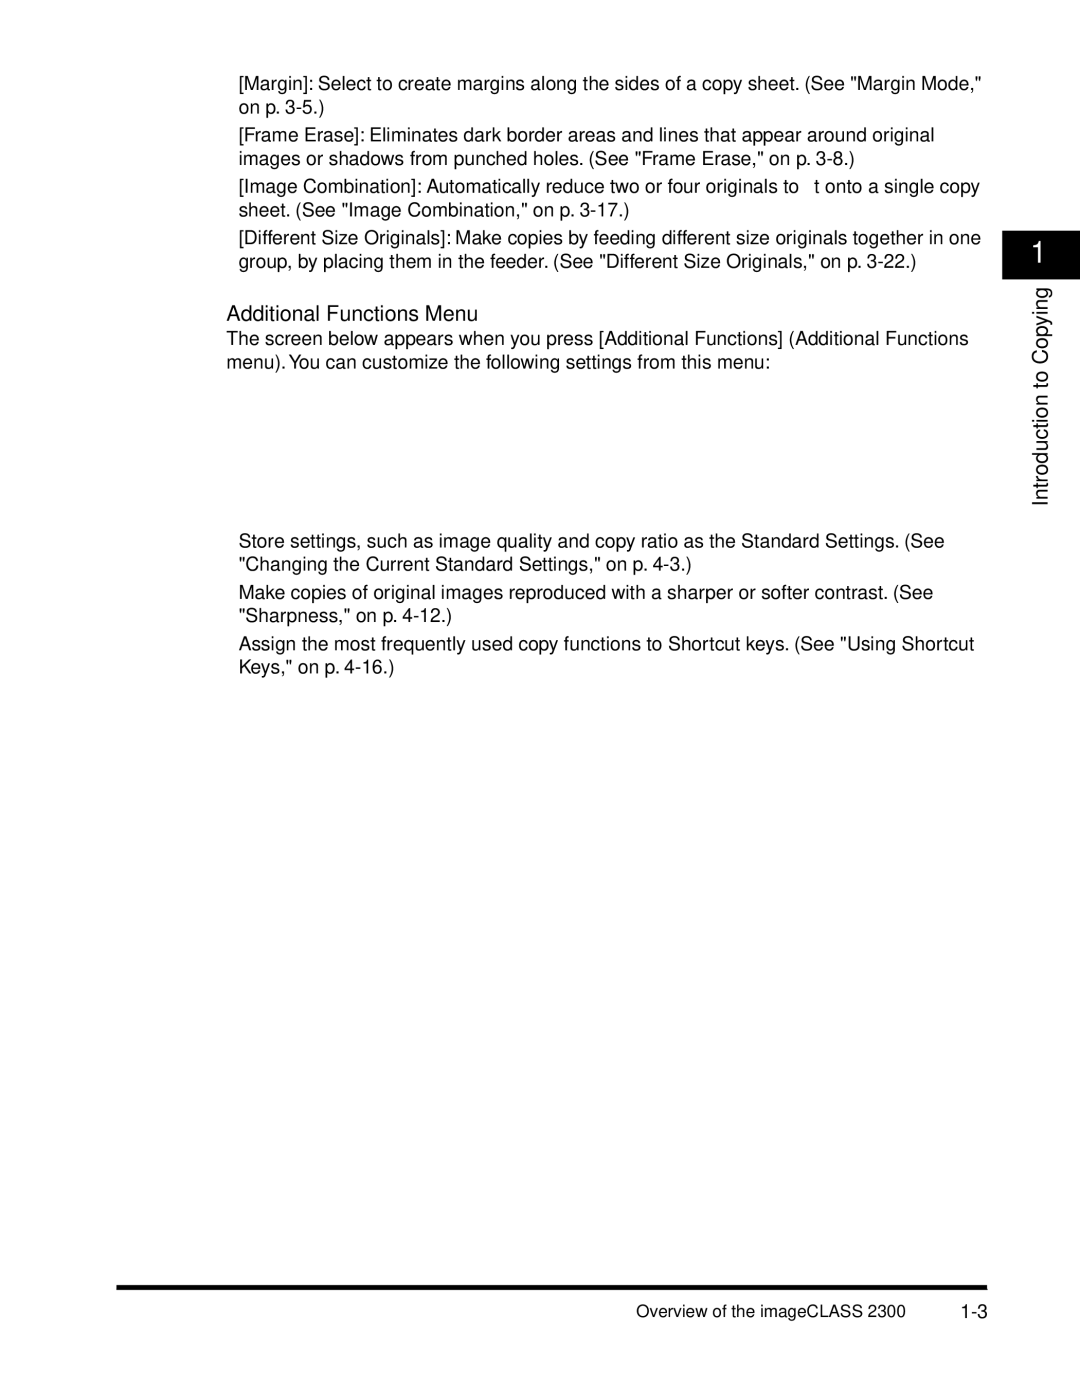
■Additional Functions Menu
The screen below appears when you press [Additional Functions] (Additional Functions menu). You can customize the following settings from this menu:
Store settings, such as image quality and copy ratio as the Standard Settings. (See "Changing the Current Standard Settings," on p.
Make copies of original images reproduced with a sharper or softer contrast. (See "Sharpness," on p.
Assign the most frequently used copy functions to Shortcut keys. (See "Using Shortcut Keys," on p.
1
Introduction to Copying
Overview of the imageCLASS 2300 |