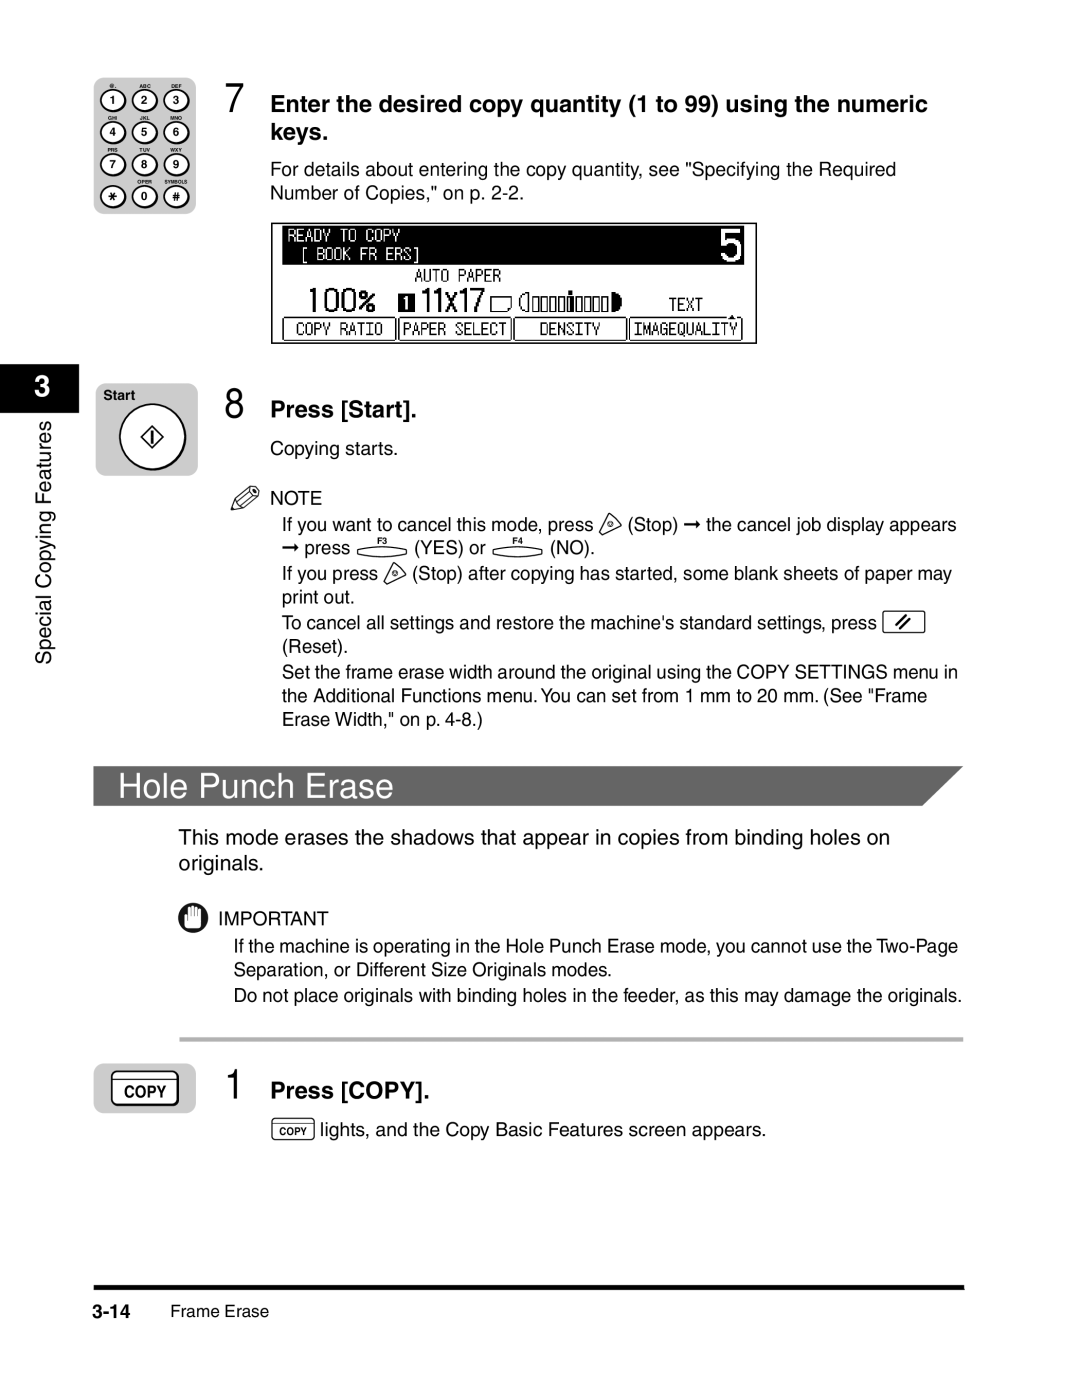
@. | ABC | DEF | 7 Enter the desired copy quantity (1 to 99) using the numeric |
GHI | JKL | MNO | |
1 | 2 | 3 |
|
4 | 5 | 6 | keys. |
PRS | TUV | WXY |
|
7 8 9
OPER SYMBOLS
0
For details about entering the copy quantity, see "Specifying the Required Number of Copies," on p.
3 | Start | 8 Press [Start]. |
|
|
| ||
|
|
|
|
| |||
Features |
|
|
|
| |||
| NOTE |
|
|
|
|
| |
Copying |
| Copying starts. |
|
|
|
| |
| If you want to cancel this mode, press | (Stop) ➞ the cancel job display appears | |||||
|
| ||||||
|
| ➞ press | F3 | (YES) or | F4 | (NO). |
|
|
|
|
|
| |||
|
| If you press | (Stop) after copying has started, some blank sheets of paper may | ||||
Special |
| print out. |
|
|
|
|
|
| To cancel all settings and restore the machine's standard settings, press | ||||||
|
| ||||||
(Reset).
Set the frame erase width around the original using the COPY SETTINGS menu in the Additional Functions menu. You can set from 1 mm to 20 mm. (See "Frame Erase Width," on p.
Hole Punch Erase
This mode erases the shadows that appear in copies from binding holes on originals.
IMPORTANT
If the machine is operating in the Hole Punch Erase mode, you cannot use the
Do not place originals with binding holes in the feeder, as this may damage the originals.
COPY 1 Press [COPY].
COPY lights, and the Copy Basic Features screen appears.