Chapter 3 Configuring and Managing the IP Camera
Log Windows
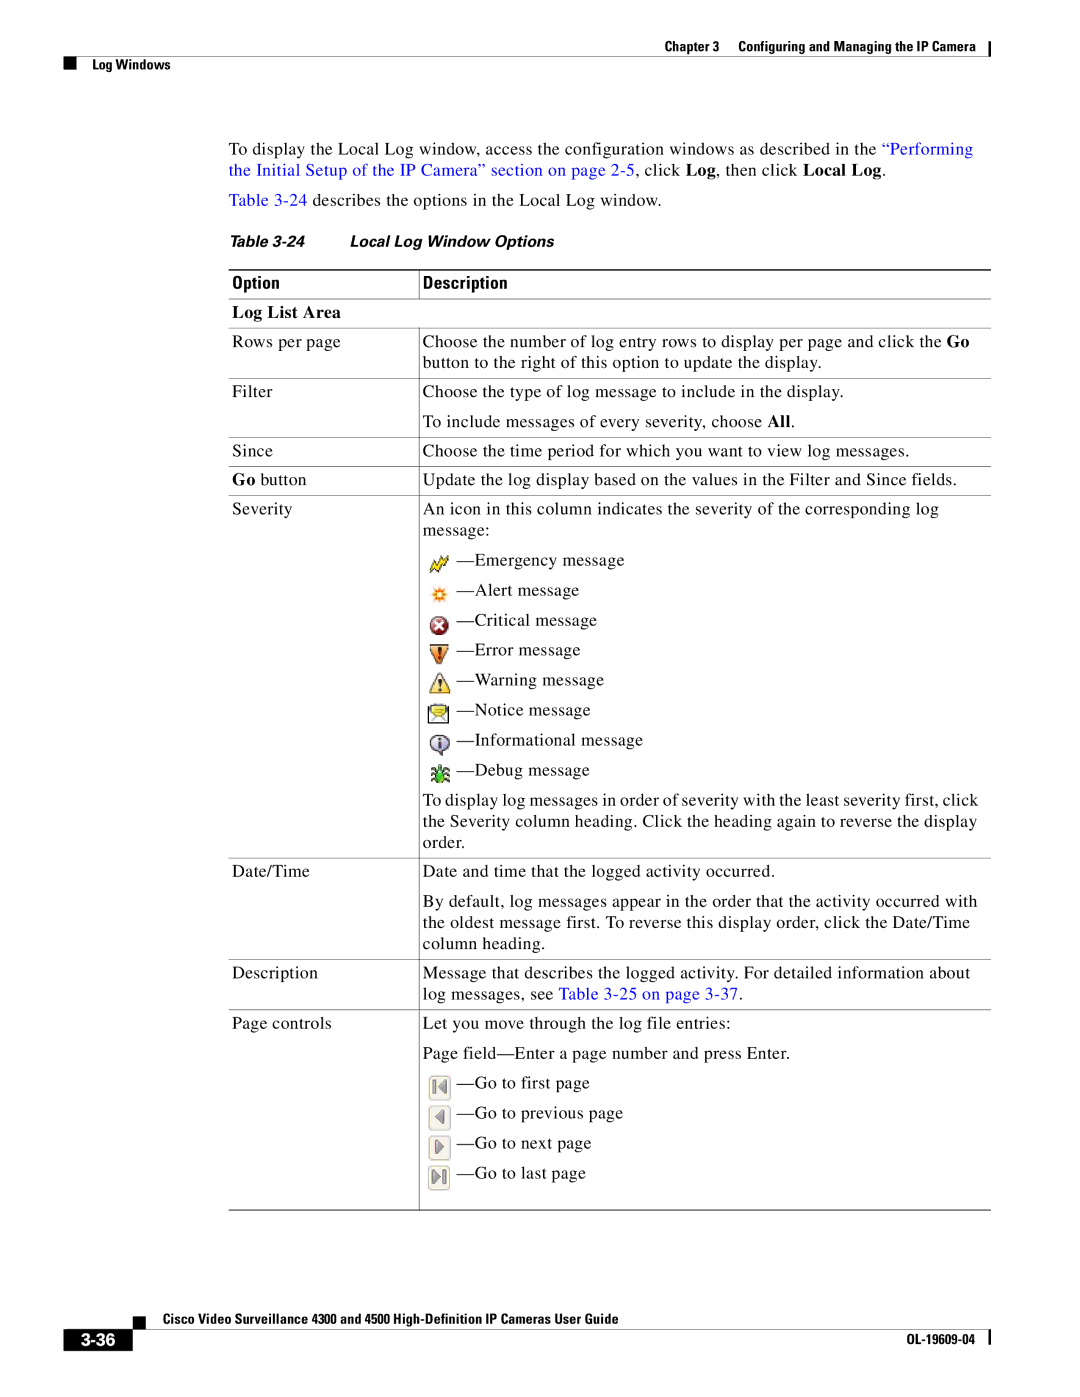
To display the Local Log window, access the configuration windows as described in the “Performing the Initial Setup of the IP Camera” section on page
Table
Table
Option | Description | ||
|
|
|
|
Log List Area |
|
|
|
|
|
|
|
Rows per page | Choose the number of log entry rows to display per page and click the Go | ||
| button to the right of this option to update the display. | ||
|
|
|
|
Filter | Choose the type of log message to include in the display. | ||
| To include messages of every severity, choose All. | ||
|
|
|
|
Since | Choose the time period for which you want to view log messages. | ||
|
|
|
|
Go button | Update the log display based on the values in the Filter and Since fields. | ||
|
|
|
|
Severity | An icon in this column indicates the severity of the corresponding log | ||
| message: | ||
|
|
| |
|
|
| |
|
|
| |
|
|
| |
|
|
| |
|
|
| |
|
|
| |
|
|
| |
| To display log messages in order of severity with the least severity first, click | ||
| the Severity column heading. Click the heading again to reverse the display | ||
| order. | ||
|
|
|
|
Date/Time | Date and time that the logged activity occurred. | ||
| By default, log messages appear in the order that the activity occurred with | ||
| the oldest message first. To reverse this display order, click the Date/Time | ||
| column heading. | ||
|
|
|
|
Description | Message that describes the logged activity. For detailed information about | ||
| log messages, see Table | ||
|
|
|
|
Page controls | Let you move through the log file entries: | ||
| Page | ||
|
|
| |
|
|
| |
|
|
| |
|
|
| |
|
|
| |
|
|
| |
|
|
|
|
|
|
|
|
| Cisco Video Surveillance 4300 and 4500 |
|
