Chapter 6 Maintenance
Upgrading the SDRAM Memory Modules
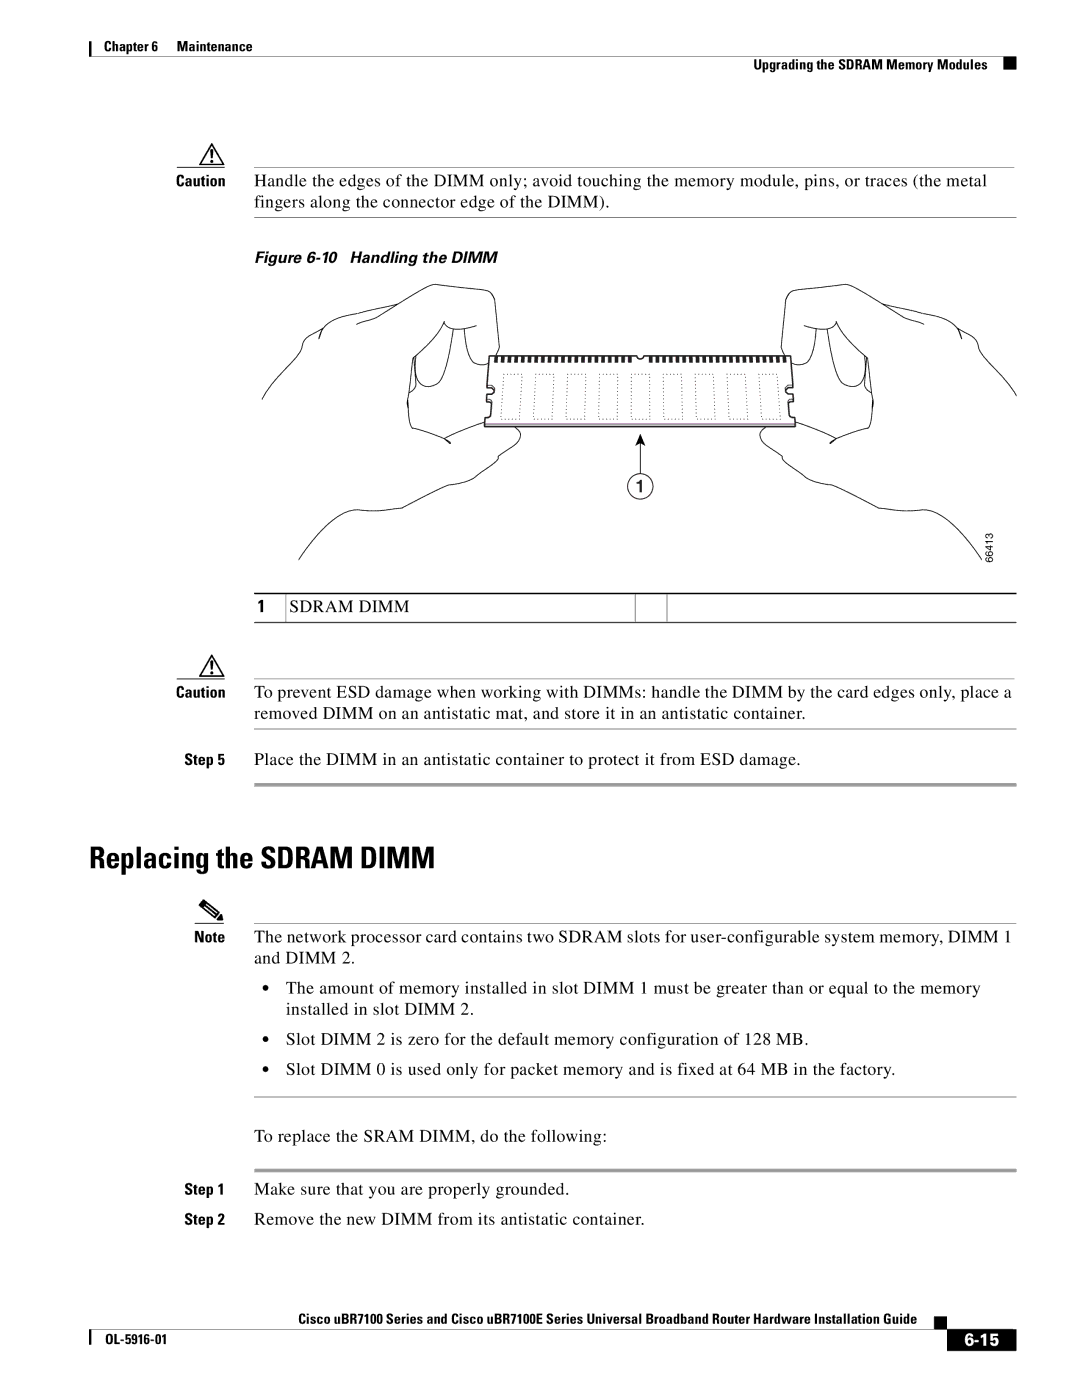
Caution Handle the edges of the DIMM only; avoid touching the memory module, pins, or traces (the metal fingers along the connector edge of the DIMM).
Figure 6-10 Handling the DIMM
1
66413
1
SDRAM DIMM
Caution To prevent ESD damage when working with DIMMs: handle the DIMM by the card edges only, place a removed DIMM on an antistatic mat, and store it in an antistatic container.
Step 5 Place the DIMM in an antistatic container to protect it from ESD damage.
Replacing the SDRAM DIMM
Note The network processor card contains two SDRAM slots for
•The amount of memory installed in slot DIMM 1 must be greater than or equal to the memory installed in slot DIMM 2.
•Slot DIMM 2 is zero for the default memory configuration of 128 MB.
•Slot DIMM 0 is used only for packet memory and is fixed at 64 MB in the factory.
To replace the SRAM DIMM, do the following:
Step 1 Make sure that you are properly grounded.
Step 2 Remove the new DIMM from its antistatic container.
Cisco uBR7100 Series and Cisco uBR7100E Series Universal Broadband Router Hardware Installation Guide
|
| ||
|
|
