MODEL: CDR1660 / CDR0860 / CDR0460 H.264
8.2.1.5.2. PRE RECORDING TIME
Select the desired time for PRE RECORDING TIME by clicking the left button of the mouse on the value. Or in case of using the remote controller or the front panel buttons, highlight PRE RECORDING TIME and press the ENTER button and then move the cursor to the desired value using the ◀, ▶ buttons and press the ENTER button. You can select from 0 to 5 seconds for pre record time and the default is 5 seconds.
NOTE:
The pre recording time of all channels will be changed totally.
8.2.1.5.3. POST RECORDING TIME
Select the desired time for POST RECORDING TIME.
Clicking the left button of the mouse on the value and the
Click the desired numeric button and then click the ENTER(![]() ) button on the
) button on the
press the ENTER button and then press the ENTER(![]() ) button on the
) button on the
NOTE:
If you change the post recording time of motion recording, the post recording time of alarm recording of the channel will be also changed.
8.2.1.5.4. SENSITIVITY
User can set the SENSITIVITY values by clicking the left button of the mouse on the value. Or in case of using the remote controller or the front panel buttons, highlight SENSITIVITY and press the ENTER button and then move the cursor to the desired value using the ▲, ▼ buttons and press the ENTER button. The Sensitivity values are ranged from 1 to 5 and the default is 5.
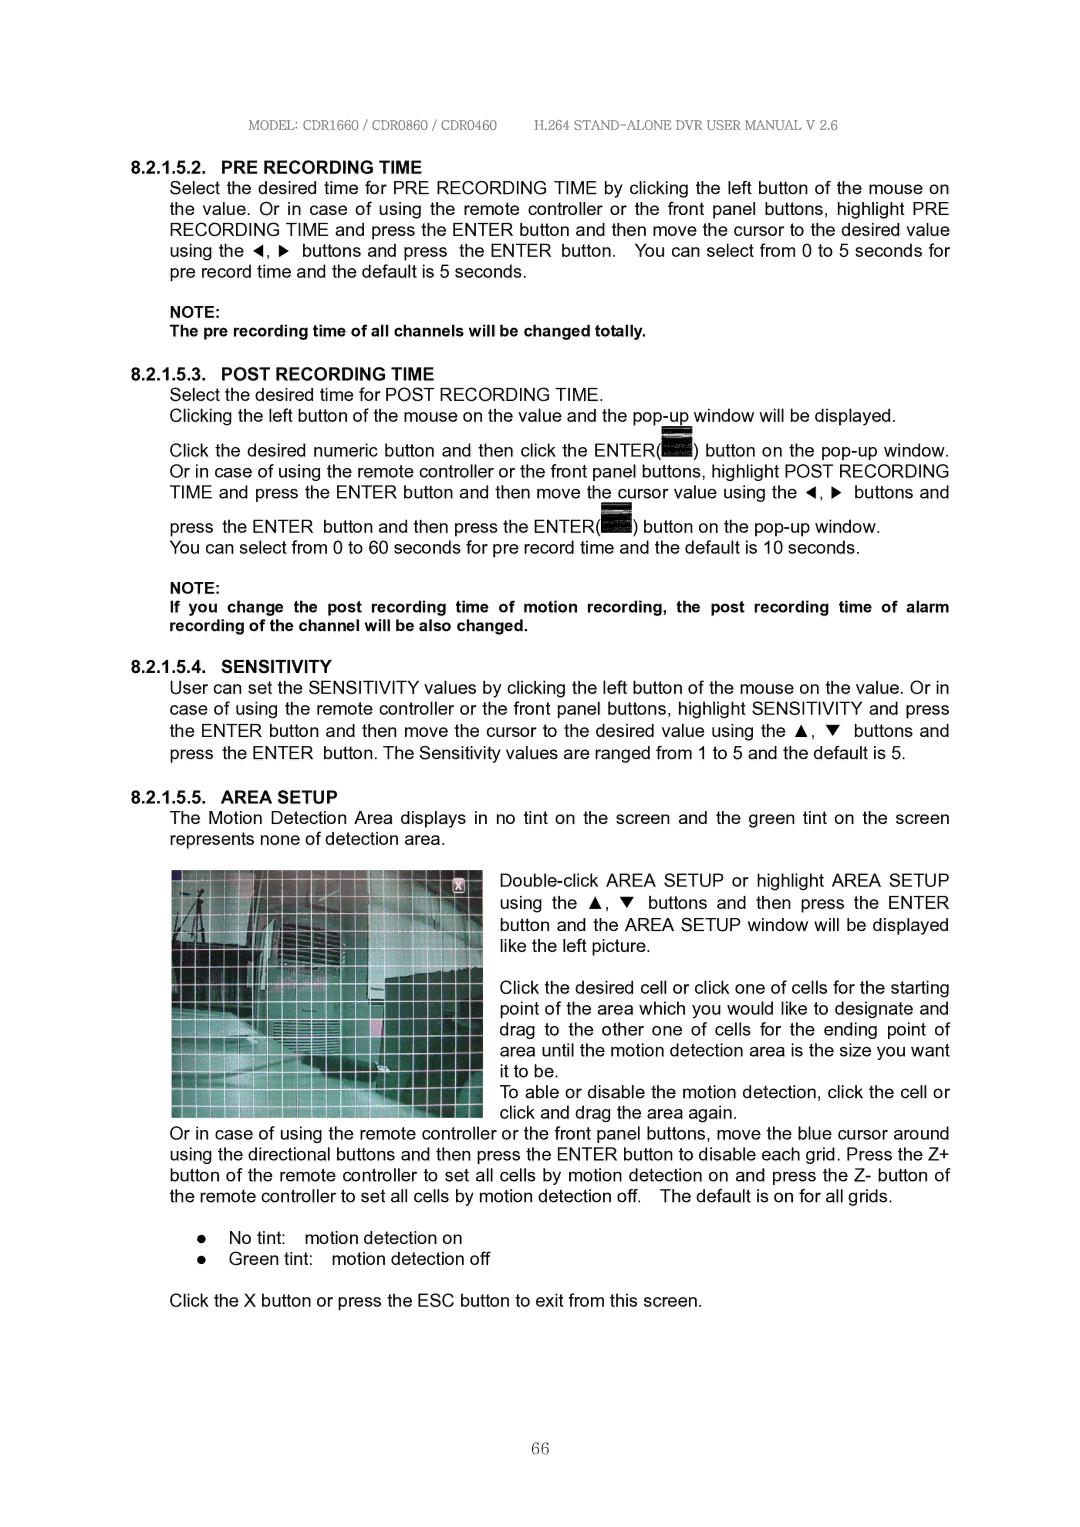
8.2.1.5.5. AREA SETUP
The Motion Detection Area displays in no tint on the screen and the green tint on the screen represents none of detection area.
Click the desired cell or click one of cells for the starting point of the area which you would like to designate and drag to the other one of cells for the ending point of area until the motion detection area is the size you want it to be.
To able or disable the motion detection, click the cell or click and drag the area again.
Or in case of using the remote controller or the front panel buttons, move the blue cursor around using the directional buttons and then press the ENTER button to disable each grid. Press the Z+ button of the remote controller to set all cells by motion detection on and press the Z- button of the remote controller to set all cells by motion detection off. The default is on for all grids.
No tint: motion detection on
Green tint: motion detection off
Click the X button or press the ESC button to exit from this screen.
66