3.Squeeze the
Depending on the media type you are using, keep the following loading guidelines:
•Envelopes: Flap side down and with the stamp area on the top left side.
•Labels: Print side up and top short edge entering the printer first.
•Preprinted paper: Design side up with the top edge toward the printer.
•Card stock: Print side up and the short edge entering the printer first.
•Previously printed paper: Previously printed side down with an uncurled edge toward the printer.
4.When you print a document, set the paper source and type in the software application. See Software section for printing from your computer.
The settings made from the printer driver override the settings on the control panel.
5.After printing, close the
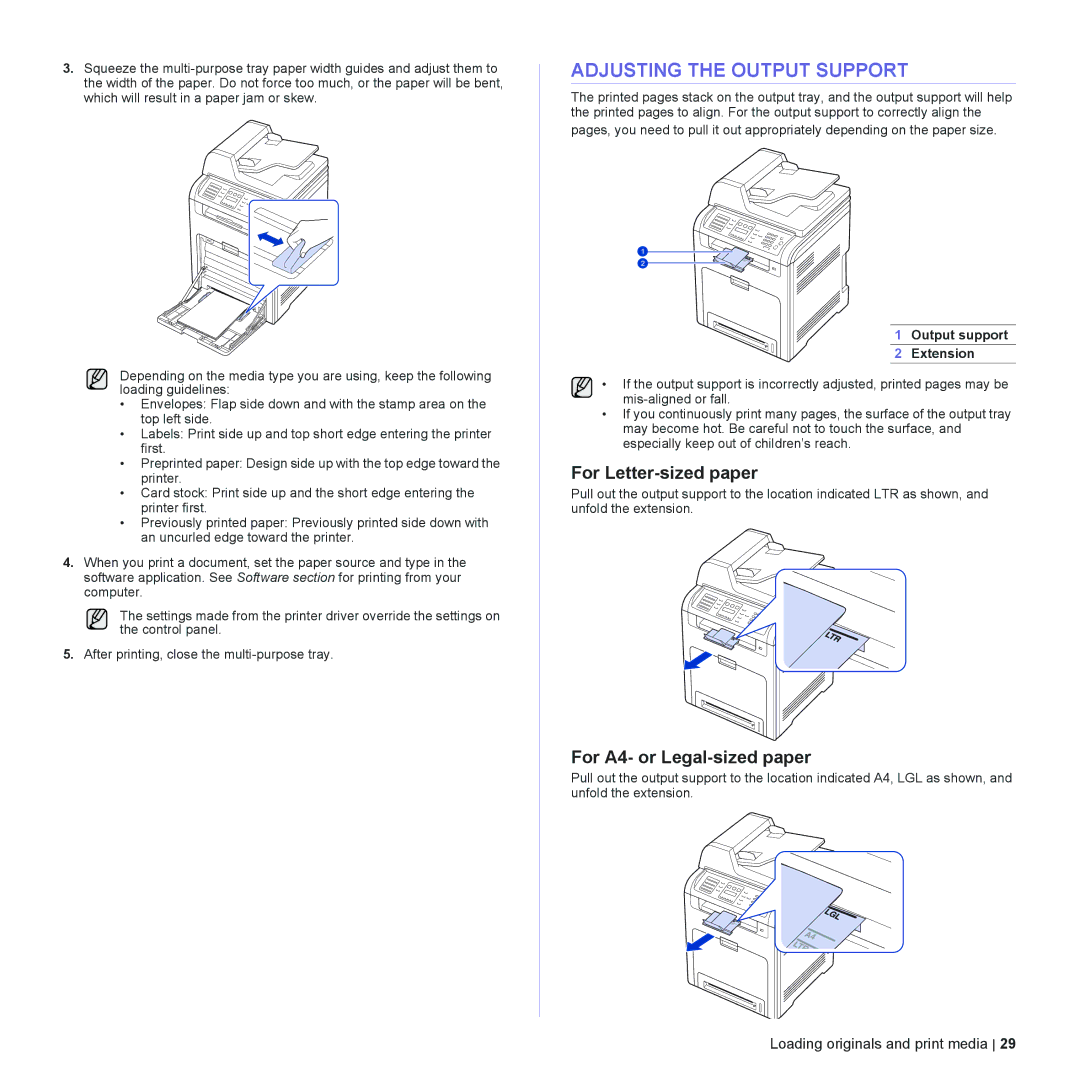
ADJUSTING THE OUTPUT SUPPORT
The printed pages stack on the output tray, and the output support will help the printed pages to align. For the output support to correctly align the
pages, you need to pull it out appropriately depending on the paper size.
1 Output support
2 Extension
• If the output support is incorrectly adjusted, printed pages may be
•If you continuously print many pages, the surface of the output tray may become hot. Be careful not to touch the surface, and especially keep out of children’s reach.
For Letter-sized paper
Pull out the output support to the location indicated LTR as shown, and unfold the extension.
For A4- or Legal-sized paper
Pull out the output support to the location indicated A4, LGL as shown, and unfold the extension.