Exit misfeed
1.Remove any remaining pages from the DADF.
2.Seize the misfeed paper, and remove the paper from the document output tray by carefully pulling it to the right using both hands.
3.Load the removed pages back into the DADF.
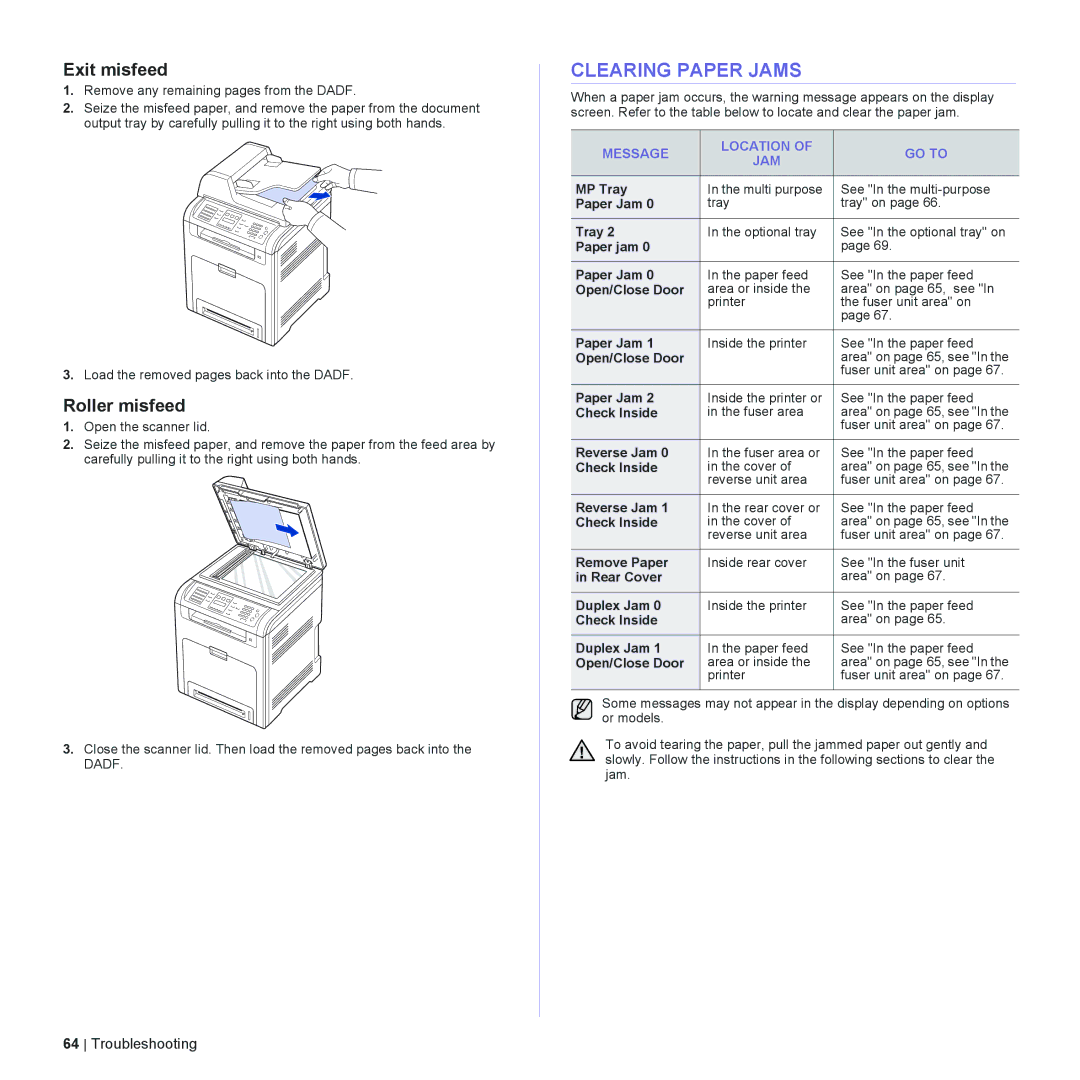
Roller misfeed
1.Open the scanner lid.
2.Seize the misfeed paper, and remove the paper from the feed area by carefully pulling it to the right using both hands.
3.Close the scanner lid. Then load the removed pages back into the DADF.
CLEARING PAPER JAMS
When a paper jam occurs, the warning message appears on the display screen. Refer to the table below to locate and clear the paper jam.
MESSAGE | LOCATION OF | GO TO | |
JAM | |||
|
| ||
|
|
| |
MP Tray | In the multi purpose | See "In the | |
Paper Jam 0 | tray | tray" on page 66. | |
|
|
| |
Tray 2 | In the optional tray | See "In the optional tray" on | |
Paper jam 0 |
| page 69. | |
|
|
| |
Paper Jam 0 | In the paper feed | See "In the paper feed | |
Open/Close Door | area or inside the | area" on page 65, see "In | |
| printer | the fuser unit area" on | |
|
| page 67. | |
|
|
| |
Paper Jam 1 | Inside the printer | See "In the paper feed | |
Open/Close Door |
| area" on page 65, see "In the | |
|
| fuser unit area" on page 67. | |
|
|
| |
Paper Jam 2 | Inside the printer or | See "In the paper feed | |
Check Inside | in the fuser area | area" on page 65, see "In the | |
|
| fuser unit area" on page 67. | |
|
|
| |
Reverse Jam 0 | In the fuser area or | See "In the paper feed | |
Check Inside | in the cover of | area" on page 65, see "In the | |
| reverse unit area | fuser unit area" on page 67. | |
|
|
| |
Reverse Jam 1 | In the rear cover or | See "In the paper feed | |
Check Inside | in the cover of | area" on page 65, see "In the | |
| reverse unit area | fuser unit area" on page 67. | |
|
|
| |
Remove Paper | Inside rear cover | See "In the fuser unit | |
in Rear Cover |
| area" on page 67. | |
|
|
| |
Duplex Jam 0 | Inside the printer | See "In the paper feed | |
Check Inside |
| area" on page 65. | |
|
|
| |
Duplex Jam 1 | In the paper feed | See "In the paper feed | |
Open/Close Door | area or inside the | area" on page 65, see "In the | |
| printer | fuser unit area" on page 67. | |
|
|
|
Some messages may not appear in the display depending on options or models.
To avoid tearing the paper, pull the jammed paper out gently and slowly. Follow the instructions in the following sections to clear the jam.
64 Troubleshooting