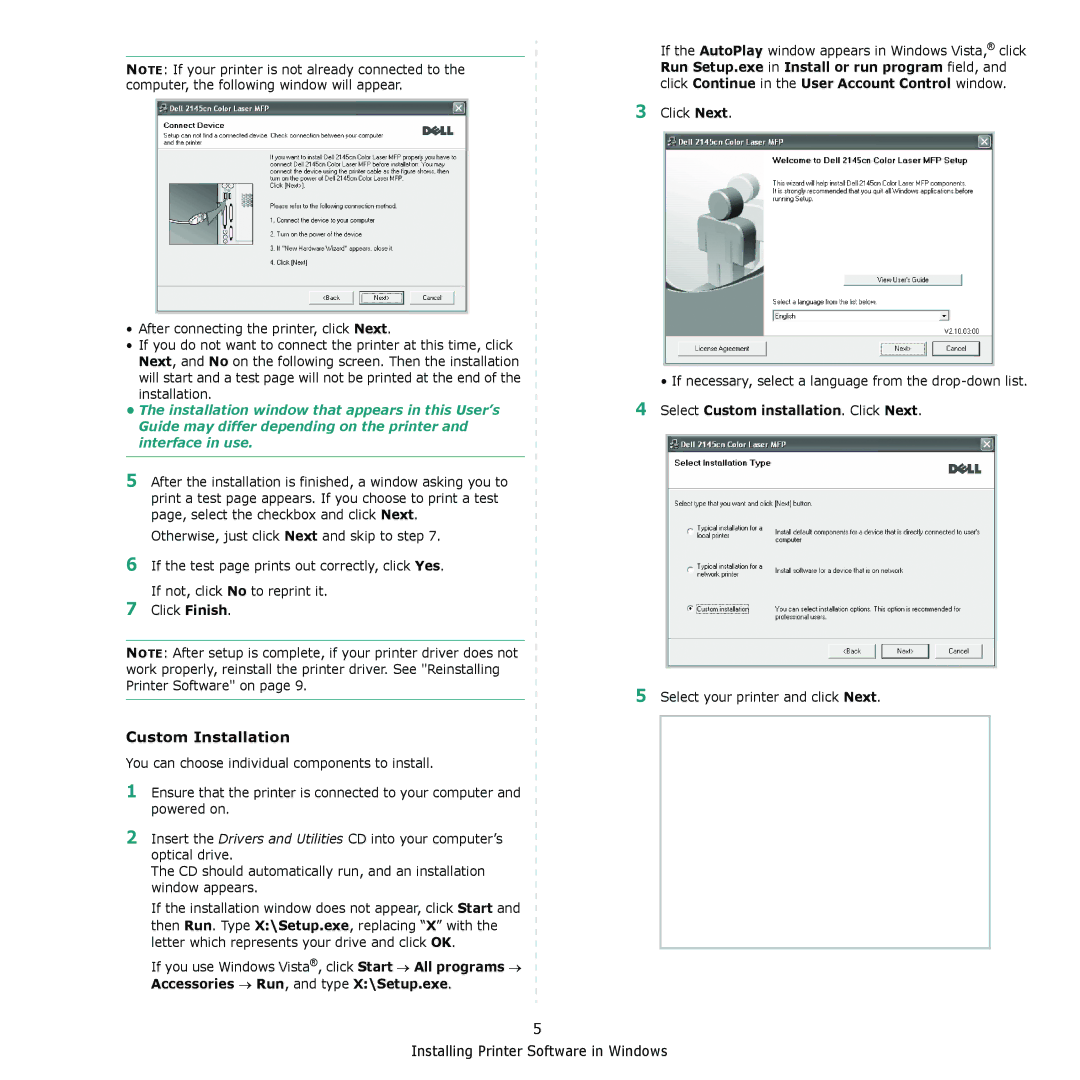
NOTE: If your printer is not already connected to the computer, the following window will appear.
•After connecting the printer, click Next.
•If you do not want to connect the printer at this time, click Next, and No on the following screen. Then the installation will start and a test page will not be printed at the end of the installation.
•The installation window that appears in this User’s Guide may differ depending on the printer and interface in use.
5After the installation is finished, a window asking you to print a test page appears. If you choose to print a test page, select the checkbox and click Next.
Otherwise, just click Next and skip to step 7.
6If the test page prints out correctly, click Yes. If not, click No to reprint it.
7Click Finish.
NOTE: After setup is complete, if your printer driver does not work properly, reinstall the printer driver. See "Reinstalling Printer Software" on page 9.
Custom Installation
You can choose individual components to install.
1Ensure that the printer is connected to your computer and powered on.
2Insert the Drivers and Utilities CD into your computer’s optical drive.
The CD should automatically run, and an installation window appears.
If the installation window does not appear, click Start and then Run. Type X:\Setup.exe, replacing “X” with the letter which represents your drive and click OK.
If you use Windows Vista®, click Start → All programs → Accessories → Run, and type X:\Setup.exe.
3
4
5
If the AutoPlay window appears in Windows Vista,® click Run Setup.exe in Install or run program field, and click Continue in the User Account Control window.
Click Next.
•If necessary, select a language from the
Select your printer and click Next.
5