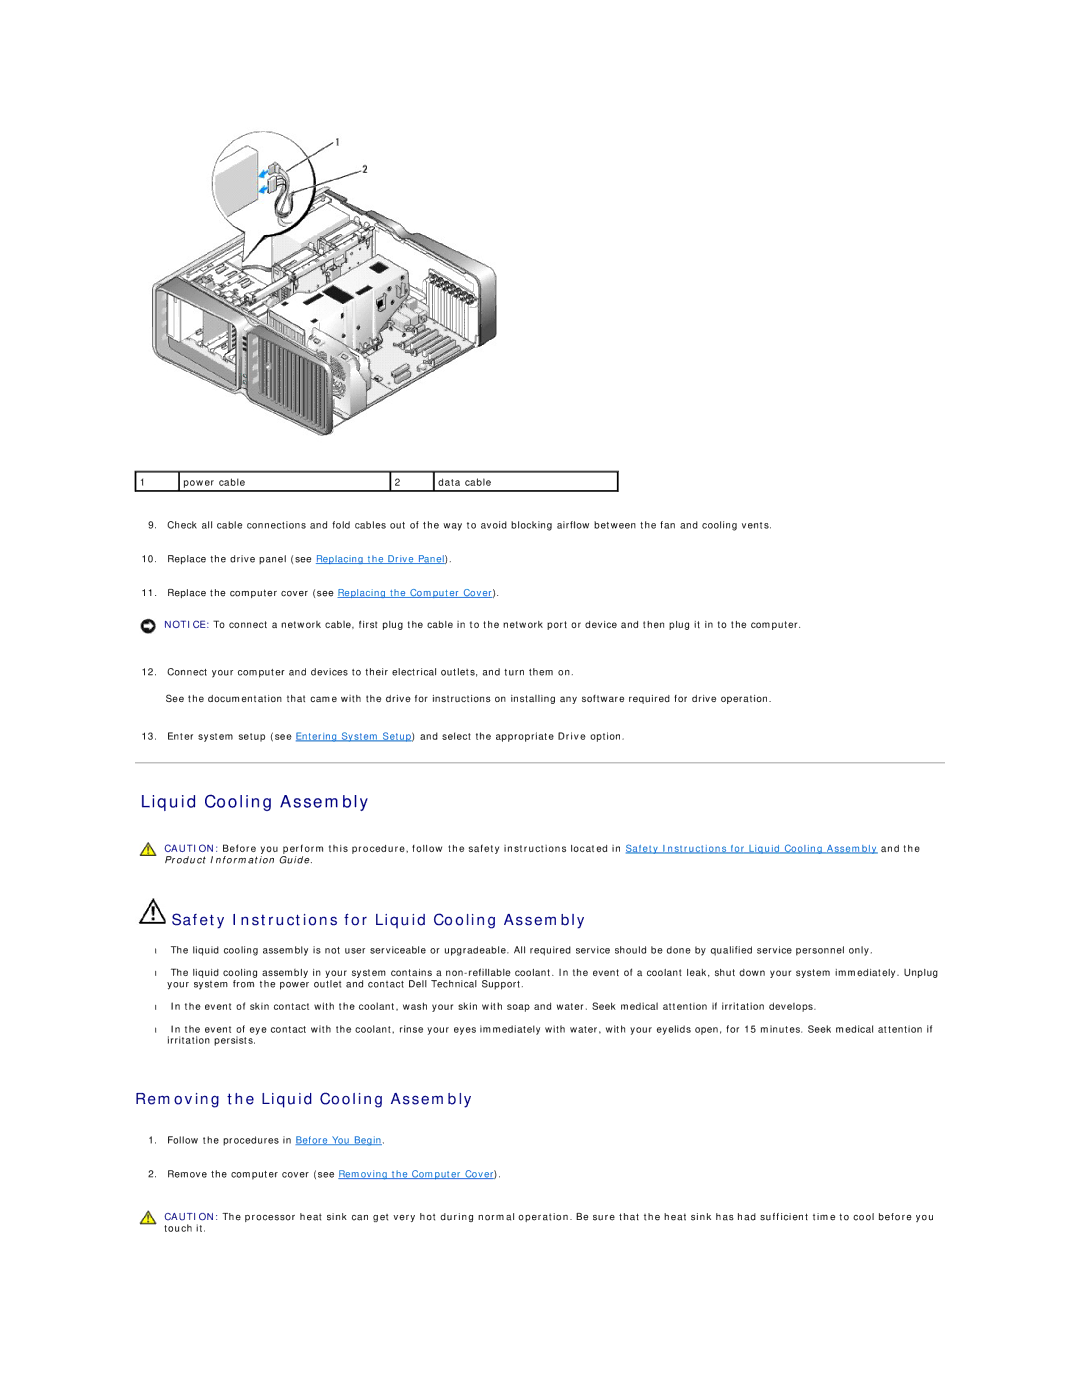
1 | power cable | 2 | data cable |
|
|
|
|
9.Check all cable connections and fold cables out of the way to avoid blocking airflow between the fan and cooling vents.
10.Replace the drive panel (see Replacing the Drive Panel).
11.Replace the computer cover (see Replacing the Computer Cover).
NOTICE: To connect a network cable, first plug the cable in to the network port or device and then plug it in to the computer.
12.Connect your computer and devices to their electrical outlets, and turn them on.
See the documentation that came with the drive for instructions on installing any software required for drive operation.
13.Enter system setup (see Entering System Setup) and select the appropriate Drive option.
Liquid Cooling Assembly
CAUTION: Before you perform this procedure, follow the safety instructions located in Safety Instructions for Liquid Cooling Assembly and the Product Information Guide.
 Safety Instructions for Liquid Cooling Assembly
•The liquid cooling assembly is not user serviceable or upgradeable. All required service should be done by qualified service personnel only.
•The liquid cooling assembly in your system contains a
•In the event of skin contact with the coolant, wash your skin with soap and water. Seek medical attention if irritation develops.
•In the event of eye contact with the coolant, rinse your eyes immediately with water, with your eyelids open, for 15 minutes. Seek medical attention if irritation persists.
Removing the Liquid Cooling Assembly
1.Follow the procedures in Before You Begin.
2.Remove the computer cover (see Removing the Computer Cover).
CAUTION: The processor heat sink can get very hot during normal operation. Be sure that the heat sink has had sufficient time to cool before you touch it.