D. Loading Cards into the Printer
4.Once the cards have been inserted, remove the top card and throw it away if you suspect it has been contaminated with oil from your fingertips. Close the Card Hopper Door. The cards will automatically feed off the top of the stack.
The Color ID Card Printer will hold a maximum of 100 cards (based on a standard
1.Remove a stack of 100 or fewer cards from the card packaging. Do not touch the area of the card where you intend to print. Oil or dirt from your hands can impair print quality.
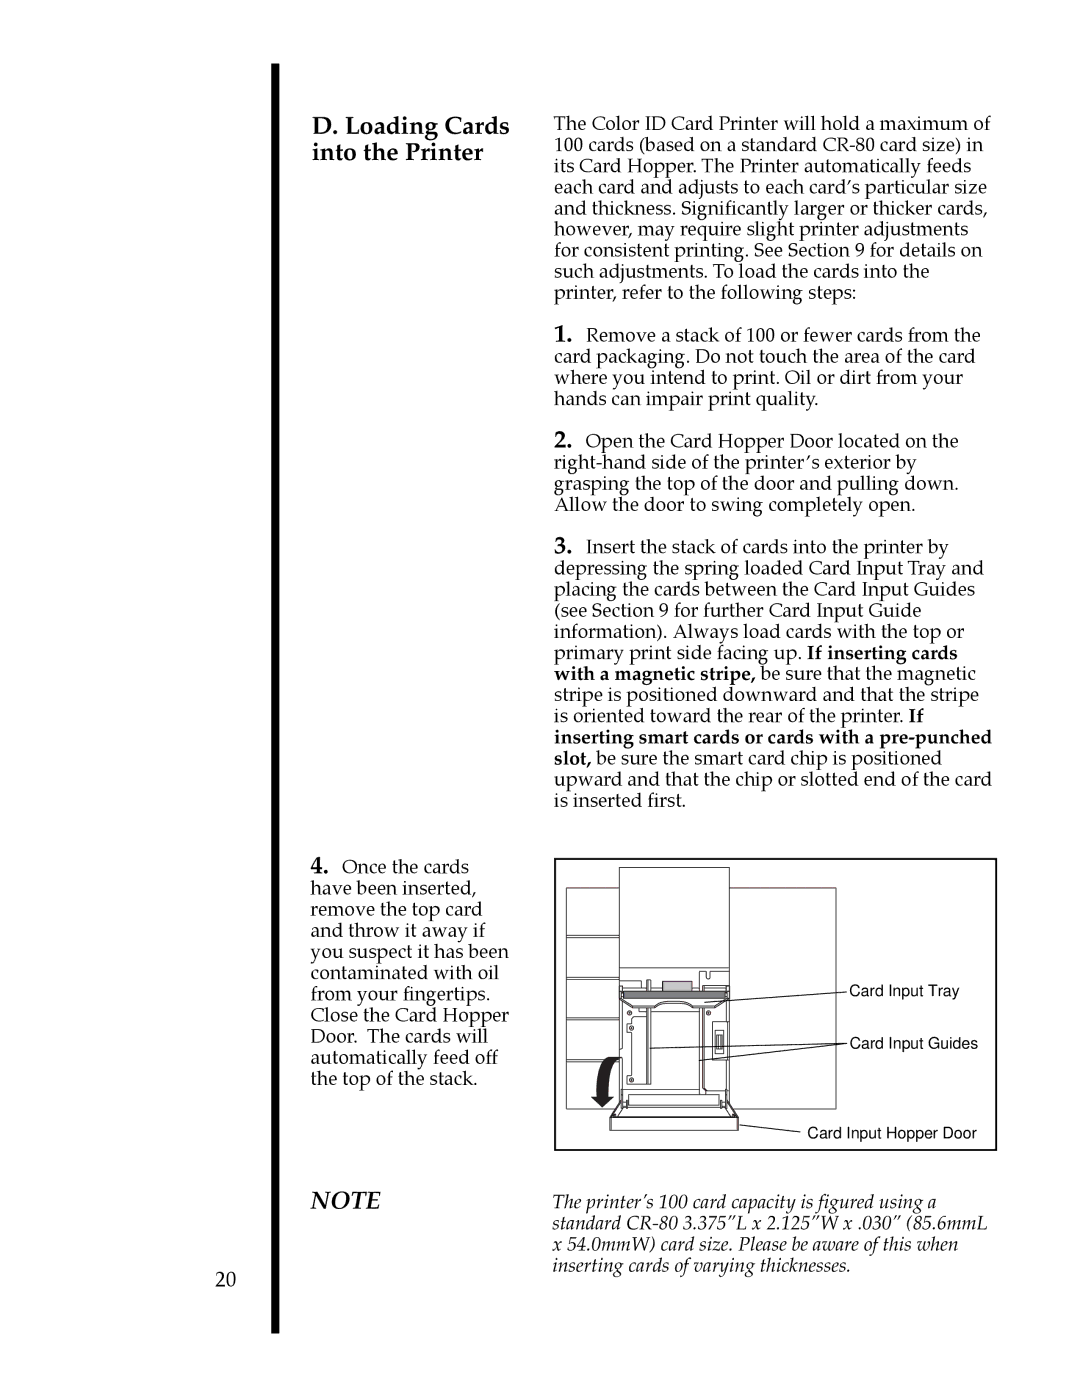
2.Open the Card Hopper Door located on the
3.Insert the stack of cards into the printer by depressing the spring loaded Card Input Tray and placing the cards between the Card Input Guides (see Section 9 for further Card Input Guide information). Always load cards with the top or primary print side facing up. If inserting cards with a magnetic stripe, be sure that the magnetic stripe is positioned downward and that the stripe is oriented toward the rear of the printer. If inserting smart cards or cards with a
Card Input Tray
Card Input Guides
Card Input Hopper Door
20
NOTE | The printer’s 100 card capacity is figured using a |
| standard |
| x 54.0mmW) card size. Please be aware of this when |
| inserting cards of varying thicknesses. |
