Security Features
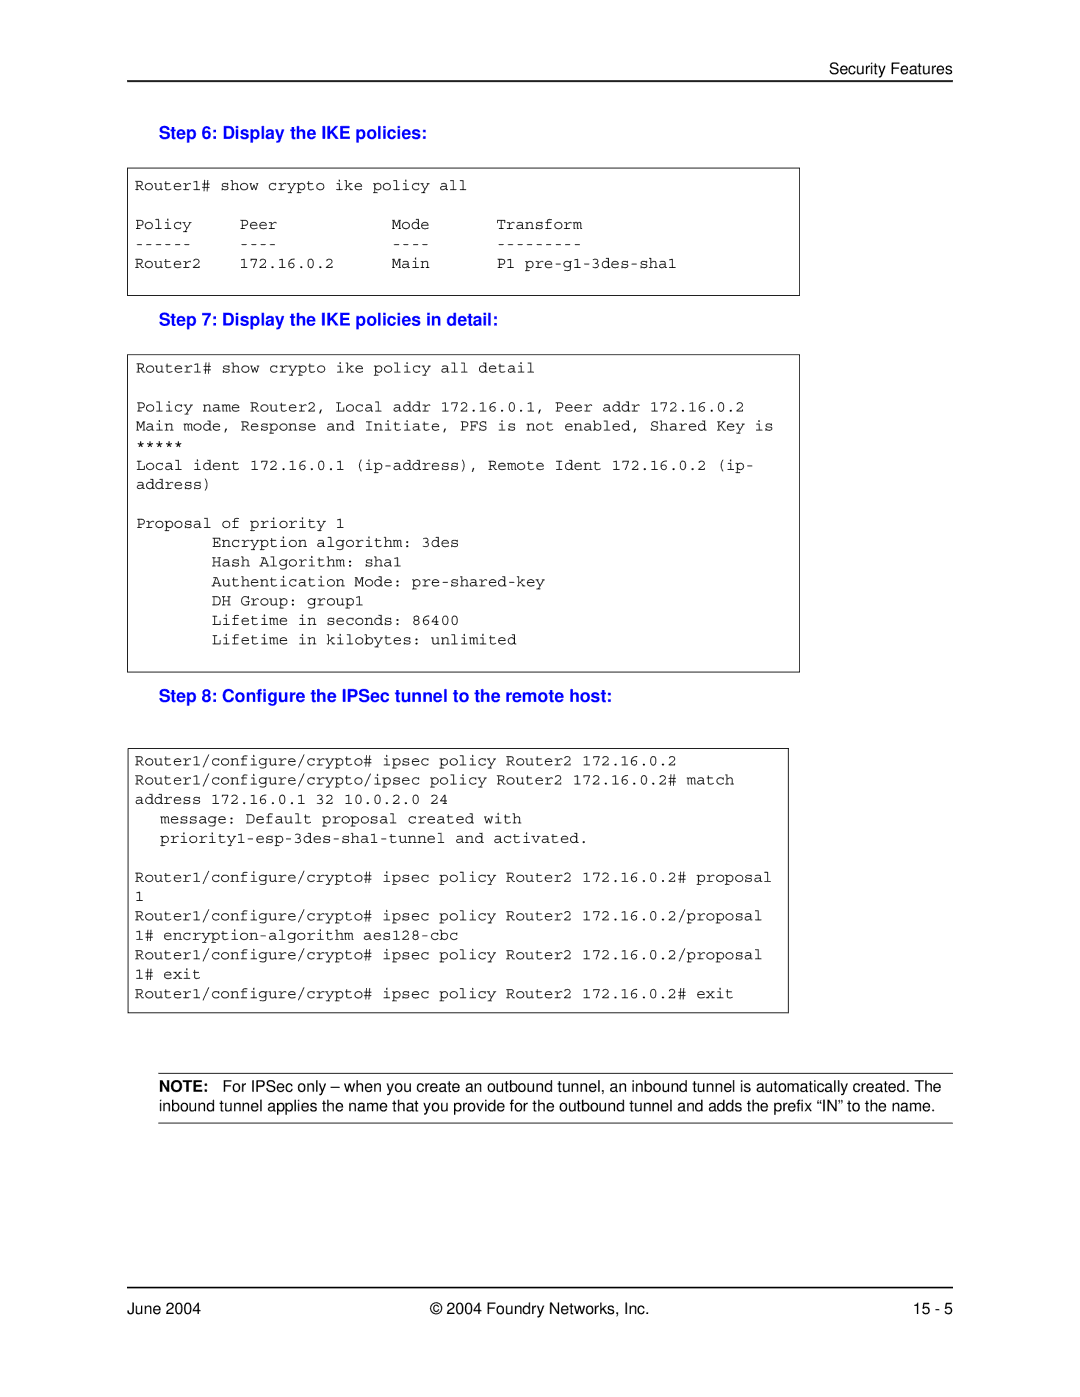
Step 6: Display the IKE policies:
Router1# show crypto ike policy all |
| ||
Policy | Peer | Mode | Transform |
Router2 | 172.16.0.2 | Main | P1 |
Step 7: Display the IKE policies in detail:
Router1# show crypto ike policy all detail
Policy name Router2, Local addr 172.16.0.1, Peer addr 172.16.0.2 Main mode, Response and Initiate, PFS is not enabled, Shared Key is
*****
Local ident 172.16.0.1
Proposal of priority 1
Encryption algorithm: 3des
Hash Algorithm: sha1
Authentication Mode:
DH Group: group1
Lifetime in seconds: 86400
Lifetime in kilobytes: unlimited
Step 8: Configure the IPSec tunnel to the remote host:
Router1/configure/crypto# ipsec policy Router2 172.16.0.2 Router1/configure/crypto/ipsec policy Router2 172.16.0.2# match address 172.16.0.1 32 10.0.2.0 24
message: Default proposal created with
Router1/configure/crypto# ipsec policy Router2 172.16.0.2# proposal 1
Router1/configure/crypto# ipsec policy Router2 172.16.0.2/proposal 1#
Router1/configure/crypto# ipsec policy Router2 172.16.0.2# exit
NOTE: For IPSec only – when you create an outbound tunnel, an inbound tunnel is automatically created. The inbound tunnel applies the name that you provide for the outbound tunnel and adds the prefix “IN” to the name.
June 2004 | © 2004 Foundry Networks, Inc. | 15 - 5 |
