Working with the notebook
Inserting or removing a data carrier
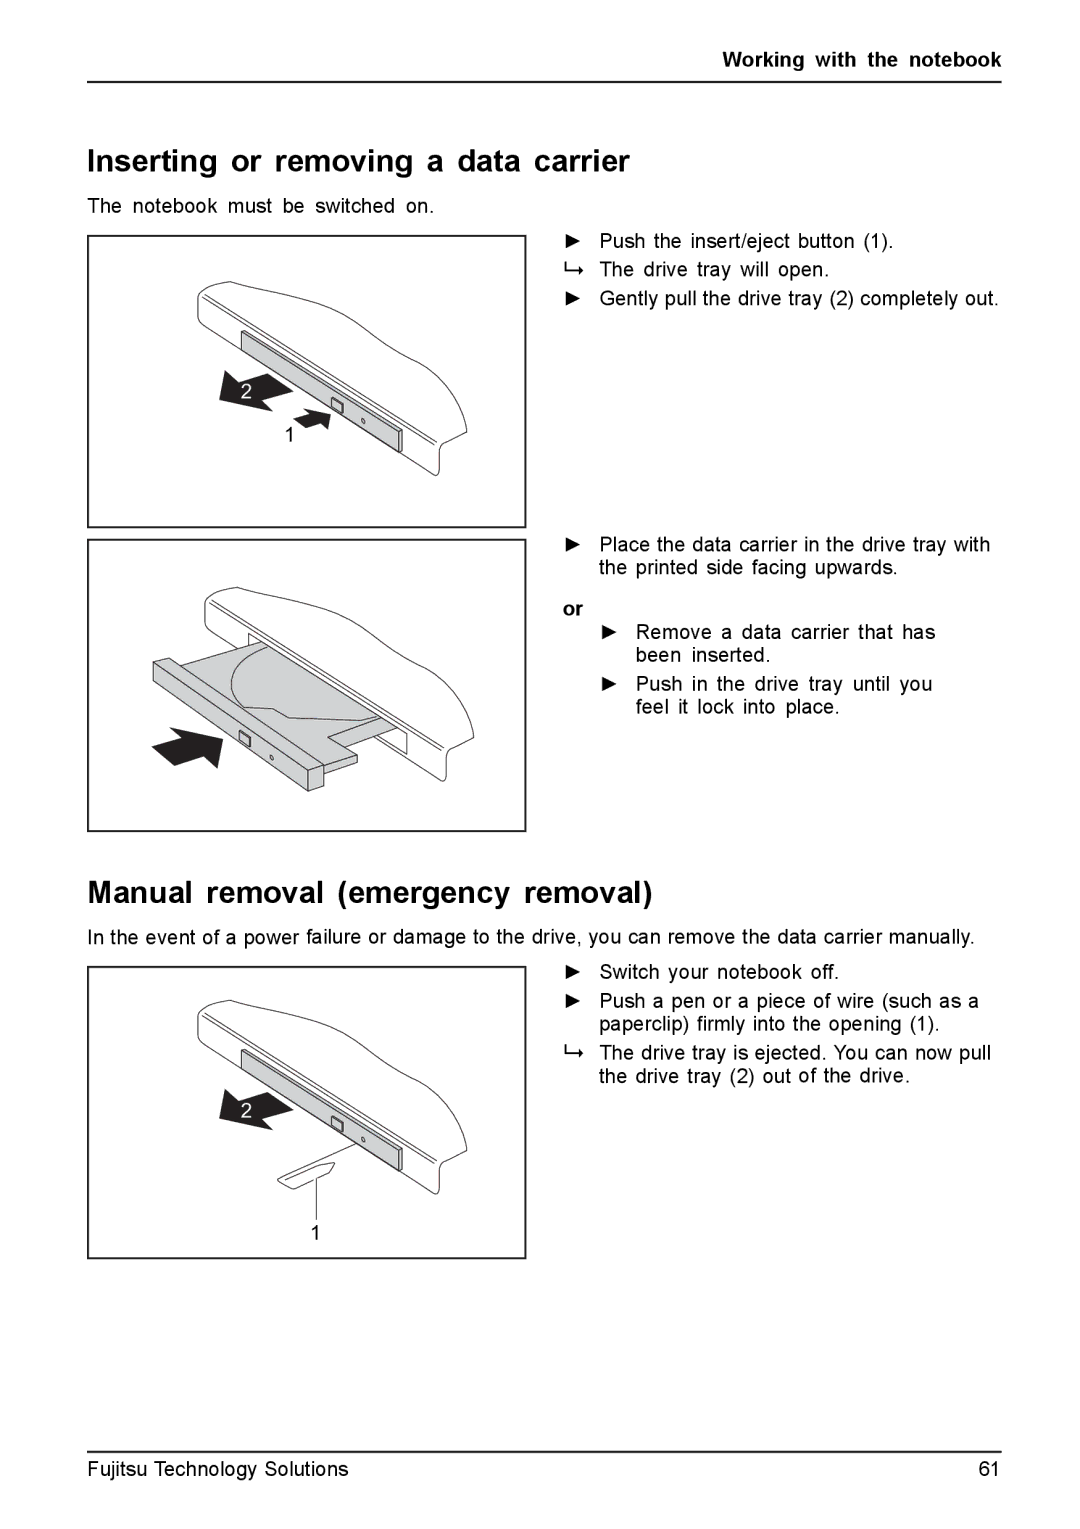
The notebook must be switched on.
2
1
►Push the insert/eject button (1). The drive tray will open.
►Gently pull the drive tray (2) completely out.
►Place the data carrier in the drive tray with the printed side facing upwards.
or
►Remove a data carrier that has been inserted.
►Push in the drive tray until you feel it lock into place.
Manual removal (emergency removal)
In the event of a power failure or damage to the drive, you can remove the data carrier manually.
2
►Switch your notebook off.
►Push a pen or a piece of wire (such as a paperclip) firmly into the opening (1).
The drive tray is ejected. You can now pull the drive tray (2) out of the drive.
1
Fujitsu Technology Solutions | 61 |