NOTE:
The Clock must be set to the correct date and time before this feature will work.
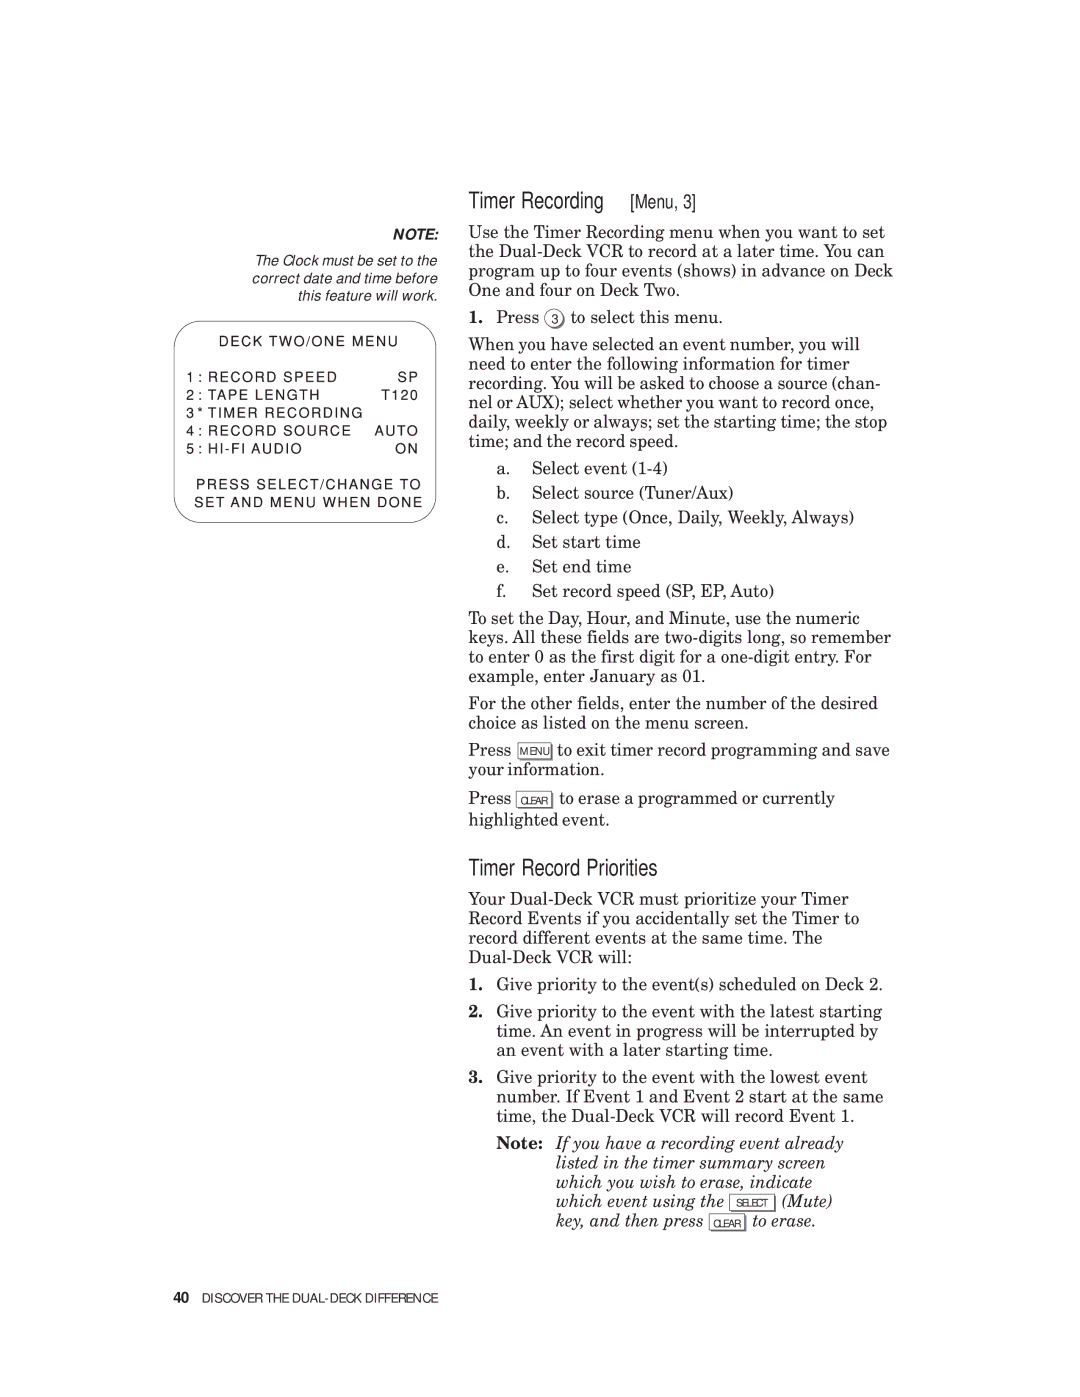
Timer Recording [Menu, 3]
Use the Timer Recording menu when you want to set the
1.Press 3 to select this menu.
When you have selected an event number, you will need to enter the following information for timer recording. You will be asked to choose a source (chan- nel or AUX); select whether you want to record once, daily, weekly or always; set the starting time; the stop time; and the record speed.
a.Select event
b.Select source (Tuner/Aux)
c.Select type (Once, Daily, Weekly, Always)
d.Set start time
e.Set end time
f.Set record speed (SP, EP, Auto)
To set the Day, Hour, and Minute, use the numeric keys. All these fields are
For the other fields, enter the number of the desired choice as listed on the menu screen.
Press MENU to exit timer record programming and save your information.
Press CLEAR to erase a programmed or currently highlighted event.
Timer Record Priorities
Your
1.Give priority to the event(s) scheduled on Deck 2.
2.Give priority to the event with the latest starting time. An event in progress will be interrupted by an event with a later starting time.
3.Give priority to the event with the lowest event number. If Event 1 and Event 2 start at the same time, the
Note: If you have a recording event already listed in the timer summary screen which you wish to erase, indicate which event using the SELECT (Mute) key, and then press CLEAR to erase.