▲ ▲ ▲ ▲ ▲ ▲ ▲ ▲ |
|
|
| ||
|
| Note: |
| Source for the event • Press 1 to select CH to | |
If you have a cable converter |
| record a TV or cable TV channel. See the TIMER | |||
box, set the CH in this menu to |
| RECORD MENU section of the Reference Guide for | |||
the channel of your cable box |
| options other than TUNER. |
| ||
output (call your cable |
| Channel you wish to record • Use the numerical | |||
company for this information). |
| ||||
| buttons, and remember to enter a 0 first if the | ||||
Then, use the cable converter |
| ||||
| channel is a single digit. |
| |||
box to set the channel of your |
|
| |||
|
| TV program. |
| Record Speed • Press 1 to choose SP, 2 | to |
|
| Note: |
| choose LP (records twice as long as SP), or | 3 to |
You can press |
| 4. | choose SLP (records three times as long as SP). | ||
QUIT | at any time | Press MENU to save these settings and return to the | |||
|
|
|
|
| |
during Timer Record |
| TIMER RECORD MENU. The TIMER indicator on the | |||
programming to cancel all your |
| ||||
| Front Panel Display will be ON. |
| |||
changes and exit out of the |
|
| |||
|
|
| |||
| menu system. |
|
|
| |
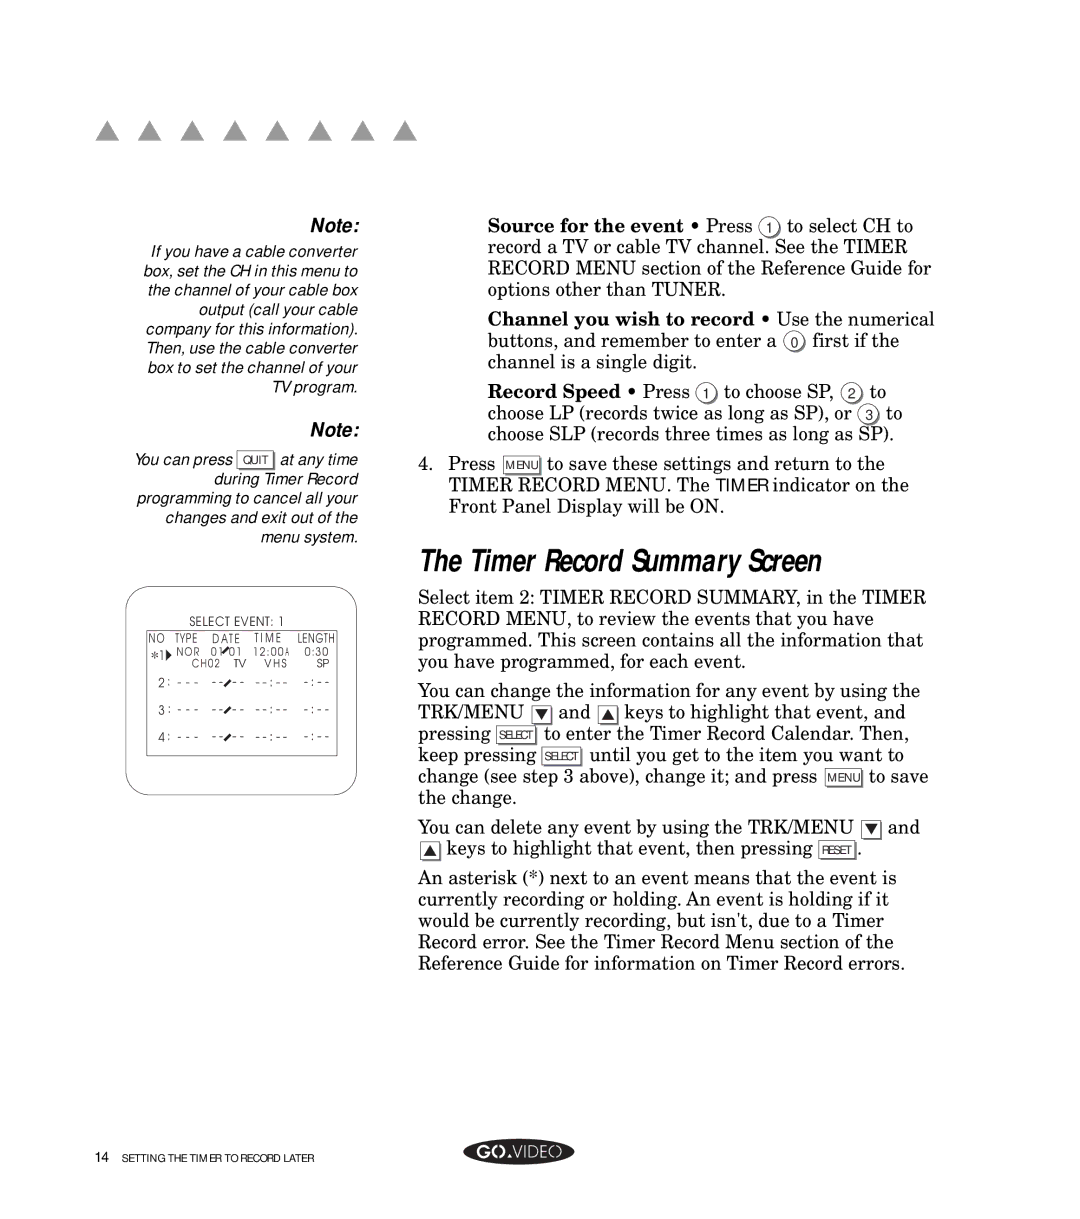
SELECT EVENT: 1
NO | TYPE | D AT E | T I M E | LENGTH |
*1 | N O R | 01 01 | 12:00 A | 0:30 |
C H 0 2 TV V H S | SP | |||
2 : - - - | - - - - - | |||
3 : - - - | - - - - - | |||
4 : - - - | - - - - - | |||
|
|
|
|
|
The Timer Record Summary Screen
Select item 2: TIMER RECORD SUMMARY, in the TIMER RECORD MENU, to review the events that you have programmed. This screen contains all the information that you have programmed, for each event.
You can change the information for any event by using the TRK/MENU ▼ and ▲ keys to highlight that event, and pressing SELECT to enter the Timer Record Calendar. Then, keep pressing SELECT until you get to the item you want to change (see step 3 above), change it; and press MENU to save the change.
You can delete any event by using the TRK/MENU ▼ and
▲keys to highlight that event, then pressing RESET .
An asterisk (*) next to an event means that the event is currently recording or holding. An event is holding if it would be currently recording, but isn't, due to a Timer Record error. See the Timer Record Menu section of the Reference Guide for information on Timer Record errors.
14SETTING THE TIMER TO RECORD LATER