Table 4-6 Advanced Fax Settings (continued)
Callout | Area on the screen | Information or capability that the area provides |
|
|
|
2 | Help | Click to open a help file that contains information about the screens on the Digital |
|
| Sending tab. |
|
|
|
3 | General | Select the general settings, such as modem and ringer volume and whether to turn |
|
| JBIG compression and Error Correction on or off. |
|
|
|
4 | Send | Select the settings for faxes that are sent from the product, such as whether to |
|
| check for a dial tone before sending, whether the header should appear at the top |
|
| of the fax, or how many times you want the product to retry if the receiving fax line |
|
| is busy or does not answer. |
|
|
|
5 | Receive | Select the settings for received faxes, such as which output bin the faxes are to be |
|
| delivered, if you want incoming faxes to be scaled to the size of paper in the input |
|
| tray, and the number of another fax product to which incoming faxes can be |
|
| forwarded. |
|
|
|
6 | Print Activity Log | Click this button to print the internal modem's fax activity log. The activity log lists |
|
| all incoming and outgoing fax calls since the log was last cleared and is printed to |
|
| the product. |
|
|
|
7 | Clear Activity Log | Click this button to clear all entries in the fax activity log. HP recommends printing |
|
| the fax activity log periodically for |
|
| fax activity log to keep its size to a minimum. |
|
|
|
8 | Security | Click this button to set the security features for the internal modem. The first time |
|
| you configure the security features, you are asked to type (and confirm) a Security |
|
| PIN. Thereafter, you will need that PIN to view and reconfigure the security features. |
|
|
|
9 | Diagnostics | Click this button to set the diagnostic features of the internal modem. |
|
|
|
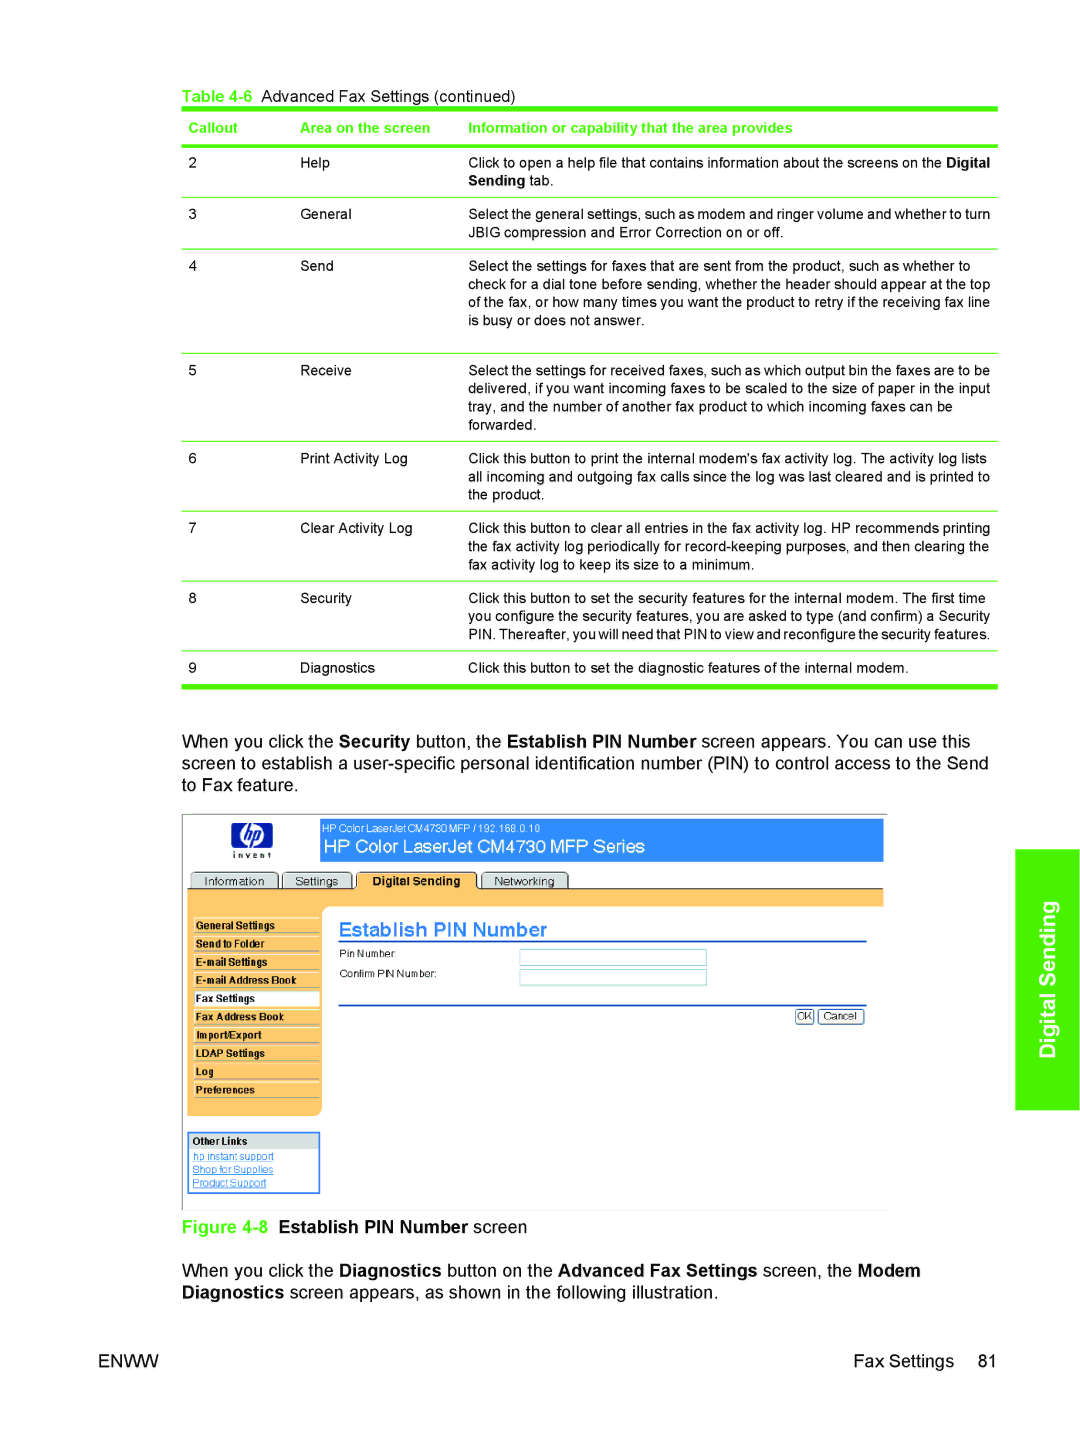
When you click the Security button, the Establish PIN Number screen appears. You can use this screen to establish a
Digital Sending
Figure 4-8 Establish PIN Number screen
When you click the Diagnostics button on the Advanced Fax Settings screen, the Modem Diagnostics screen appears, as shown in the following illustration.
ENWW | Fax Settings 81 |