2Slide the
Do not press the buttons on either side of the
For information about using the
Step 5: Turn on the printer
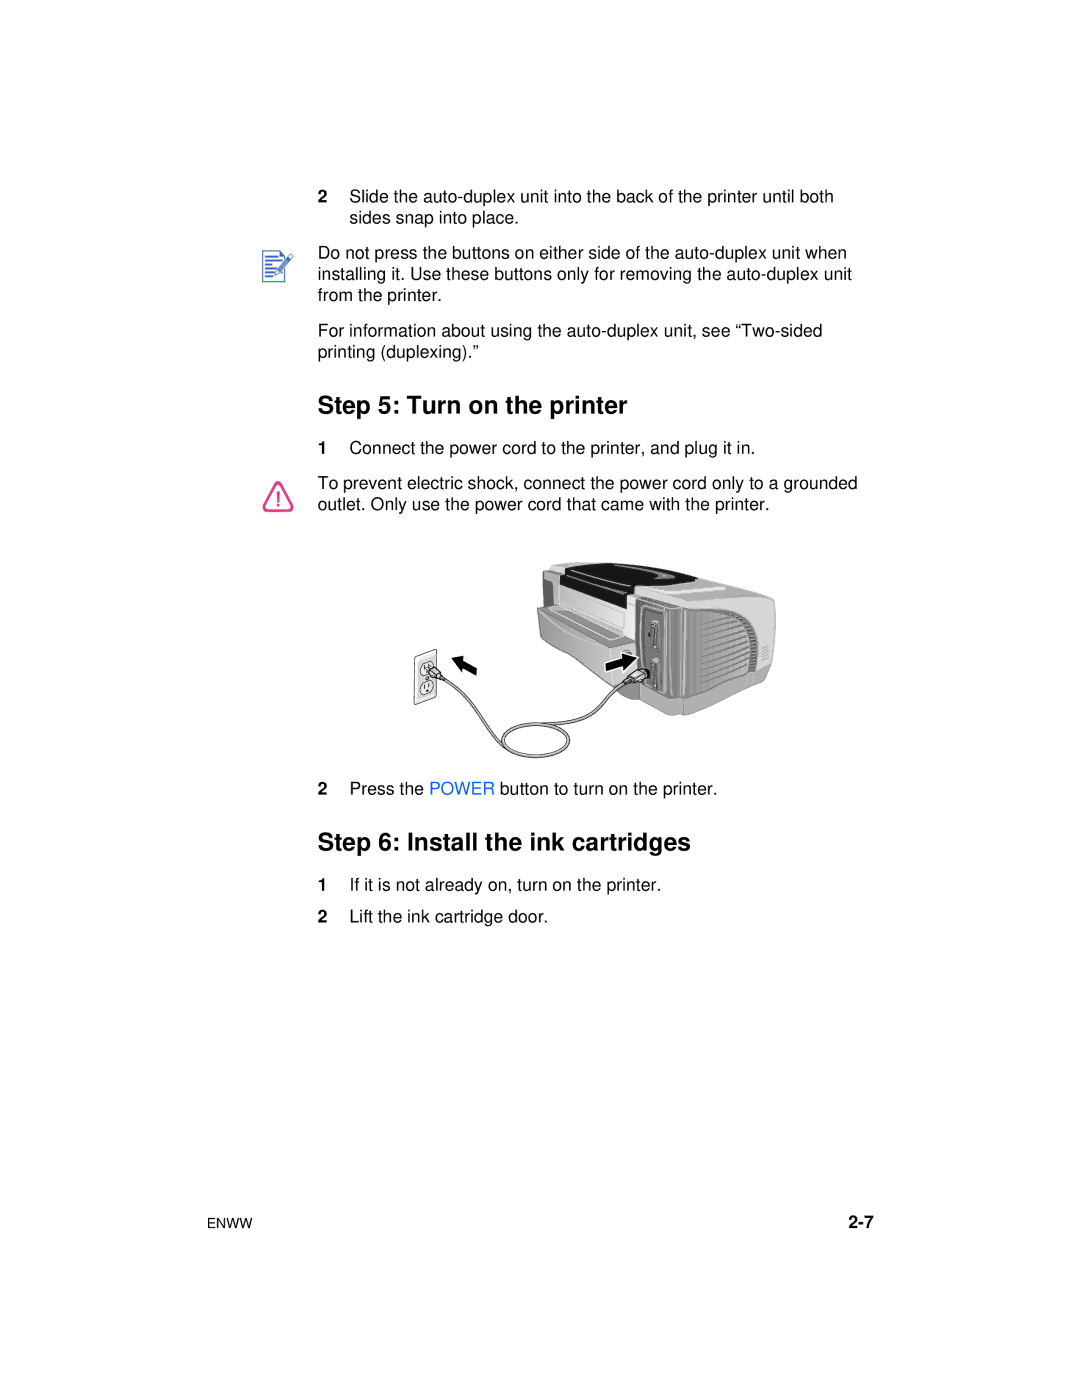
1Connect the power cord to the printer, and plug it in.
To prevent electric shock, connect the power cord only to a grounded outlet. Only use the power cord that came with the printer.
2Press the POWER button to turn on the printer.
Step 6: Install the ink cartridges
1If it is not already on, turn on the printer.
2Lift the ink cartridge door.
ENWW |
