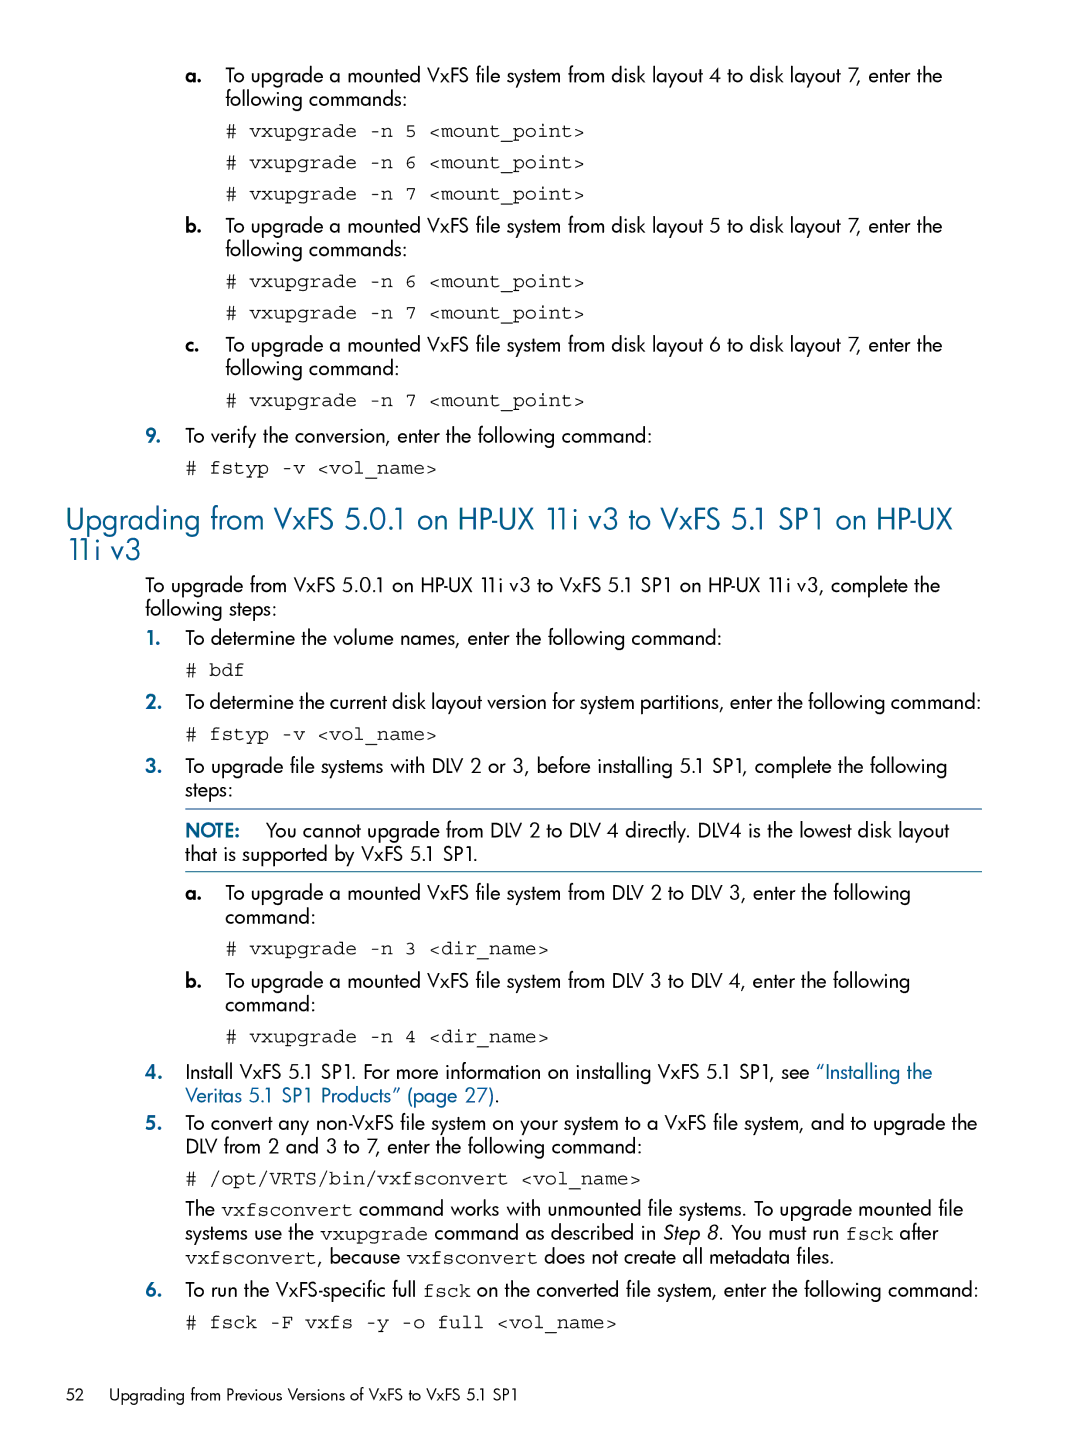
a.To upgrade a mounted VxFS file system from disk layout 4 to disk layout 7, enter the following commands:
#vxupgrade
#vxupgrade
#vxupgrade -n 7 <mount_point>
b.To upgrade a mounted VxFS file system from disk layout 5 to disk layout 7, enter the following commands:
#vxupgrade -n 6 <mount_point>
#vxupgrade -n 7 <mount_point>
c.To upgrade a mounted VxFS file system from disk layout 6 to disk layout 7, enter the following command:
#vxupgrade -n 7 <mount_point>
9.To verify the conversion, enter the following command:
# fstyp -v <vol_name>
Upgrading from VxFS 5.0.1 on
To upgrade from VxFS 5.0.1 on
1.To determine the volume names, enter the following command:
#bdf
2.To determine the current disk layout version for system partitions, enter the following command:
#fstyp -v <vol_name>
3.To upgrade file systems with DLV 2 or 3, before installing 5.1 SP1, complete the following steps:
NOTE: You cannot upgrade from DLV 2 to DLV 4 directly. DLV4 is the lowest disk layout that is supported by VxFS 5.1 SP1.
a.To upgrade a mounted VxFS file system from DLV 2 to DLV 3, enter the following command:
#vxupgrade -n 3 <dir_name>
b.To upgrade a mounted VxFS file system from DLV 3 to DLV 4, enter the following command:
#vxupgrade -n 4 <dir_name>
4.Install VxFS 5.1 SP1. For more information on installing VxFS 5.1 SP1, see “Installing the Veritas 5.1 SP1 Products” (page 27).
5.To convert any
# /opt/VRTS/bin/vxfsconvert <vol_name>
The vxfsconvert command works with unmounted file systems. To upgrade mounted file systems use the vxupgrade command as described in Step 8. You must run fsck after vxfsconvert, because vxfsconvert does not create all metadata files.
6.To run the
# fsck -F vxfs -y -o full <vol_name>
52 Upgrading from Previous Versions of VxFS to VxFS 5.1 SP1
