6Print preview
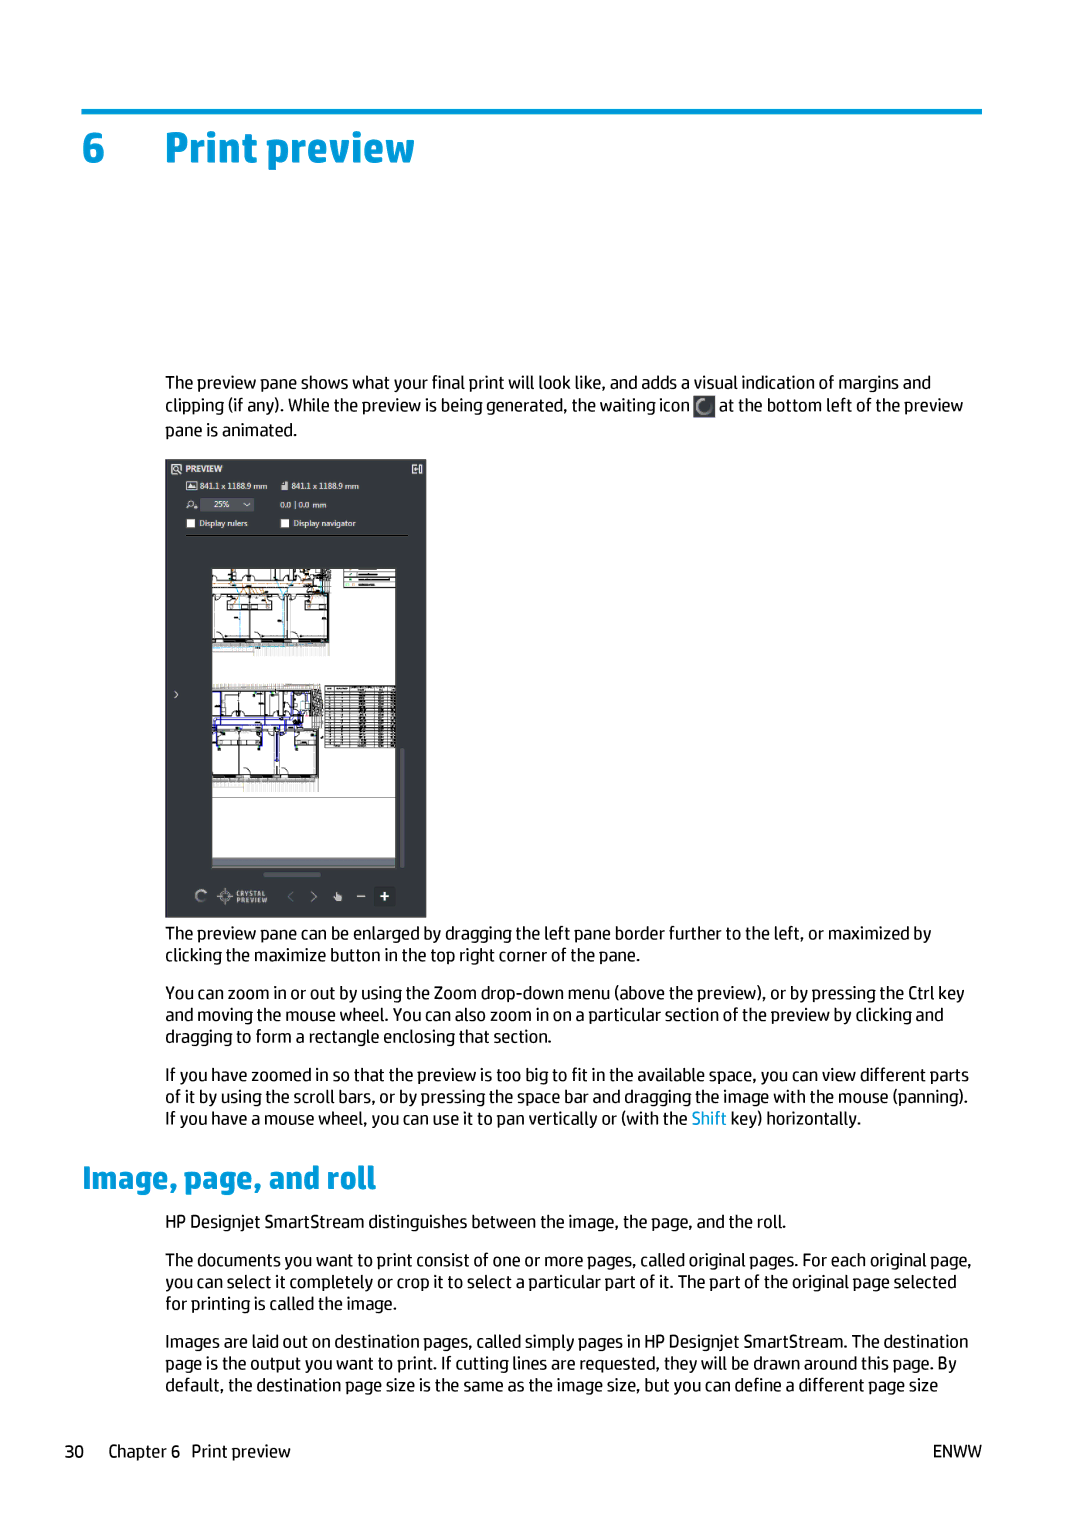
The preview pane shows what your final print will look like, and adds a visual indication of margins and clipping (if any). While the preview is being generated, the waiting icon ![]() at the bottom left of the preview pane is animated.
at the bottom left of the preview pane is animated.
The preview pane can be enlarged by dragging the left pane border further to the left, or maximized by clicking the maximize button in the top right corner of the pane.
You can zoom in or out by using the Zoom
If you have zoomed in so that the preview is too big to fit in the available space, you can view different parts of it by using the scroll bars, or by pressing the space bar and dragging the image with the mouse (panning). If you have a mouse wheel, you can use it to pan vertically or (with the Shift key) horizontally.
Image, page, and roll
HP Designjet SmartStream distinguishes between the image, the page, and the roll.
The documents you want to print consist of one or more pages, called original pages. For each original page, you can select it completely or crop it to select a particular part of it. The part of the original page selected for printing is called the image.
Images are laid out on destination pages, called simply pages in HP Designjet SmartStream. The destination page is the output you want to print. If cutting lines are requested, they will be drawn around this page. By default, the destination page size is the same as the image size, but you can define a different page size
30 Chapter 6 Print preview | ENWW |