KODAK 1200i WIDE-FORMAT PRINTING SYSTEM
Printer Operation Tips
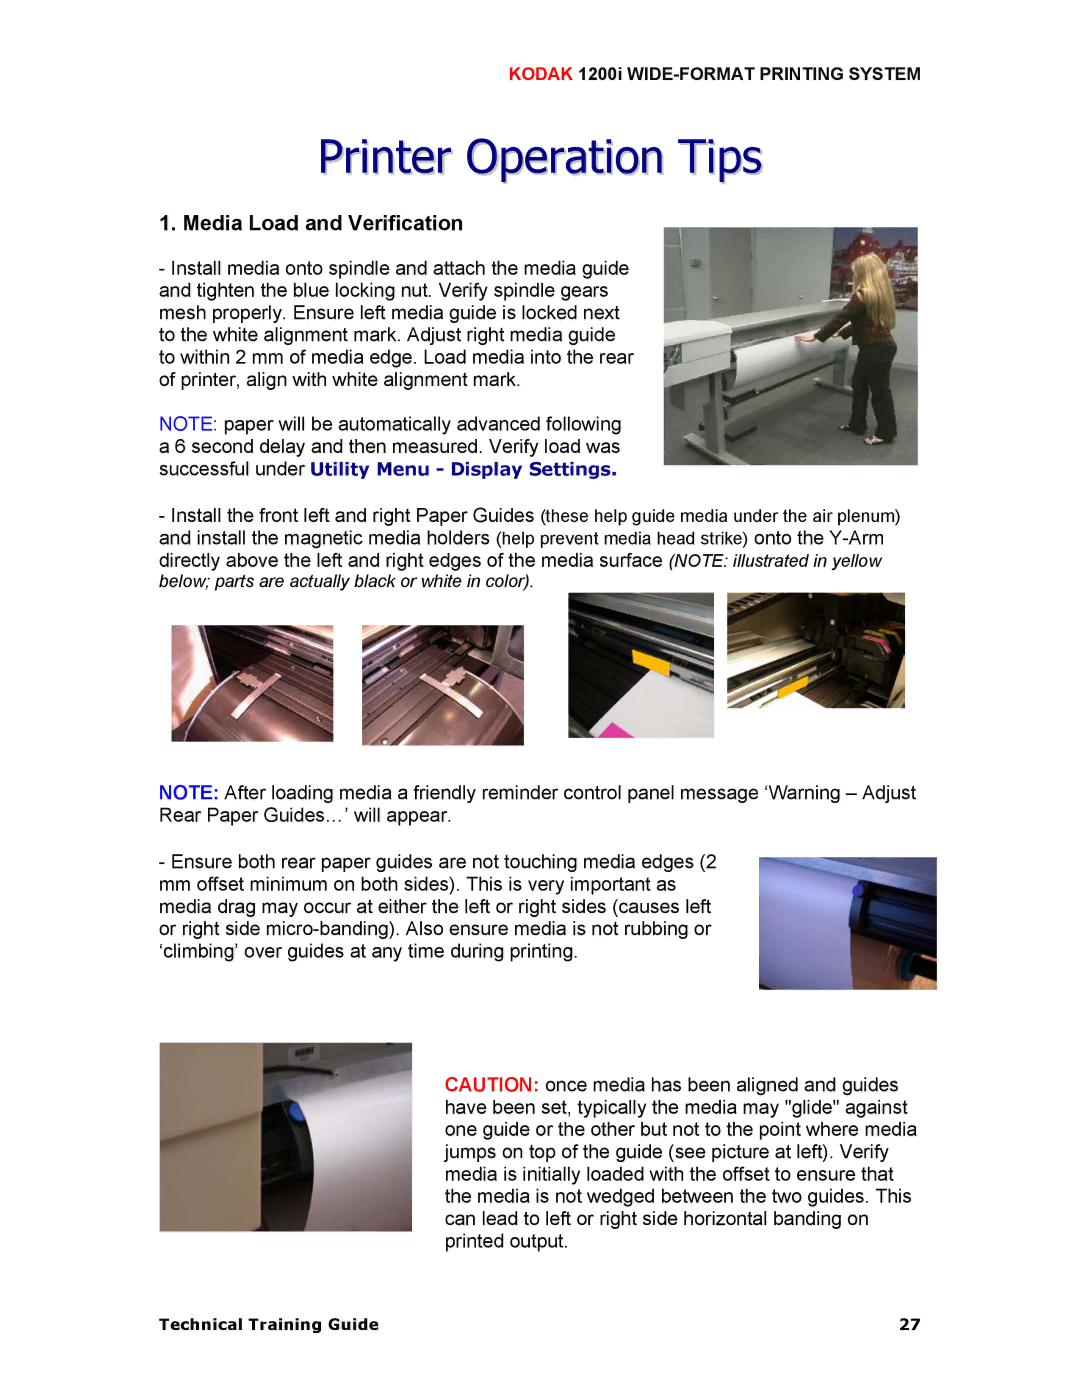
1. Media Load and Verification
-Install media onto spindle and attach the media guide and tighten the blue locking nut. Verify spindle gears mesh properly. Ensure left media guide is locked next to the white alignment mark. Adjust right media guide to within 2 mm of media edge. Load media into the rear of printer, align with white alignment mark.
NOTE: paper will be automatically advanced following a 6 second delay and then measured. Verify load was successful under Utility Menu - Display Settings.
-Install the front left and right Paper Guides (these help guide media under the air plenum) and install the magnetic media holders (help prevent media head strike) onto the
NOTE: After loading media a friendly reminder control panel message ‘Warning – Adjust Rear Paper Guides…’ will appear.
-Ensure both rear paper guides are not touching media edges (2 mm offset minimum on both sides). This is very important as media drag may occur at either the left or right sides (causes left or right side
CAUTION: once media has been aligned and guides have been set, typically the media may "glide" against one guide or the other but not to the point where media jumps on top of the guide (see picture at left). Verify media is initially loaded with the offset to ensure that the media is not wedged between the two guides. This can lead to left or right side horizontal banding on printed output.
Technical Training Guide | 27 |