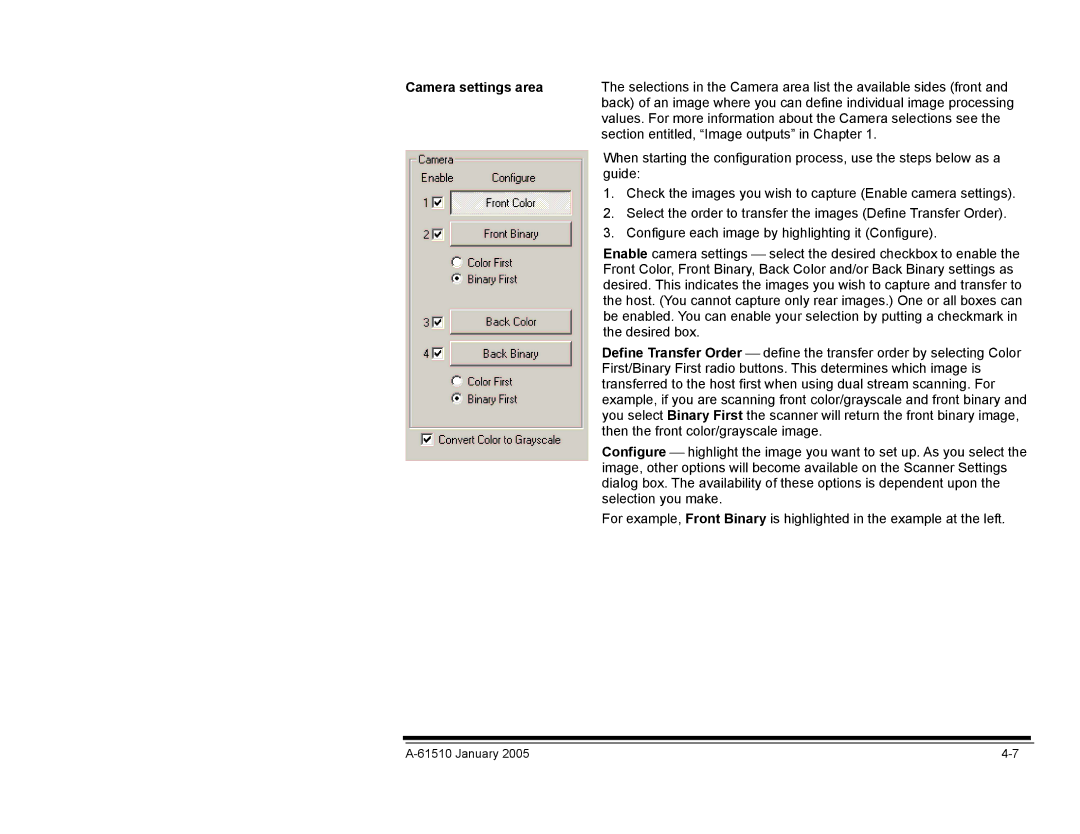
Camera settings area | The selections in the Camera area list the available sides (front and | |
| back) of an image where you can define individual image processing | |
| values. For more information about the Camera selections see the | |
| section entitled, “Image outputs” in Chapter 1. | |
| When starting the configuration process, use the steps below as a | |
| guide: | |
| 1. | Check the images you wish to capture (Enable camera settings). |
| 2. | Select the order to transfer the images (Define Transfer Order). |
| 3. | Configure each image by highlighting it (Configure). |
Enable camera settings select the desired checkbox to enable the Front Color, Front Binary, Back Color and/or Back Binary settings as desired. This indicates the images you wish to capture and transfer to the host. (You cannot capture only rear images.) One or all boxes can be enabled. You can enable your selection by putting a checkmark in the desired box.
Define Transfer Order define the transfer order by selecting Color First/Binary First radio buttons. This determines which image is transferred to the host first when using dual stream scanning. For example, if you are scanning front color/grayscale and front binary and you select Binary First the scanner will return the front binary image, then the front color/grayscale image.
Configure highlight the image you want to set up. As you select the image, other options will become available on the Scanner Settings dialog box. The availability of these options is dependent upon the selection you make.
For example, Front Binary is highlighted in the example at the left.
|