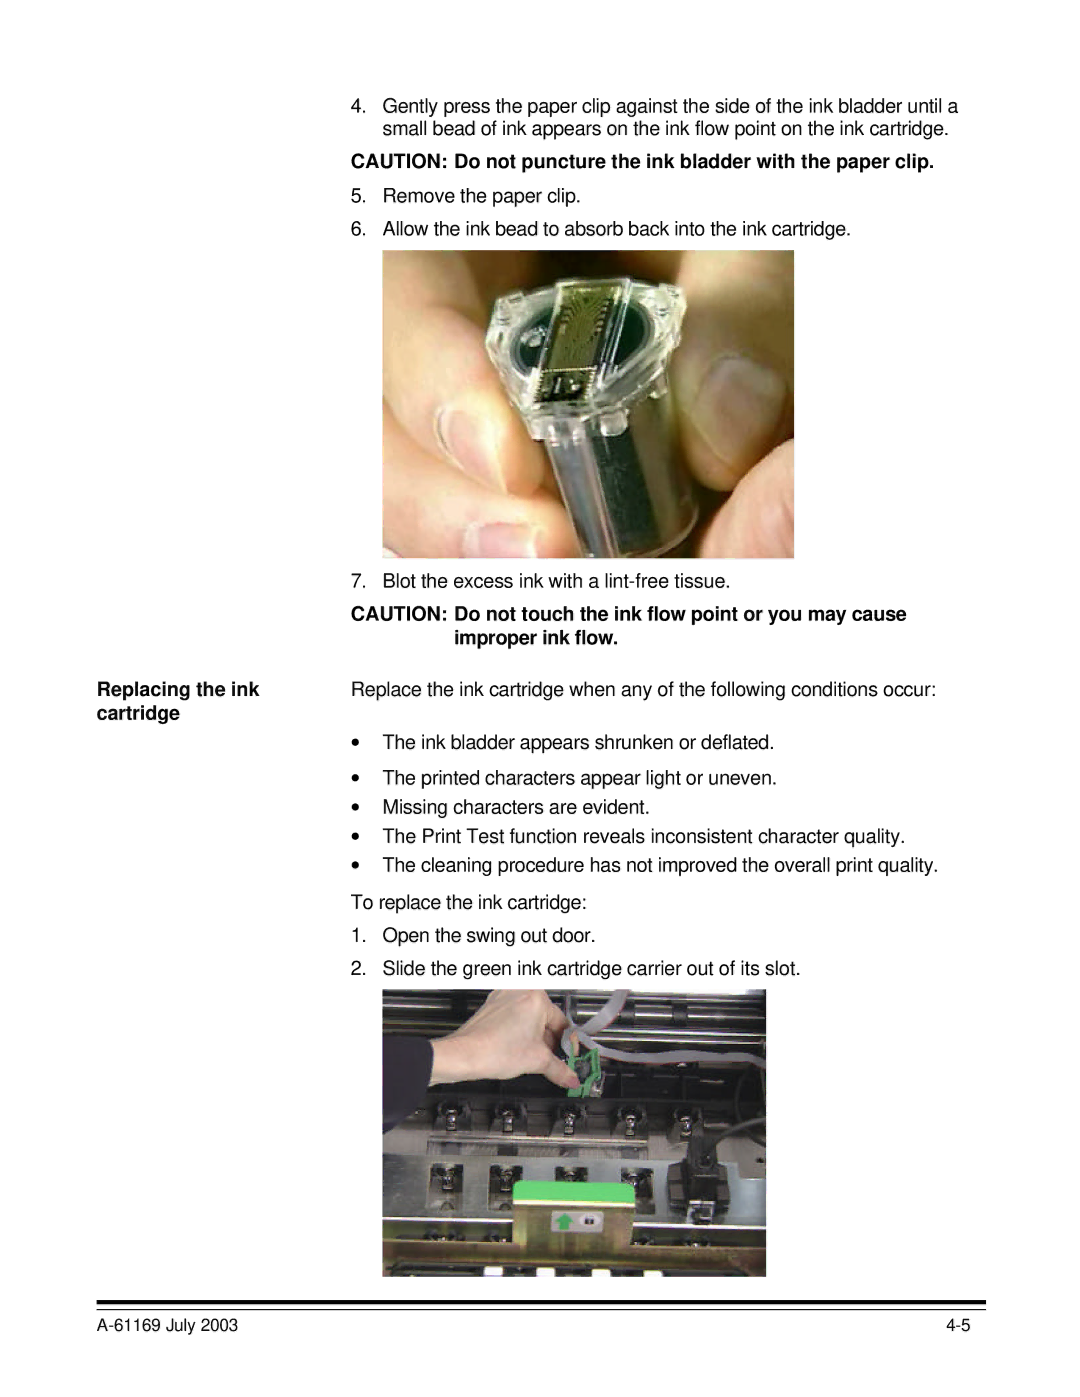
4.Gently press the paper clip against the side of the ink bladder until a small bead of ink appears on the ink flow point on the ink cartridge.
CAUTION: Do not puncture the ink bladder with the paper clip.
5.Remove the paper clip.
6.Allow the ink bead to absorb back into the ink cartridge.
| 7. | Blot the excess ink with a |
| CAUTION: Do not touch the ink flow point or you may cause | |
|
| improper ink flow. |
Replacing the ink | Replace the ink cartridge when any of the following conditions occur: | |
cartridge |
|
|
| ∙ | The ink bladder appears shrunken or deflated. |
| ∙ | The printed characters appear light or uneven. |
| ∙ | Missing characters are evident. |
| ∙ | The Print Test function reveals inconsistent character quality. |
| ∙ | The cleaning procedure has not improved the overall print quality. |
| To replace the ink cartridge: | |
| 1. | Open the swing out door. |
| 2. | Slide the green ink cartridge carrier out of its slot. |
|
