KM-1820 specifications
The Kyocera KM-1820 is a compact, multifunctional printer designed to enhance productivity in small to medium-sized office environments. Renowned for its reliability and efficiency, this mono laser printer offers a combination of printing, copying, and scanning capabilities, all housed in a sleek and space-saving design.One of the standout features of the KM-1820 is its impressive print speed, which can reach up to 18 pages per minute. This rapid output makes it suitable for busy workspaces where quick document processing is vital. The printer supports a maximum resolution of 600 x 600 dpi, ensuring crisp text and sharp images, vital for professional documents.
In terms of paper handling, the KM-1820 is equipped with a standard paper tray that accommodates up to 250 sheets, along with a bypass tray for an additional 50 sheets. This flexibility allows users to manage various paper sizes and types without frequent interruptions. The printer supports a diverse range of media, extending its usability beyond traditional office printing to include labels and envelopes.
Another key technology embedded in the Kyocera KM-1820 is its EcoSys technology, which is designed with sustainability in mind. This system reduces waste and promotes energy-saving practices. The Kyocera long-life components ensure that the maintenance cycle is lowered, which means fewer replacements and less environmental impact over time.
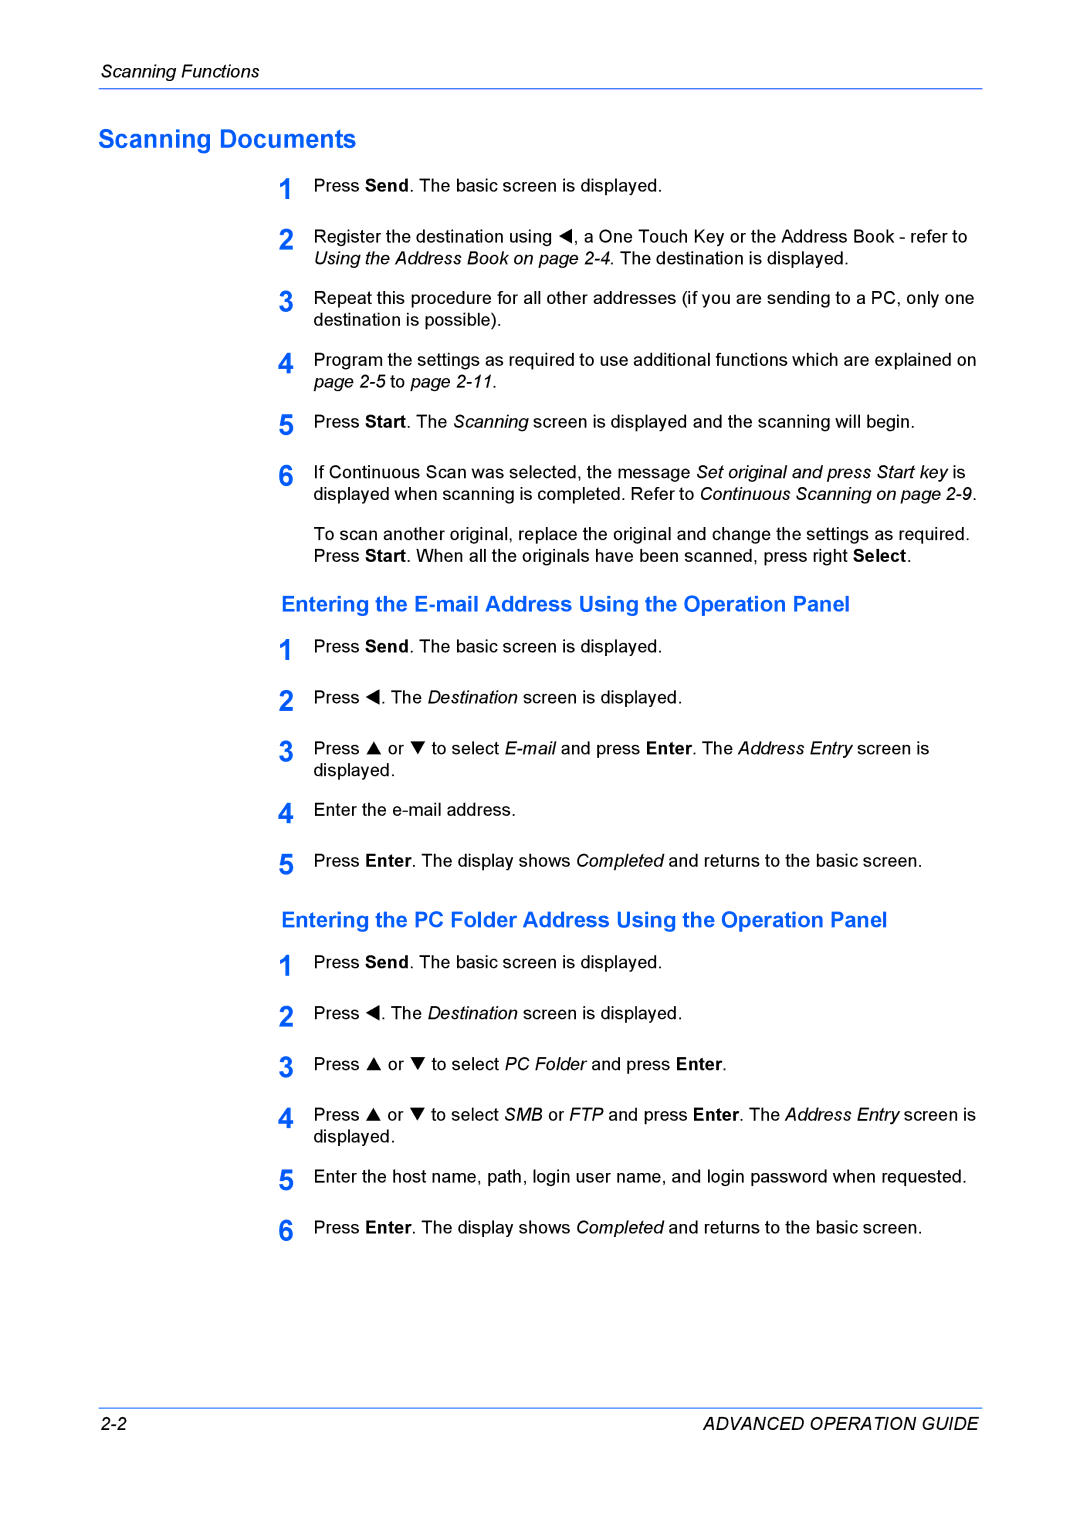
The KM-1820 is designed with user-friendly features, including a straightforward control panel and intuitive navigation menus. This makes it simpler for users to execute tasks such as copying, scanning, and printing without extensive training. Furthermore, the integrated scanning feature supports scanning to email and network folders, facilitating efficient document management.
For security-conscious offices, the KM-1820 offers a range of security features, including user authentication and restricted access to critical functions. This ensures that sensitive documents are managed safely, maintaining confidentiality and compliance with corporate policies.
In conclusion, the Kyocera KM-1820 stands out as an ideal solution for small to medium-sized businesses looking for a multifunctional printer that emphasizes speed, efficiency, and eco-friendliness. With its robust feature set, adaptable paper handling, and commitment to sustainability, the KM-1820 provides a reliable printing solution suited to the demands of modern offices.

