7. Assembly
Coaxial incident light
•Remove the cover plates (9.1) to the rear left and right on the macroscope carriers.
•Insert the two light guide ends into the left and right receptacles on the coaxial illuminator (11.3).
• In their place, screw on the coaxial |
|
illuminator (11.1) | Note: |
|
•Screw the light guide with ø 9 mm (Fig. 12) onto the cold light illuminator (8.1).
•Place the cold light source next to the stand or onto the shelf that is to be screwed onto the base of the comparison macroscope (7.1).
If, after installation,
•Insert the polarization filter cube (Fig. 10). To do so, attach the filter cube onto the side and push it into the holder (11.2).
Fig. 10 Polarizing | 1 | 2 | |
| filter cube |
|
|
1 | From the rear |
|
|
2 | From the front |
|
|
Fig. 9 Fastening the coaxial illuminator
1Fastening screws for the cover plate
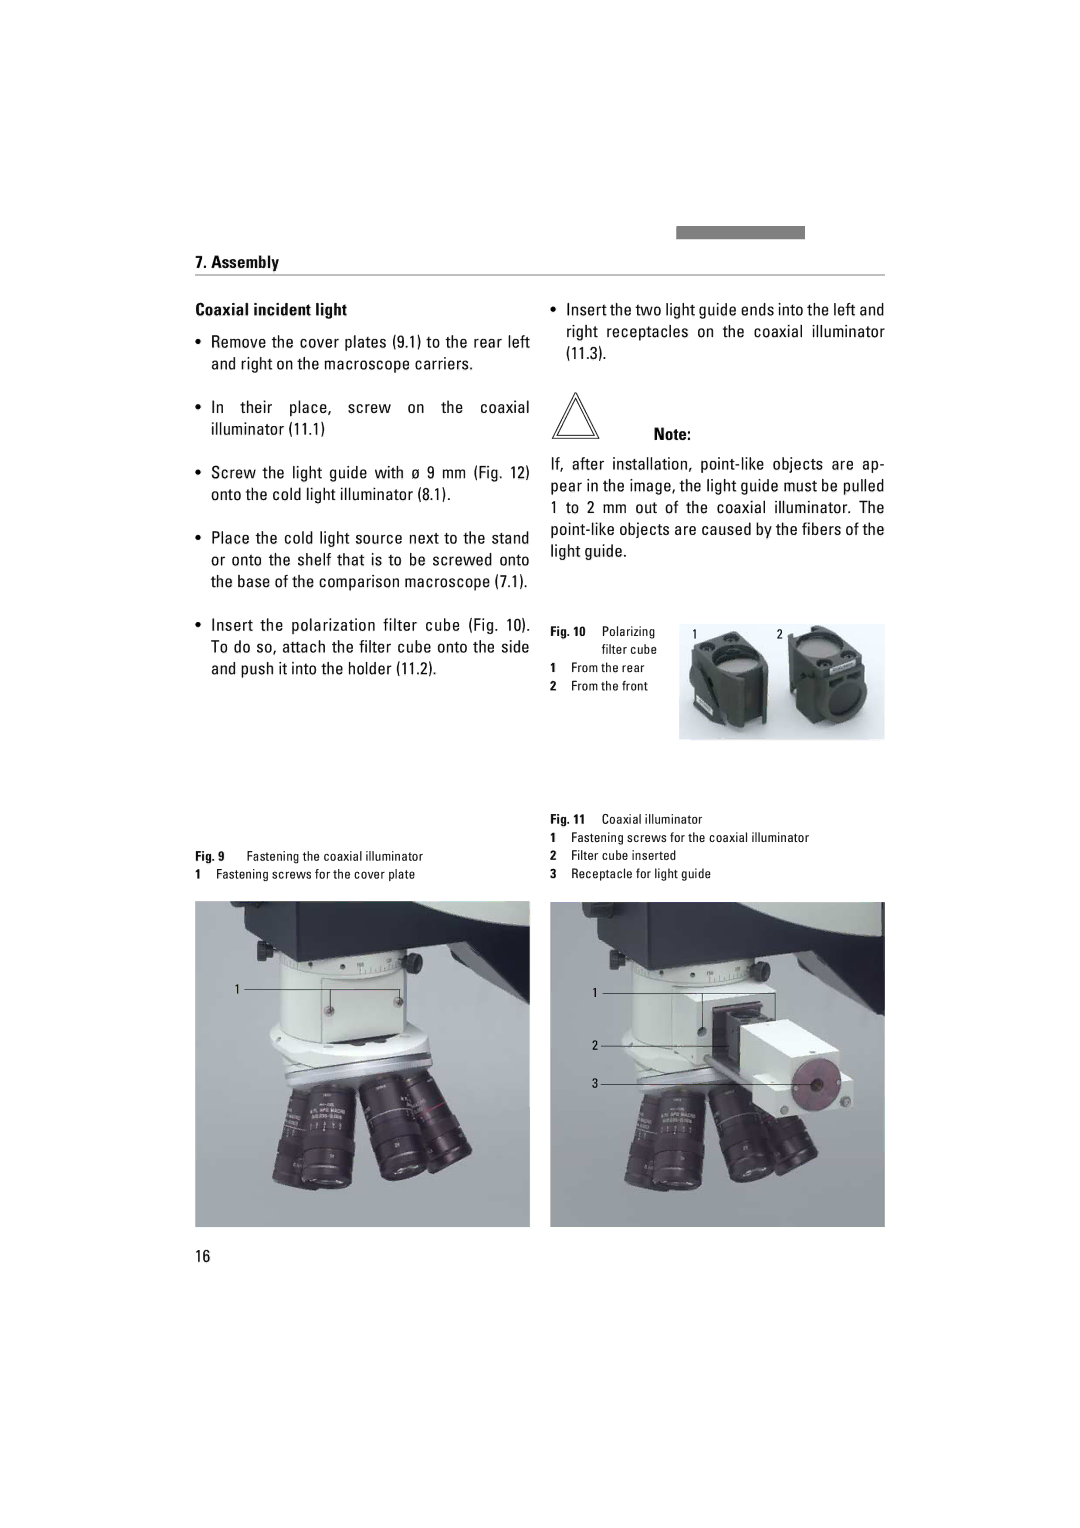
Fig. 11 Coaxial illuminator
1Fastening screws for the coaxial illuminator
2Filter cube inserted
3Receptacle for light guide
1
1
2
3
16