OPERATION | ||
|
|
|
MACHINE FUNCTIONALITY bY WELD PROCESS
GTAW (Touch Start TIG) Welding
Use the following tables to review how the machine functions (output controls, arc control, Start options and weld options) for the weld modes listed in the top table.
TOUCH START TIG
| Material | PROCESS |
| MODE |
|
| All Metals | Touch Start TIG |
| 3 |
|
|
|
|
|
|
|
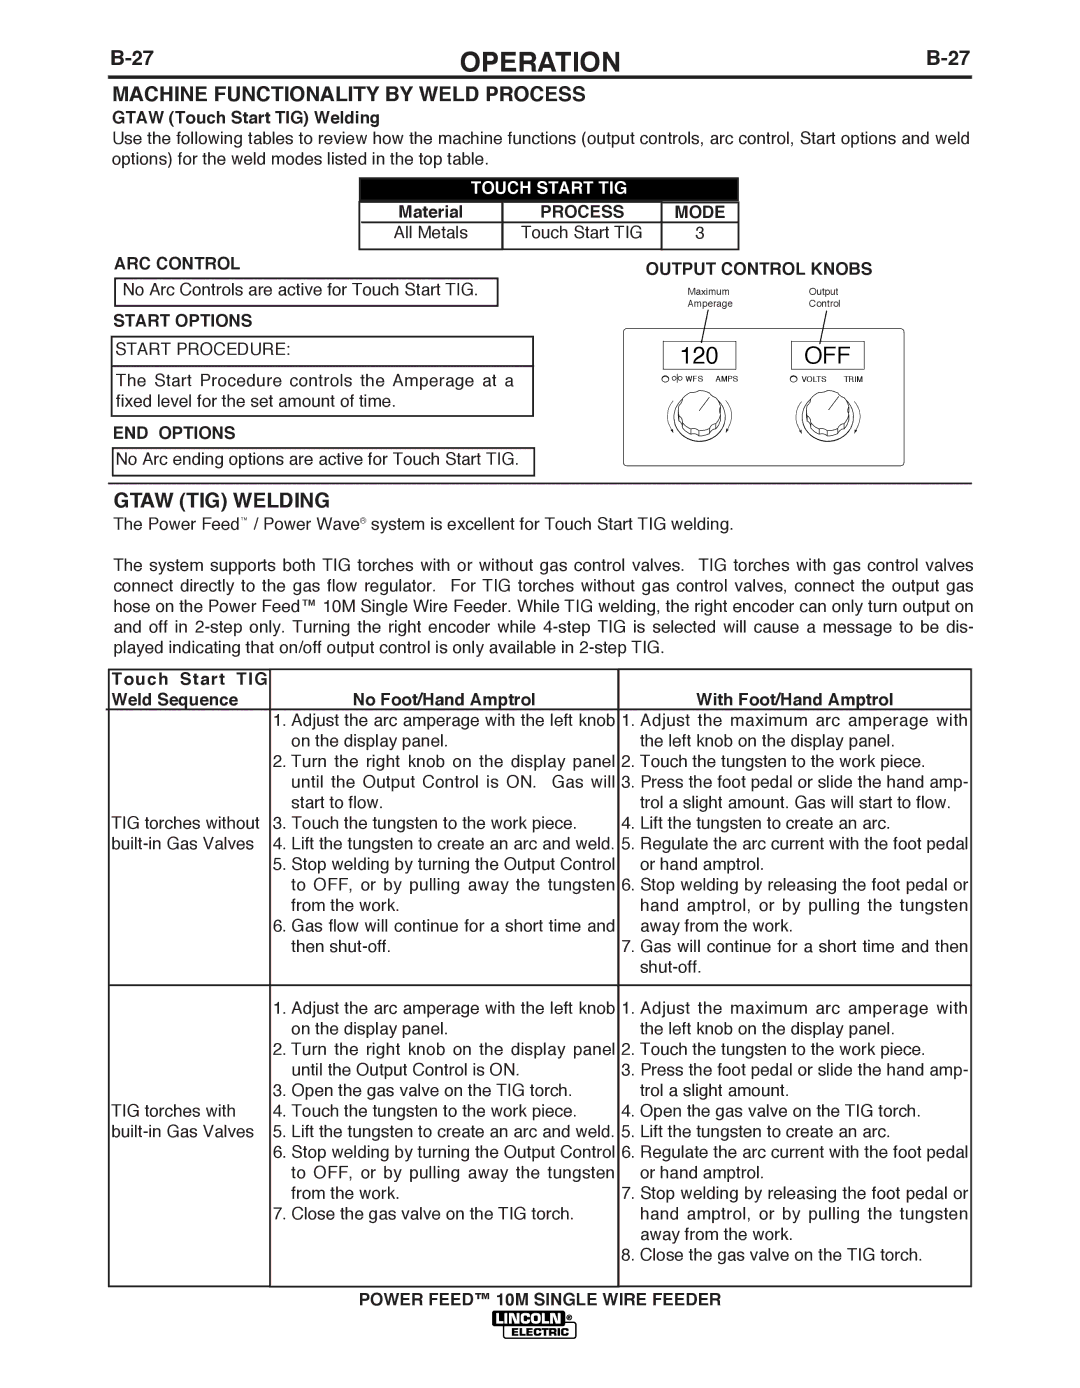
ARC CONTROL |
| OUTPUT CONTROL KNObS | |||
|
|
| |||
No Arc Controls are active for Touch Start TIG.
MaximumOutput
AmperageControl
START OPTIONS
START PROCEDURE:
The Start Procedure controls the Amperage at a fixed level for the set amount of time.
END OPTIONS
No Arc ending options are active for Touch Start TIG.
120
![]()
![]()
![]() WFS AMPS
WFS AMPS
OFF
VOLTS TRIM
GTAW (TIG) WELDING
The Power Feed™ / Power Wave® system is excellent for Touch Start TIG welding.
The system supports both TIG torches with or without gas control valves. TIG torches with gas control valves connect directly to the gas flow regulator. For TIG torches without gas control valves, connect the output gas hose on the Power Feed™ 10M Single Wire Feeder. While TIG welding, the right encoder can only turn output on and off in
| Touch Start TIG |
|
|
|
|
| Weld Sequence |
| No Foot/Hand Amptrol |
| With Foot/Hand Amptrol |
|
| 1. | Adjust the arc amperage with the left knob | 1. | Adjust the maximum arc amperage with |
|
|
| on the display panel. |
| the left knob on the display panel. |
|
| 2. | Turn the right knob on the display panel | 2. | Touch the tungsten to the work piece. |
|
|
| until the Output Control is ON. Gas will | 3. | Press the foot pedal or slide the hand amp- |
|
|
| start to flow. |
| trol a slight amount. Gas will start to flow. |
| TIG torches without | 3. Touch the tungsten to the work piece. | 4. | Lift the tungsten to create an arc. | |
| 4. Lift the tungsten to create an arc and weld. | 5. | Regulate the arc current with the foot pedal | ||
|
| 5. | Stop welding by turning the Output Control |
| or hand amptrol. |
|
|
| to OFF, or by pulling away the tungsten | 6. | Stop welding by releasing the foot pedal or |
|
|
| from the work. |
| hand amptrol, or by pulling the tungsten |
|
| 6. | Gas flow will continue for a short time and |
| away from the work. |
|
|
| then | 7. | Gas will continue for a short time and then |
|
|
|
|
| |
|
|
|
|
|
|
|
| 1. | Adjust the arc amperage with the left knob | 1. | Adjust the maximum arc amperage with |
|
|
| on the display panel. |
| the left knob on the display panel. |
|
| 2. | Turn the right knob on the display panel | 2. | Touch the tungsten to the work piece. |
|
|
| until the Output Control is ON. | 3. | Press the foot pedal or slide the hand amp- |
|
| 3. | Open the gas valve on the TIG torch. |
| trol a slight amount. |
| TIG torches with | 4. Touch the tungsten to the work piece. | 4. | Open the gas valve on the TIG torch. | |
| 5. Lift the tungsten to create an arc and weld. | 5. | Lift the tungsten to create an arc. | ||
|
| 6. | Stop welding by turning the Output Control | 6. | Regulate the arc current with the foot pedal |
|
|
| to OFF, or by pulling away the tungsten |
| or hand amptrol. |
|
|
| from the work. | 7. | Stop welding by releasing the foot pedal or |
|
| 7. | Close the gas valve on the TIG torch. |
| hand amptrol, or by pulling the tungsten |
|
|
|
|
| away from the work. |
|
|
|
| 8. | Close the gas valve on the TIG torch. |
|
|
|
|
|
|