3. Copier Parts and Accessories
Finisher FN-102
1 | Elevator Tray | : Receives sorted paper by shifting. |
2 | Top Offset Tray | : Receives plain paper or exclusive paper fed out. |
3 | Misfeed Clearing Guide | : Open to clear misfed paper. |
4 | Stapler Cover | : Open to replace the staple cartridge. |
5 | Lock Release Lever | : Hold to slide the Finisher away from the copier. |
Chapter 2
Mailbin Finisher FN-502
6 | Mail Bins | : Receives outputs fed out in finishing mode. |
7 | Elevator Tray | : Receives sorted paper by shifting. |
8 | Top Offset Tray | : Receives plain paper or exclusive paper fed out. |
9 | Misfeed Clearing Guide | : Open to clear misfed paper. |
10 | Stapler Cover | : Open to replace the staple cartridge. |
11 | Lock Release Lever | : Hold to slide the Finisher away from the copier. |
Finisher FN-3
12 | Finisher Door | : Open to replace the Staple Cartridge. ☞p. |
|
| Open to clear a paper misfeed. ☞p. |
13 | Bottom Offset Tray | : Receives sorted/stapled copy sets or grouped copy stacks. |
14 | Manual Staple Tray | : Open to load documents for manual stapling or to clear a paper misfeed. |
| Cover |
|
15 | Top Offset Tray | : Receives sorted copy sets or grouped copy stacks. |
16 | Grip | : Grasp and press here to slide the Finisher away from the copier to clear a |
|
| misfeed or other service job. |
Getting to Know Your Copier
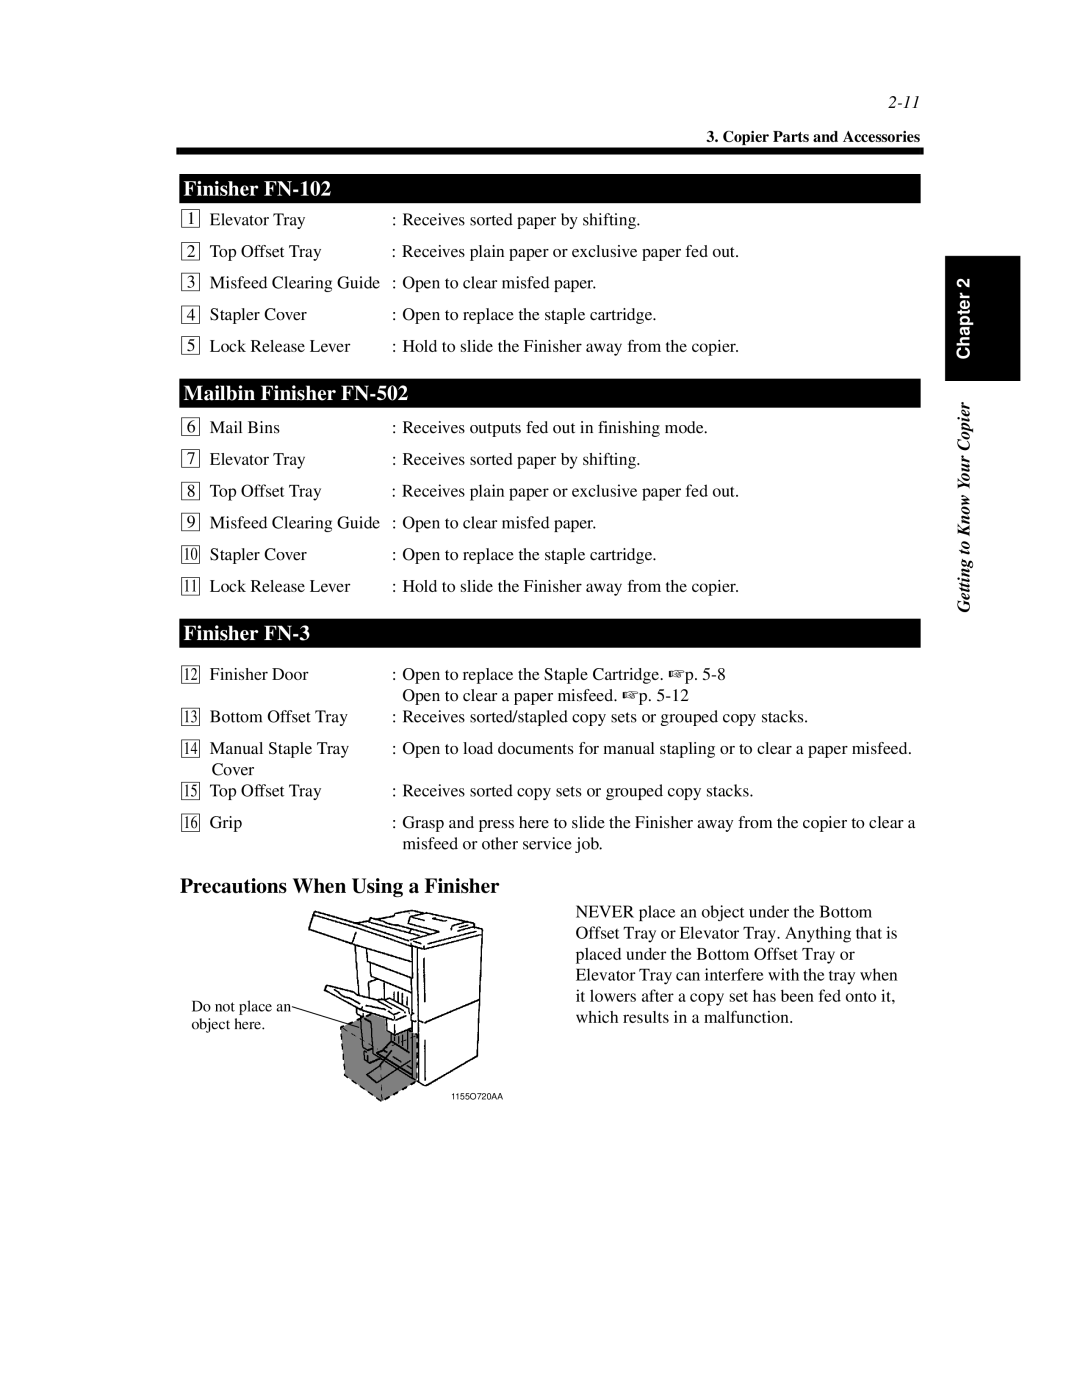
Precautions When Using a Finisher
Do not place an object here.
NEVER place an object under the Bottom Offset Tray or Elevator Tray. Anything that is placed under the Bottom Offset Tray or Elevator Tray can interfere with the tray when it lowers after a copy set has been fed onto it, which results in a malfunction.
1155O720AA