1.3 Initial set up for management

There are two methods of management; one is out-of-band management, where you connect your PC to the switch through an RS232 cable. The other method is in-band-management, where you also connect your PC to the switch, but do so through an Ethernet network either locally or remotely,

or simply directly connect your PC and the switch with an Ethernet cable. Before you activate the management function in the Switch, you should read the instructions below carefully to ensure you can access the switch through your PC.

1.3.1Out-of-band Terminal Mode Management through RS-232 Step 1: Set Hyper Terminal parameters on your PC

Firstly, turn on your PC and execute a terminal mode program. For example, if you are in a Microsoft Window environment, you may choose “Hyper Terminal” from programs that are listed for communication.

Open a New Connection using COM1 (or the port on your computer that you are going to connect the Switch to) and select the following port settings:

Bits Rate per second = 57600

Data Bits = 8

Parity = None

Stop Bit = 1

Flow Control = None

Step 2: Access your Switch

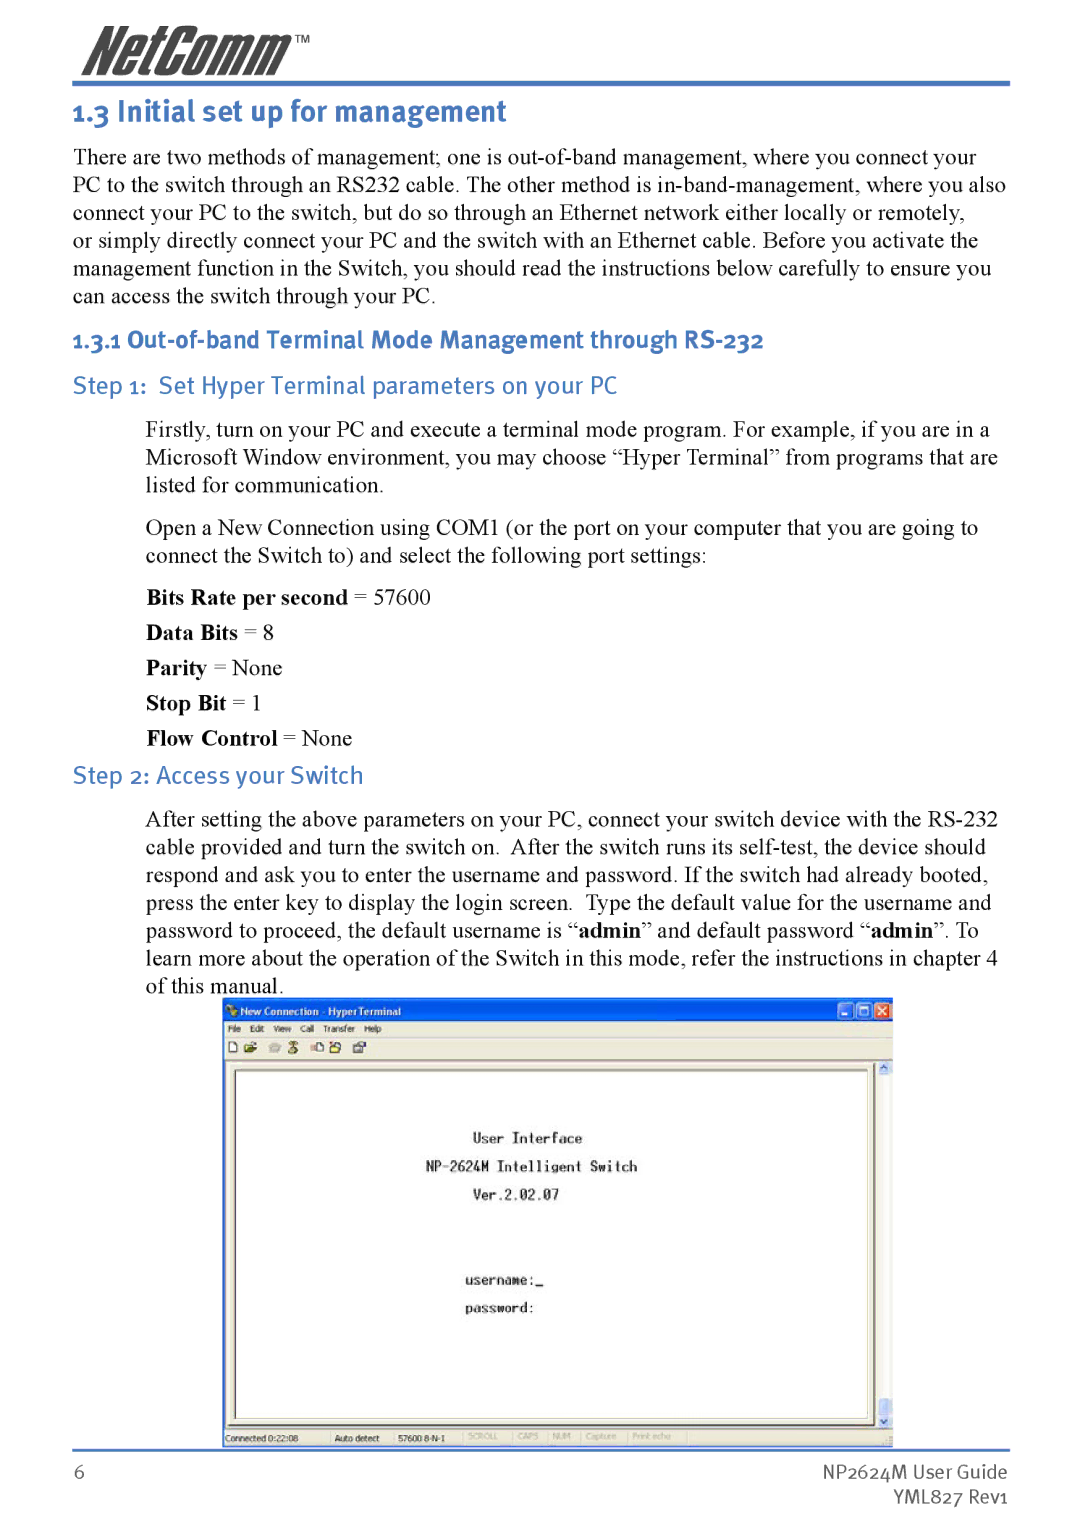
After setting the above parameters on your PC, connect your switch device with the RS-232 cable provided and turn the switch on. After the switch runs its self-test, the device should respond and ask you to enter the username and password. If the switch had already booted, press the enter key to display the login screen. Type the default value for the username and password to proceed, the default username is “admin” and default password “admin”. To learn more about the operation of the Switch in this mode, refer the instructions in chapter 4 of this manual.

6

NP2624M User Guide


YML827 Rev1

Page 6
Image 6
NetComm NP2624M manual Initial set up for management, Access your Switch