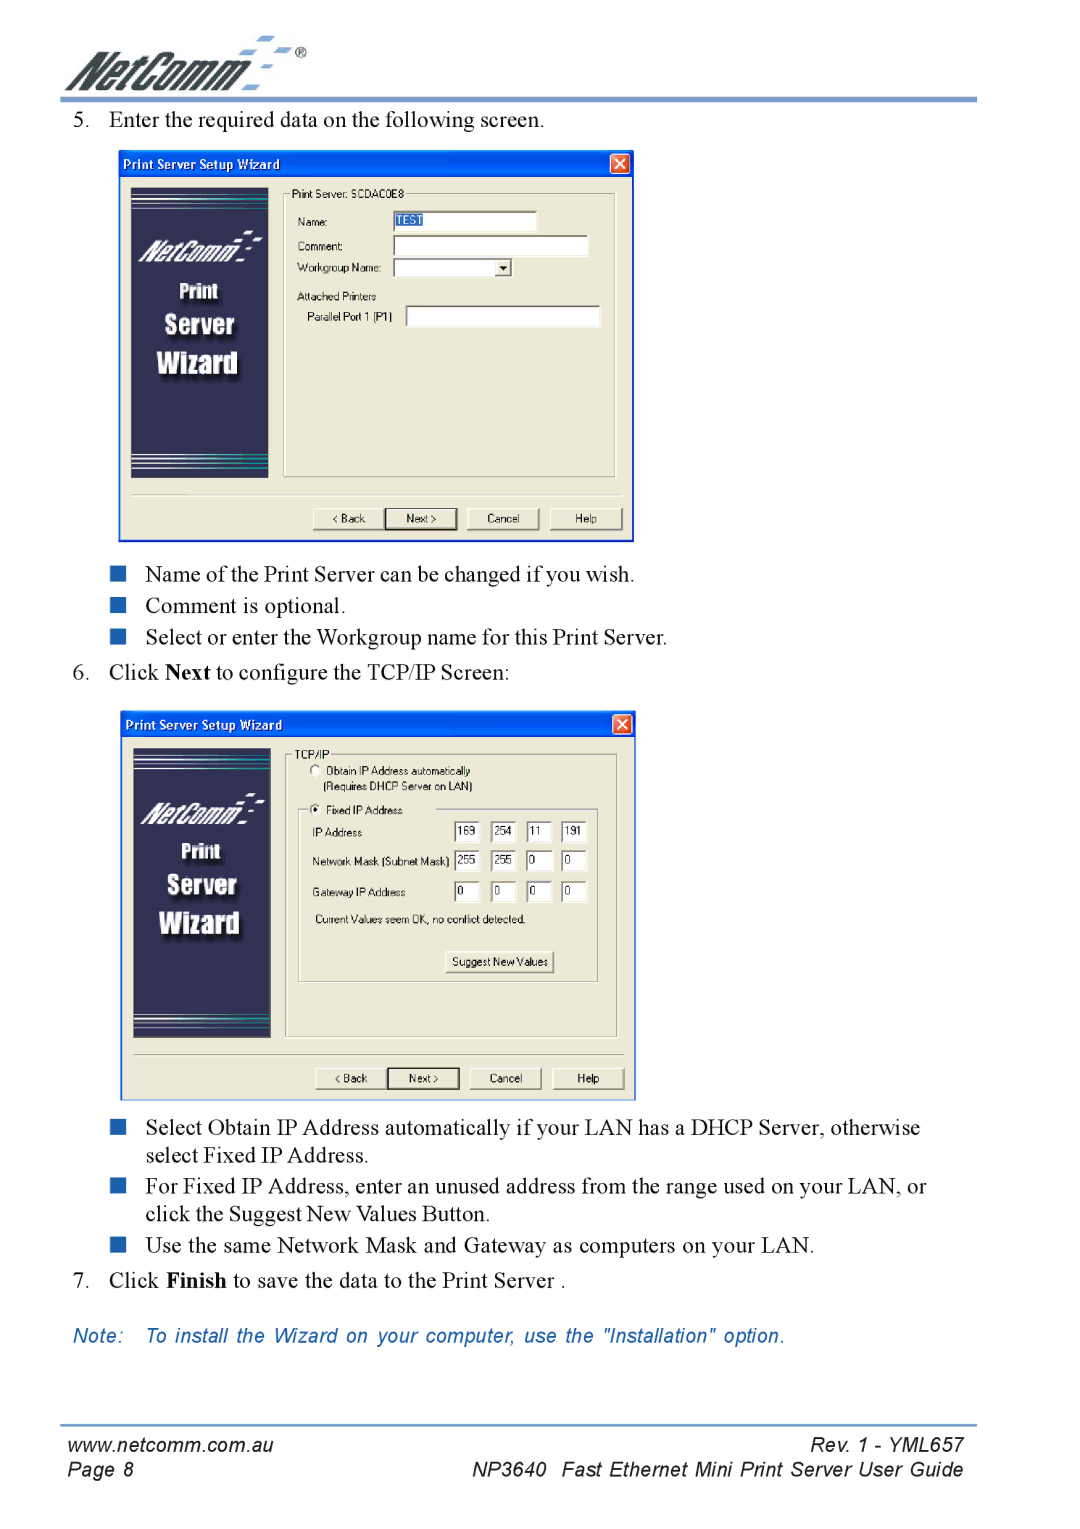
5. Enter the required data on the following screen.
■Name of the Print Server can be changed if you wish.
■Comment is optional.
■Select or enter the Workgroup name for this Print Server.
6.Click Next to configure the TCP/IP Screen:
■Select Obtain IP Address automatically if your LAN has a DHCP Server, otherwise select Fixed IP Address.
■For Fixed IP Address, enter an unused address from the range used on your LAN, or click the Suggest New Values Button.
■Use the same Network Mask and Gateway as computers on your LAN.
7.Click Finish to save the data to the Print Server .
Note: To install the Wizard on your computer, use the "Installation" option.
www.netcomm.com.au | Rev. 1 - YML657 |
Page 8 | NP3640 Fast Ethernet Mini Print Server User Guide |