Removing a power filler panel 33
Procedure steps
Step Action
1Remove the equipment from the shipping container and place the chassis on antistatic material.
2Check all items for damage.
ATTENTION
If the equipment is damaged, contact your Nortel sales representative.
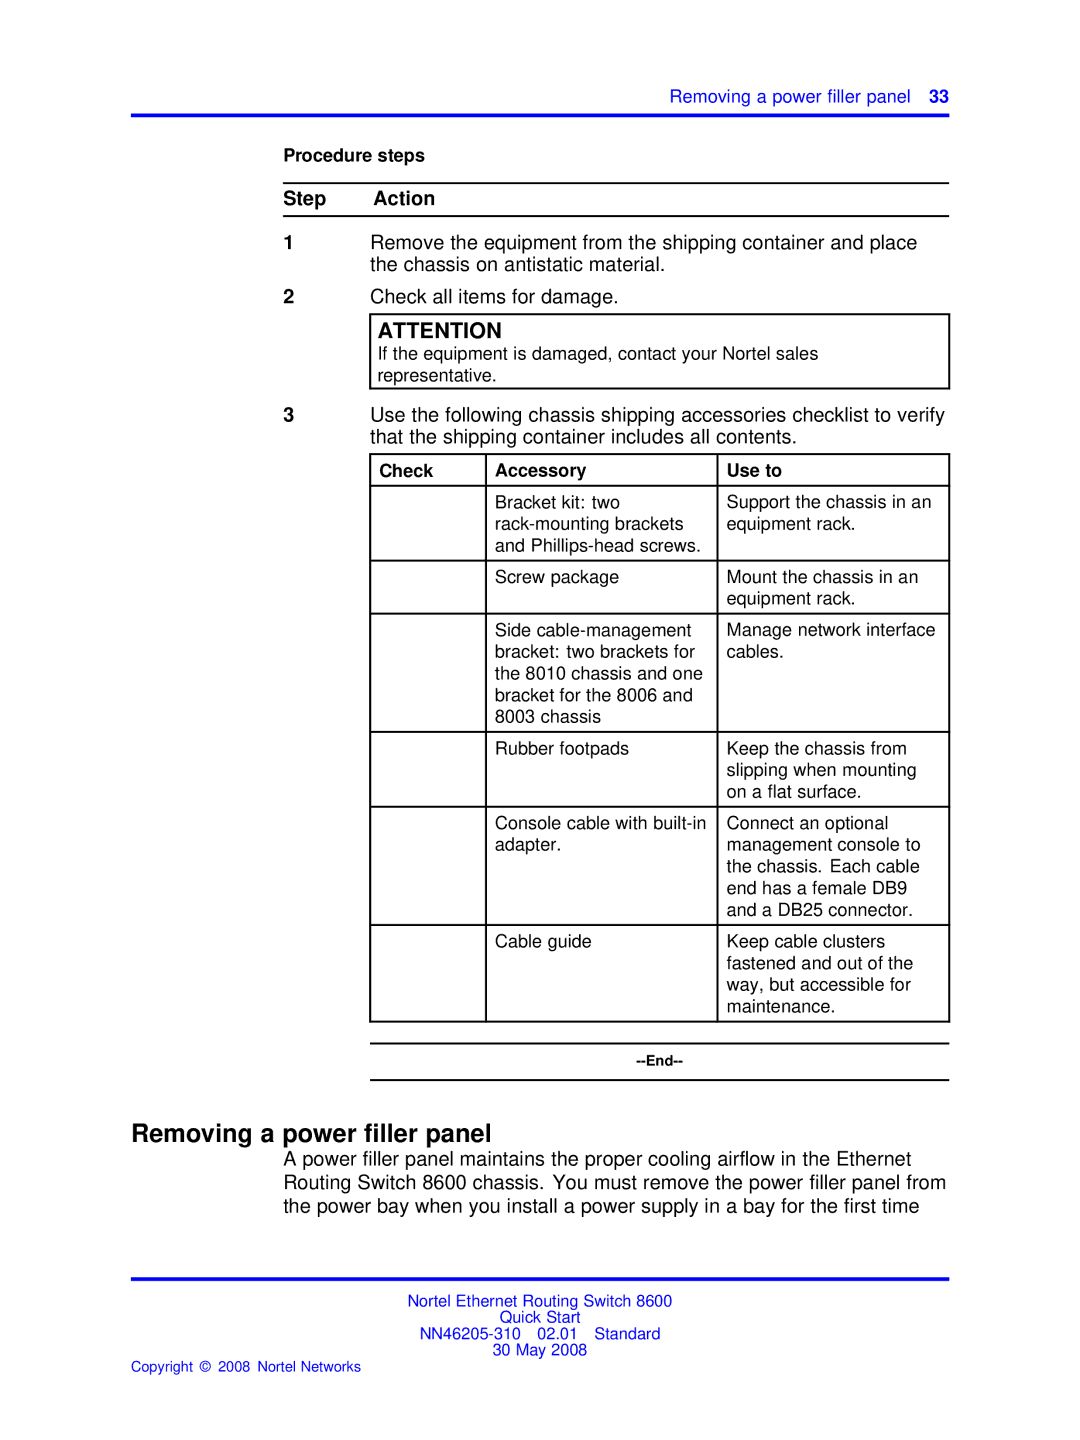
3Use the following chassis shipping accessories checklist to verify that the shipping container includes all contents.
Check | Accessory | Use to |
|
|
|
| Bracket kit: two | Support the chassis in an |
| equipment rack. | |
| and |
|
|
|
|
| Screw package | Mount the chassis in an |
|
| equipment rack. |
|
|
|
| Side | Manage network interface |
| bracket: two brackets for | cables. |
| the 8010 chassis and one |
|
| bracket for the 8006 and |
|
| 8003 chassis |
|
|
|
|
| Rubber footpads | Keep the chassis from |
|
| slipping when mounting |
|
| on a flat surface. |
|
|
|
| Console cable with | Connect an optional |
| adapter. | management console to |
|
| the chassis. Each cable |
|
| end has a female DB9 |
|
| and a DB25 connector. |
|
|
|
| Cable guide | Keep cable clusters |
|
| fastened and out of the |
|
| way, but accessible for |
|
| maintenance. |
|
|
|
|
|
|
|
| |
|
|
|
Removing a power filler panel
A power filler panel maintains the proper cooling airflow in the Ethernet Routing Switch 8600 chassis. You must remove the power filler panel from the power bay when you install a power supply in a bay for the first time
Nortel Ethernet Routing Switch 8600
Quick Start
30 May 2008
Copyright © 2008 Nortel Networks
