Touch operations
This camera’s touch panel senses pressure that is applied to the screen.
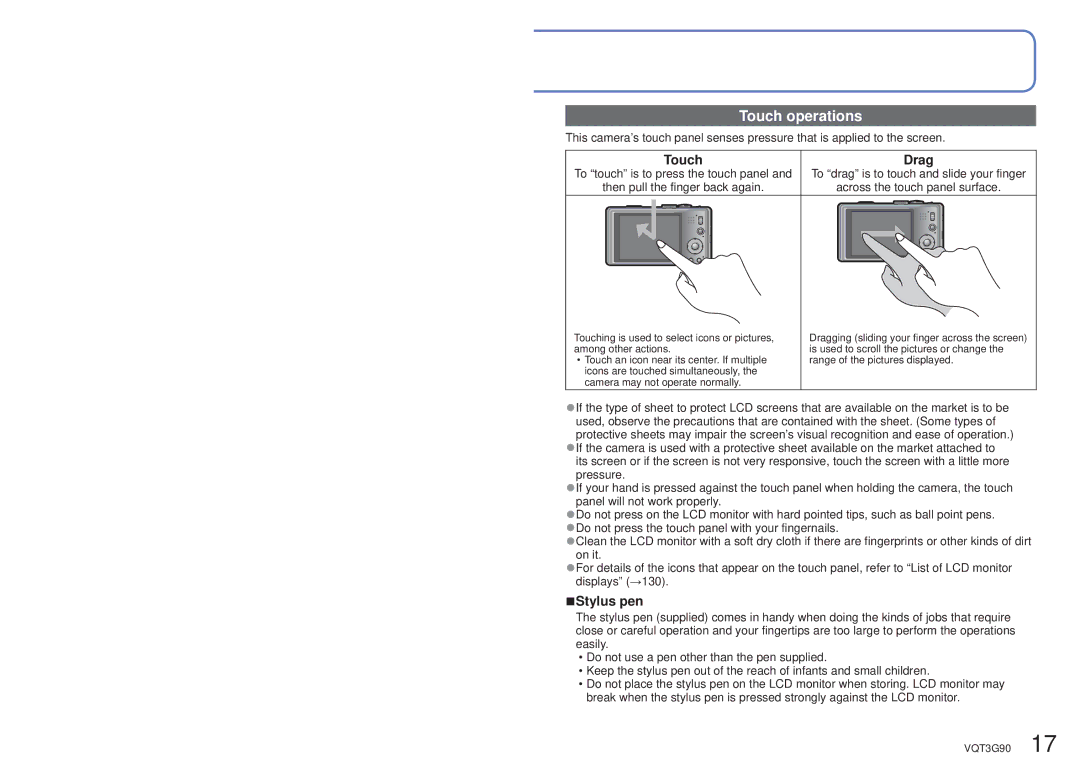
Touch
To “touch” is to press the touch panel and
then pull the finger back again.
Drag
To “drag” is to touch and slide your finger
across the touch panel surface.
Touching is used to select icons or pictures, among other actions.
•Touch an icon near its center. If multiple icons are touched simultaneously, the camera may not operate normally.
Dragging (sliding your finger across the screen) is used to scroll the pictures or change the range of the pictures displayed.
●If the type of sheet to protect LCD screens that are available on the market is to be used, observe the precautions that are contained with the sheet. (Some types of protective sheets may impair the screen’s visual recognition and ease of operation.)
●If the camera is used with a protective sheet available on the market attached to its screen or if the screen is not very responsive, touch the screen with a little more pressure.
●If your hand is pressed against the touch panel when holding the camera, the touch panel will not work properly.
●Do not press on the LCD monitor with hard pointed tips, such as ball point pens. ●Do not press the touch panel with your fingernails.
●Clean the LCD monitor with a soft dry cloth if there are fingerprints or other kinds of dirt on it.
●For details of the icons that appear on the touch panel, refer to “List of LCD monitor displays” (→130).
■Stylus pen
The stylus pen (supplied) comes in handy when doing the kinds of jobs that require close or careful operation and your fingertips are too large to perform the operations easily.
•Do not use a pen other than the pen supplied.
•Keep the stylus pen out of the reach of infants and small children.
•Do not place the stylus pen on the LCD monitor when storing. LCD monitor may break when the stylus pen is pressed strongly against the LCD monitor.
VQT3G90 17