Taking pictures with Exposure Compensation
Corrects exposure when adequate exposure cannot be obtained (if difference between brightness of object and background, etc.).
■Recording Mode: 


![]() Press ▲ to display [Exposure]
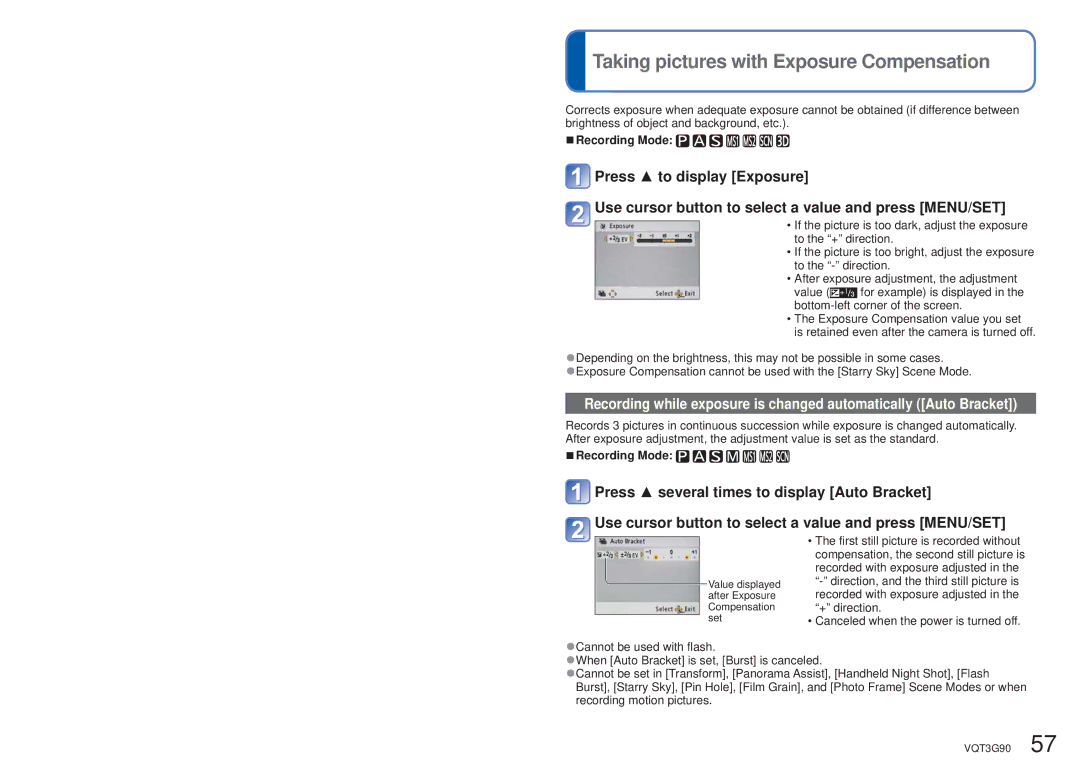
Press ▲ to display [Exposure]
Use cursor button to select a value and press [MENU/SET]
•If the picture is too dark, adjust the exposure to the “+” direction.
•If the picture is too bright, adjust the exposure to the
•After exposure adjustment, the adjustment
value (![]() for example) is displayed in the
for example) is displayed in the
•The Exposure Compensation value you set is retained even after the camera is turned off.
●Depending on the brightness, this may not be possible in some cases.
●Exposure Compensation cannot be used with the [Starry Sky] Scene Mode.
Recording while exposure is changed automatically ([Auto Bracket])
Records 3 pictures in continuous succession while exposure is changed automatically. After exposure adjustment, the adjustment value is set as the standard.
■Recording Mode: 


![]() Press ▲ several times to display [Auto Bracket]
Press ▲ several times to display [Auto Bracket]
Use cursor button to select a value and press [MENU/SET]
![]() Value displayed after Exposure Compensation set
Value displayed after Exposure Compensation set
•The first still picture is recorded without compensation, the second still picture is recorded with exposure adjusted in the
•Canceled when the power is turned off.
●Cannot be used with flash.
●When [Auto Bracket] is set, [Burst] is canceled.
●Cannot be set in [Transform], [Panorama Assist], [Handheld Night Shot], [Flash Burst], [Starry Sky], [Pin Hole], [Film Grain], and [Photo Frame] Scene Modes or when recording motion pictures.
VQT3G90 57