
KX-FP343HK, KX-FP363HK specifications
The Panasonic KX-FP363HK and KX-FP343HK are multifunctional fax machines designed to meet the needs of both home offices and small businesses. These models combine reliable faxing capabilities with additional features that enhance productivity and efficiency.One of the standout features of the KX-FP363HK is its advanced thermal transfer printing technology. This ensures that your documents are printed with sharp clarity and precision, making them easy to read. The machine is equipped with a high-resolution printing capability, allowing for clear reproduction of text and images. The KX-FP343HK shares similar printing technology, providing users with high-quality output while maintaining cost efficiency.
Both models offer a user-friendly interface that simplifies the sending and receiving of faxes. They come with an intuitive control panel that allows for easy navigation through various functions. The KX-FP363HK boasts a larger memory capacity compared to the KX-FP343HK, enabling it to store more pages of sent and received faxes. This can be particularly useful in busy office environments where multiple faxes are processed daily.
In terms of connectivity, these fax machines feature a built-in telephone line interface, allowing users to send faxes directly from their telephone line. The dual access capability allows one user to send a fax while another is receiving one, eliminating waiting times and improving workflow efficiency. Additionally, the KX-FP363HK is equipped with a one-touch dial feature that enables quick access to frequently dialed numbers.
Both models are designed with energy efficiency in mind. They incorporate technologies that reduce power consumption when not in use, promoting an eco-friendly approach to office operations. Compact and lightweight, the KX-FP363HK and KX-FP343HK can fit seamlessly into any workspace.
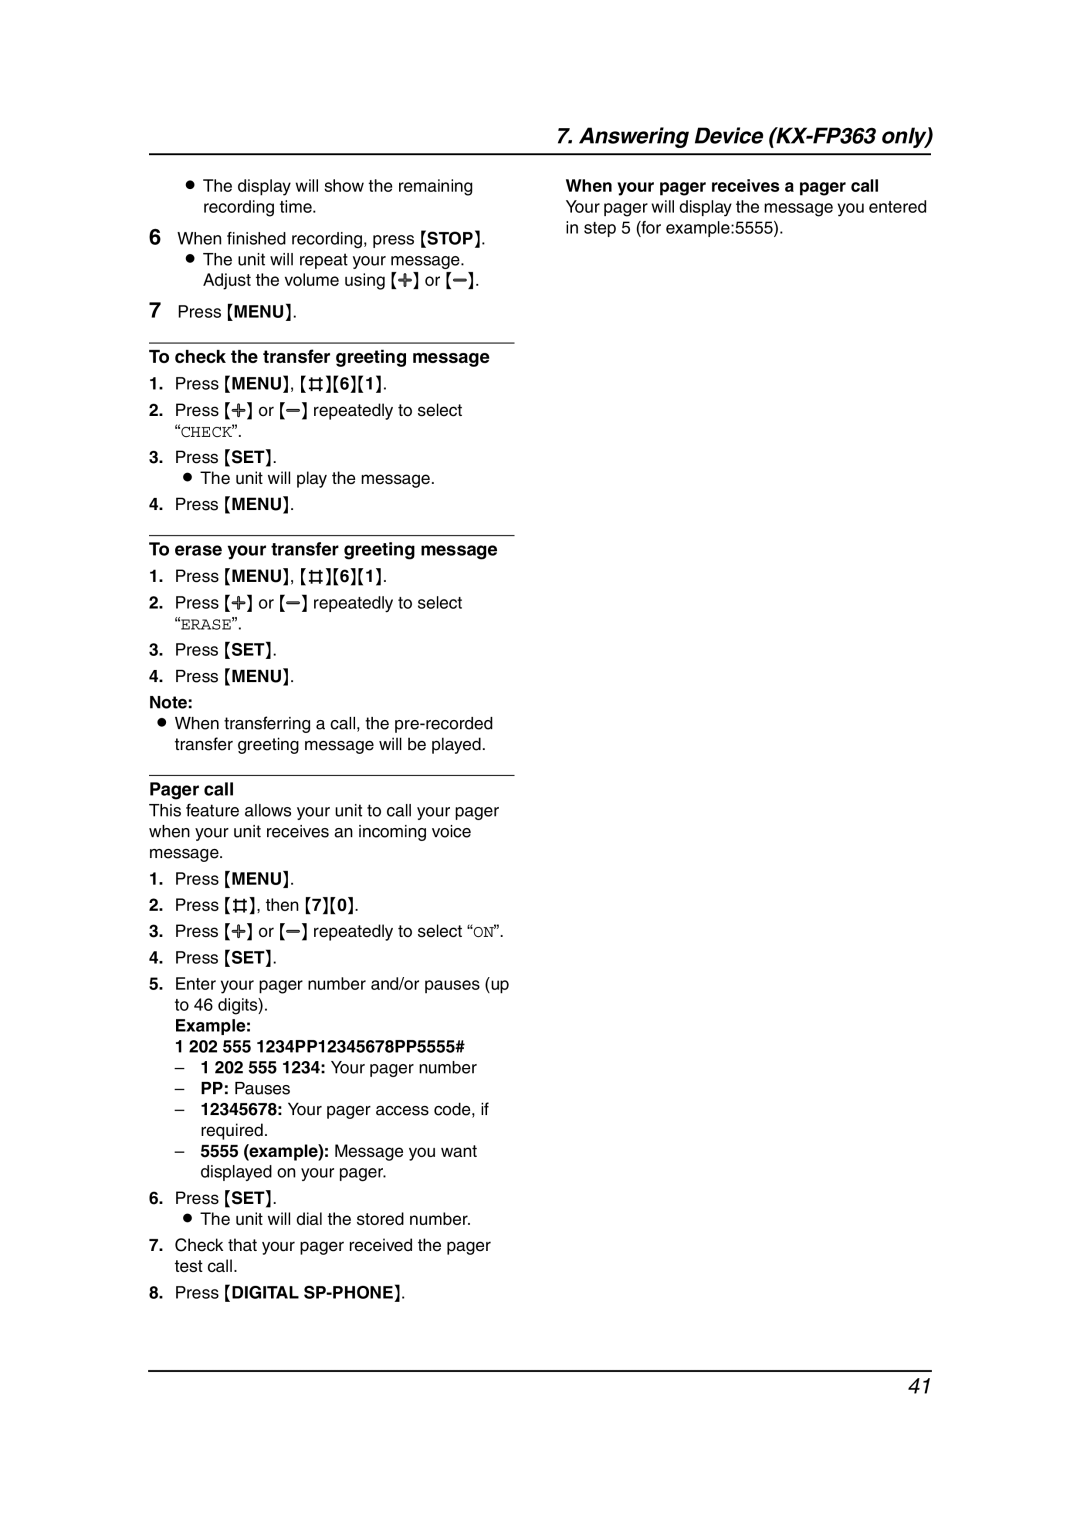
Moreover, the KX-FP363HK includes a built-in answering machine, a significant advantage for users who require dual functionality. The KX-FP343HK, while lacking this feature, still provides essential faxing capabilities without the added complexity.
In summary, the Panasonic KX-FP363HK and KX-FP343HK are reliable choices for users seeking quality faxing solutions. With features like thermal transfer printing, user-friendly controls, and energy-efficient designs, these machines are well-suited for efficiently handling the demands of everyday faxing tasks. Whether in a home office or a small business setting, Panasonic has ensured that these models deliver the performance and reliability users expect.