Display Option settings (continued)
11. Press ▲▼ to select the desired | 2. | Press ENTER. |
|
|
|
colors, and press ◄► to input |
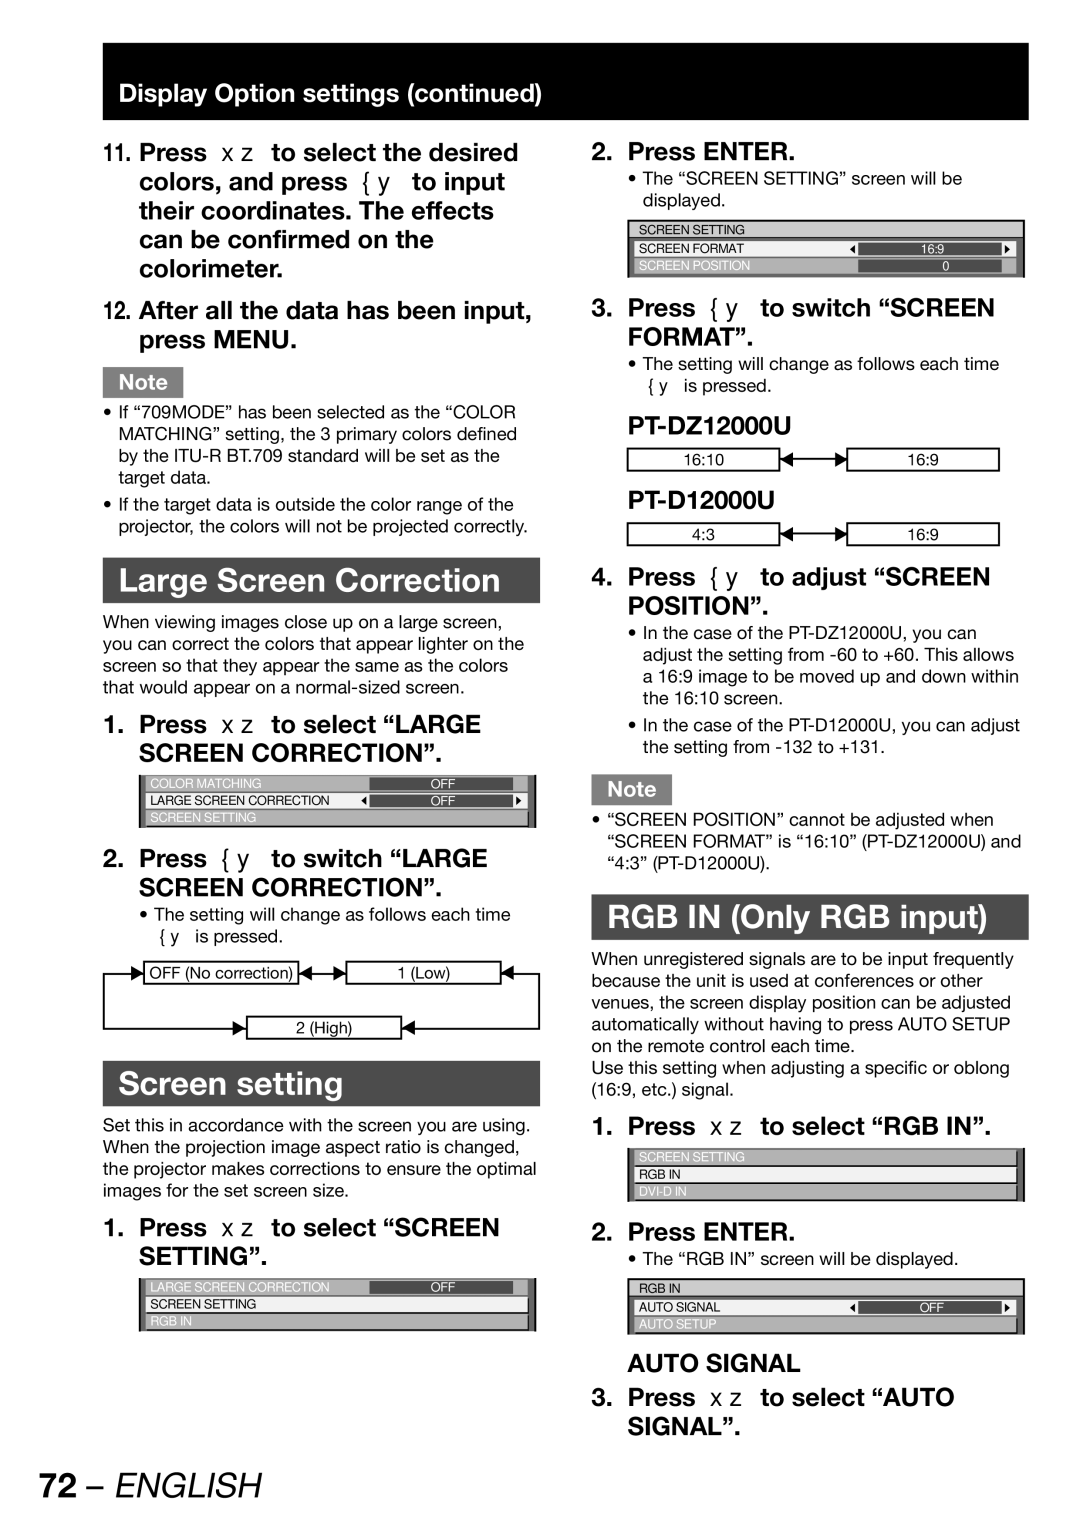
| • The “SCREEN SETTING” screen will be | |||
| displayed. |
|
|
| |
their coordinates. The effects |
|
|
|
| |
|
|
|
|
| |
can be confirmed on the |
| SCREEN SETTING |
|
|
|
| SCREEN FORMAT | 16:9 |
|
| |
colorimeter. |
| SCREEN POSITION | 0 |
|
|
|
|
|
| ||
|
|
|
|
|
|
12. After all the data has been input, | 3. | Press ◄► to switch “SCREEN | |||
press MENU. |
| FORMAT”. |
|
|
|
Note
•If “709MODE” has been selected as the “COLOR MATCHING” setting, the 3 primary colors defined by the
•If the target data is outside the color range of the projector, the colors will not be projected correctly.
•The setting will change as follows each time ◄► is pressed.
PT-DZ12000U
16:10 |
| 16:9 |
|
4:3 |
| 16:9 |
|
Large Screen Correction
When viewing images close up on a large screen, you can correct the colors that appear lighter on the screen so that they appear the same as the colors that would appear on a
1. Press ▲▼ to select “LARGE SCREEN CORRECTION”.
| COLOR MATCHING | OFF |
|
|
| LARGE SCREEN CORRECTION | OFF |
|
|
| SCREEN SETTING |
|
|
|
2.Press ◄► to switch “LARGE SCREEN CORRECTION”.
•The setting will change as follows each time ◄► is pressed.
| OFF (No correction) |
| 1 (Low) |
|
|
|
|
2 (High)
Screen setting
Set this in accordance with the screen you are using. When the projection image aspect ratio is changed, the projector makes corrections to ensure the optimal images for the set screen size.
1. Press ▲▼ to select “SCREEN SETTING”.
| LARGE SCREEN CORRECTION | OFF |
|
| SCREEN SETTING |
|
|
| RGB IN |
|
|
|
|
|
|
72 – ENGLISH
4.Press ◄► to adjust “SCREEN POSITION”.
•In the case of the
•In the case of the
Note
•“SCREEN POSITION” cannot be adjusted when “SCREEN FORMAT” is “16:10”
RGB IN (Only RGB input)
When unregistered signals are to be input frequently because the unit is used at conferences or other venues, the screen display position can be adjusted automatically without having to press AUTO SETUP on the remote control each time.
Use this setting when adjusting a specific or oblong (16:9, etc.) signal.
1. Press ▲▼ to select “RGB IN”.
SCREEN SETTING
RGB IN
2.Press ENTER.
• The “RGB IN” screen will be displayed.
RGB IN
AUTO SIGNAL | OFF |
|
|
|
|
AUTO SETUP
AUTO SIGNAL
3.Press ▲▼ to select “AUTO SIGNAL”.