Projector setup (continued)
Lamp relay
2.Press ENTER.
• The
If using the projector for a continuous period of 24 hours or more, this setting can be used to automatically switch the lamps that are turned on in order to reduce the lamp deterioration that can occur as a result of continuous use.
•“LAMP RELAY” will only be enabled when the lamp selection is “SINGLE” (1 lamp), “DUAL” (2 lamps), “TRIPLE” (3 lamps) or “QUAD” (4 lamps).
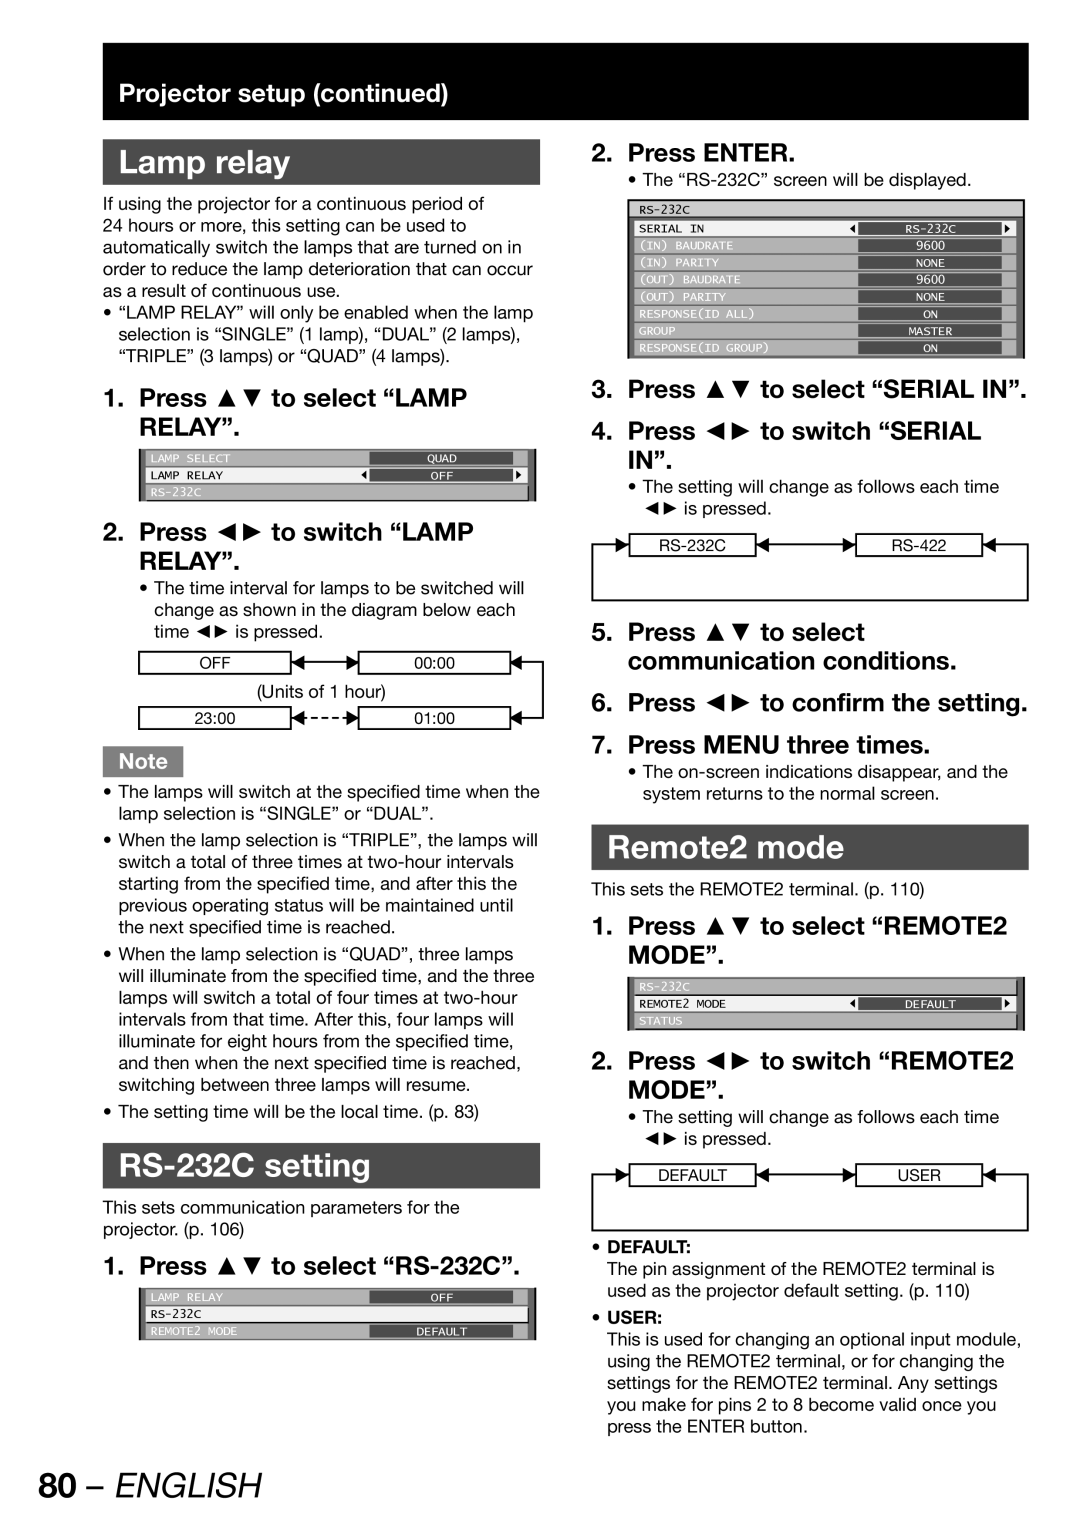
1. Press ▲▼ to select “LAMP RELAY”.
| LAMP SELECT | QUAD |
|
|
| LAMP RELAY | OFF |
|
|
|
|
|
|
2.Press ◄► to switch “LAMP RELAY”.
•The time interval for lamps to be switched will
change as shown in the diagram below each time ◄► is pressed.
OFF |
| 00:00 |
|
|
|
| (Units of 1 hour) |
23:00 | 01:00 |
SERIAL IN |
| |
(IN) BAUDRATE | 9600 |
|
(IN) PARITY | NONE |
|
(OUT) BAUDRATE | 9600 |
|
(OUT) PARITY | NONE |
|
RESPONSE(ID ALL) | ON |
|
GROUP | MASTER |
|
RESPONSE(ID GROUP) | ON |
|
|
|
|
3. | Press ▲▼ to select “SERIAL IN”. | |
4. | Press ◄► to switch “SERIAL | |
| IN”. |
|
| • The setting will change as follows each time | |
| ◄► is pressed. |
|
| ||
5. | Press ▲▼ to select |
|
| communication conditions. | |
6. | Press ◄► to confirm the setting. | |
Note
•The lamps will switch at the specified time when the lamp selection is “SINGLE” or “DUAL”.
•When the lamp selection is “TRIPLE”, the lamps will switch a total of three times at
•When the lamp selection is “QUAD”, three lamps will illuminate from the specified time, and the three lamps will switch a total of four times at
•The setting time will be the local time. (p. 83)
RS-232C setting
This sets communication parameters for the projector. (p. 106)
1. Press ▲▼ to select
| LAMP RELAY | OFF |
|
|
|
| |
| REMOTE2 MODE | DEFAULT |
|
|
|
|
|
7.Press MENU three times.
•The
Remote2 mode
This sets the REMOTE2 terminal. (p. 110)
1. Press ▲▼ to select “REMOTE2 MODE”.
REMOTE2 MODE | DEFAULT |
|
|
|
|
STATUS
2.Press ◄► to switch “REMOTE2 MODE”.
•The setting will change as follows each time ◄► is pressed.
DEFAULT | USER |
• DEFAULT: |
|
The pin assignment of the REMOTE2 terminal is used as the projector default setting. (p. 110)
•USER:
This is used for changing an optional input module, using the REMOTE2 terminal, or for changing the settings for the REMOTE2 terminal. Any settings you make for pins 2 to 8 become valid once you press the ENTER button.