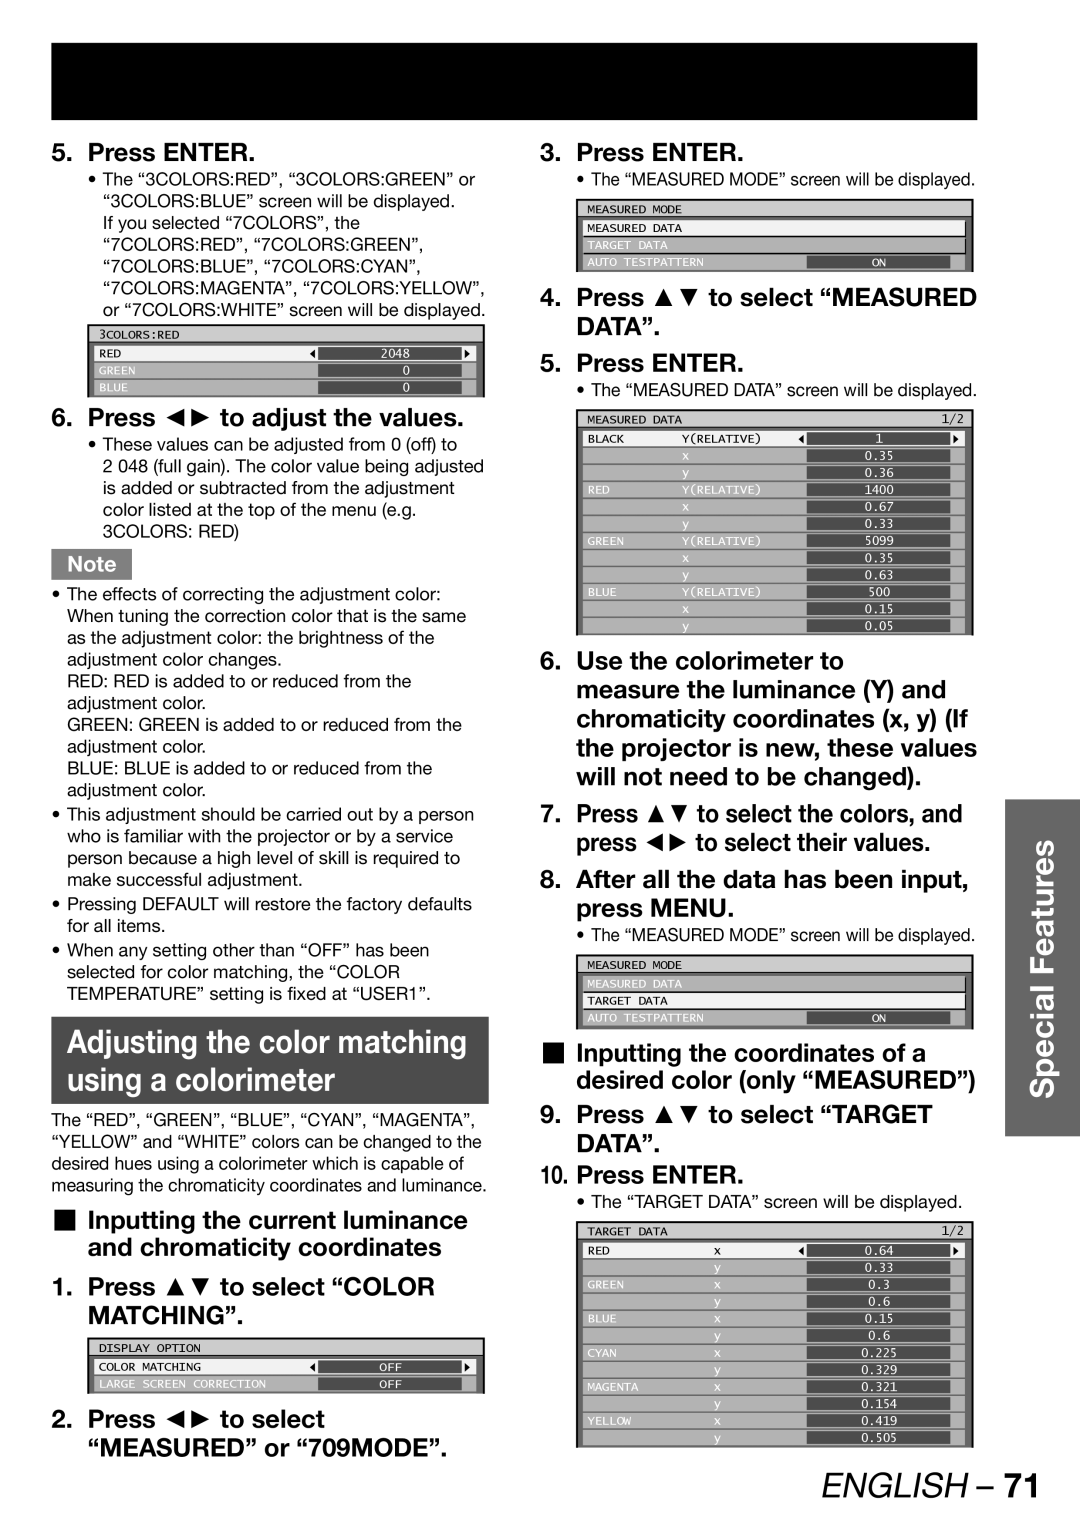
5. Press ENTER.
•The “3COLORS:RED”, “3COLORS:GREEN” or “3COLORS:BLUE” screen will be displayed.
If you selected “7COLORS”, the “7COLORS:RED”, “7COLORS:GREEN”, “7COLORS:BLUE”, “7COLORS:CYAN”, “7COLORS:MAGENTA”, “7COLORS:YELLOW”, or “7COLORS:WHITE” screen will be displayed.
3COLORS:RED
RED | 2048 |
|
GREEN | 0 |
|
BLUE | 0 |
|
|
|
|
6.Press ◄► to adjust the values.
•These values can be adjusted from 0 (off) to
2 048 (full gain). The color value being adjusted is added or subtracted from the adjustment color listed at the top of the menu (e.g. 3COLORS: RED)
Note
•The effects of correcting the adjustment color: When tuning the correction color that is the same as the adjustment color: the brightness of the adjustment color changes.
RED: RED is added to or reduced from the adjustment color.
GREEN: GREEN is added to or reduced from the adjustment color.
BLUE: BLUE is added to or reduced from the adjustment color.
•This adjustment should be carried out by a person who is familiar with the projector or by a service person because a high level of skill is required to make successful adjustment.
•Pressing DEFAULT will restore the factory defaults for all items.
•When any setting other than “OFF” has been selected for color matching, the “COLOR TEMPERATURE” setting is fixed at “USER1”.
Adjusting the color matching
using a colorimeter
The “RED”, “GREEN”, “BLUE”, “CYAN”, “MAGENTA”, “YELLOW” and “WHITE” colors can be changed to the desired hues using a colorimeter which is capable of measuring the chromaticity coordinates and luminance.
Inputting the current luminance and chromaticity coordinates
1. Press ▲▼ to select “COLOR MATCHING”.
DISPLAY OPTION
COLOR | MATCHING | OFF |
|
LARGE | SCREEN CORRECTION | OFF |
|
|
|
|
|
2.Press ◄► to select “MEASURED” or “709MODE”.
3.Press ENTER.
• The “MEASURED MODE” screen will be displayed.
MEASURED MODE
MEASURED DATA |
|
TARGET DATA |
|
AUTO TESTPATTERN | ON |
4.Press ▲▼ to select “MEASURED DATA”.
5.Press ENTER.
• The “MEASURED DATA” screen will be displayed.
| MEASURED DATA | 1/2 |
|
| ||||
| BLACK | Y(RELATIVE) |
| 1 |
|
|
| |
|
| x |
| 0.35 |
|
|
| |
|
| y |
| 0.36 |
|
|
| |
| RED | Y(RELATIVE) |
| 1400 |
|
|
| |
|
| x |
| 0.67 |
|
|
| |
|
| y |
| 0.33 |
|
|
| |
| GREEN | Y(RELATIVE) |
| 5099 |
|
|
| |
|
| x |
| 0.35 |
|
|
| |
|
| y |
| 0.63 |
|
|
| |
| BLUE | Y(RELATIVE) |
| 500 |
|
|
| |
|
| x |
| 0.15 |
|
|
| |
|
| y |
| 0.05 |
|
|
| |
|
|
|
|
|
|
| ||
6. Use the colorimeter to |
|
|
|
| ||||
| measure the luminance (Y) and |
| ||||||
| chromaticity coordinates (x, y) (If |
| ||||||
| the projector is new, these values |
| ||||||
| will not need to be changed). |
| ||||||
7. Press ▲▼ to select the colors, and |
| |||||||
| ||||||||
| press ◄► to select their values. | Features | ||||||
8. After all the data has been input, | ||||||||
| ||||||||
| press MENU. |
|
|
|
| |||
| • The “MEASURED MODE” screen will be displayed. |
| ||||||
|
|
|
|
|
| |||
| MEASURED MODE |
|
|
|
| |||
| MEASURED DATA |
|
|
| Special | |||
| TARGET DATA |
|
|
|
|
| ||
| AUTO TESTPATTERN |
| ON |
|
|
| ||
|
|
|
|
|
|
|
| |
Inputting the coordinates of a |
| |||||||
| desired color (only “MEASURED”) |
| ||||||
9.Press ▲▼ to select “TARGET DATA”.
10.Press ENTER.
• The “TARGET DATA” screen will be displayed.
| TARGET DATA |
| 1/2 |
|
| |
| RED | x | 0.64 |
|
|
|
|
| y | 0.33 |
|
|
|
| GREEN | x | 0.3 |
|
|
|
|
| y | 0.6 |
|
|
|
| BLUE | x | 0.15 |
|
|
|
|
| y | 0.6 |
|
|
|
| CYAN | x | 0.225 |
|
|
|
|
| y | 0.329 |
|
|
|
| MAGENTA | x | 0.321 |
|
|
|
|
| y | 0.154 |
|
|
|
| YELLOW | x | 0.419 |
|
|
|
|
| y | 0.505 |
|
|
|
|
|
|
|
|
|
|
|
|
| ENGLISH – 71 | |||