CONTROLLER SETUP PROCEDURES (PS•Data)
To display the setup menus for the
■Prior to Setup
Do the following before entering the setup mode.
1. | Confirm that all necessary connections and switch set- |
| tings are complete. |
2. | With the power turned off, move bit #6 of the MODE |
| switch on the rear to ON (administrator) position. |
3. | Supply power to the controller. |
■Buttons and Controls used for Setup
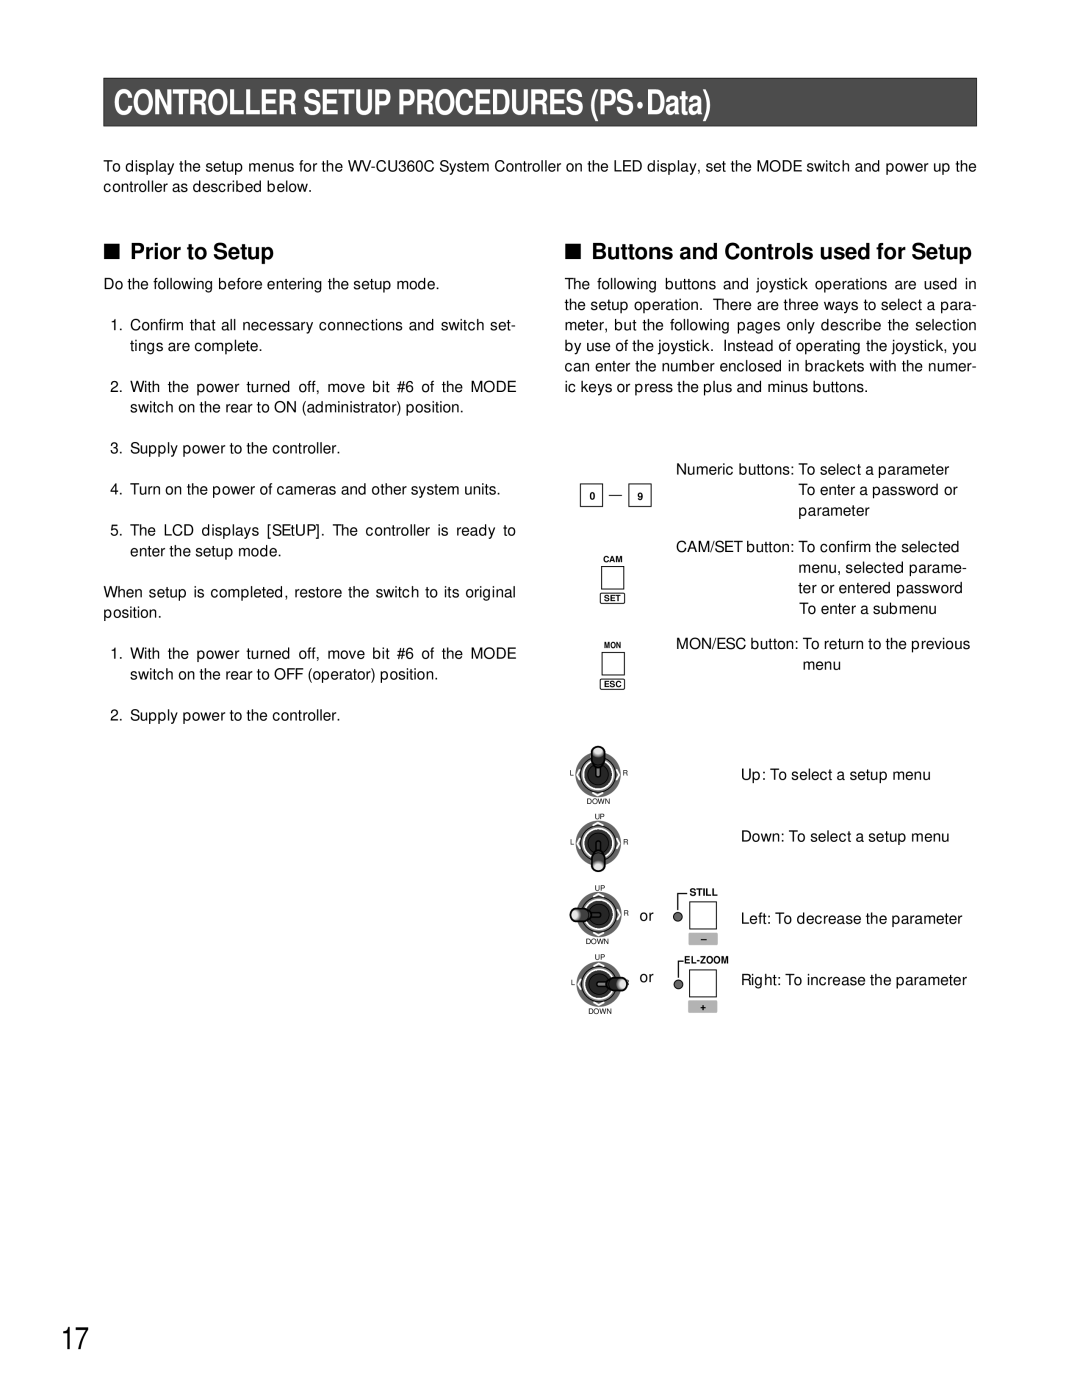
The following buttons and joystick operations are used in the setup operation. There are three ways to select a para- meter, but the following pages only describe the selection by use of the joystick. Instead of operating the joystick, you can enter the number enclosed in brackets with the numer- ic keys or press the plus and minus buttons.
4. | Turn on the power of cameras and other system units. |
5. | The LCD displays [SEtUP]. The controller is ready to |
| enter the setup mode. |
When setup is completed, restore the switch to its original position.
1.With the power turned off, move bit #6 of the MODE switch on the rear to OFF (operator) position.
2.Supply power to the controller.
0 ![]()
![]()
![]() 9
9
CAM
SET
MON
ESC
LR
DOWN
UP
L ![]() R
R
UP
![]()
![]()
![]() R or
R or
| DOWN |
|
| UP |
|
L | R | or |
| DOWN |
|
Numeric buttons: To select a parameter To enter a password or parameter
CAM/SET button: To confirm the selected menu, selected parame- ter or entered password To enter a submenu
MON/ESC button: To return to the previous
menu
Up: To select a setup menu
Down: To select a setup menu
STILL
Left: To decrease the parameter
–
Right: To increase the parameter
+
17
