CAMERA MENU
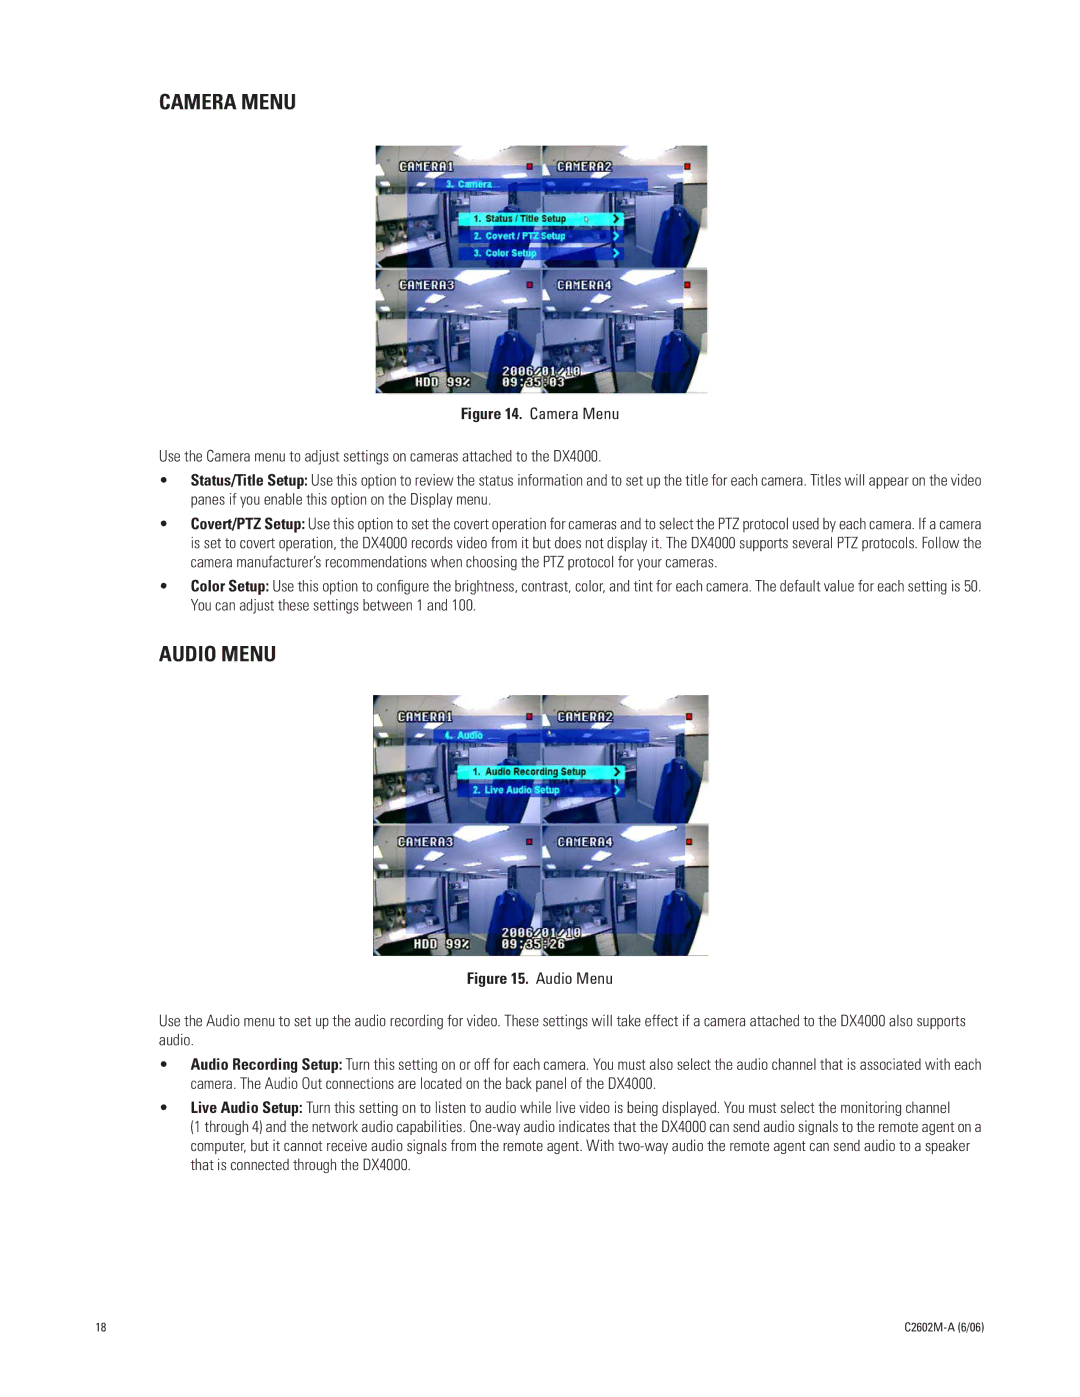
Figure 14. Camera Menu
Use the Camera menu to adjust settings on cameras attached to the DX4000.
•Status/Title Setup: Use this option to review the status information and to set up the title for each camera. Titles will appear on the video panes if you enable this option on the Display menu.
•Covert/PTZ Setup: Use this option to set the covert operation for cameras and to select the PTZ protocol used by each camera. If a camera is set to covert operation, the DX4000 records video from it but does not display it. The DX4000 supports several PTZ protocols. Follow the camera manufacturer’s recommendations when choosing the PTZ protocol for your cameras.
•Color Setup: Use this option to configure the brightness, contrast, color, and tint for each camera. The default value for each setting is 50. You can adjust these settings between 1 and 100.
AUDIO MENU
Figure 15. Audio Menu
Use the Audio menu to set up the audio recording for video. These settings will take effect if a camera attached to the DX4000 also supports audio.
•Audio Recording Setup: Turn this setting on or off for each camera. You must also select the audio channel that is associated with each camera. The Audio Out connections are located on the back panel of the DX4000.
•Live Audio Setup: Turn this setting on to listen to audio while live video is being displayed. You must select the monitoring channel
(1 through 4) and the network audio capabilities.
18 |