SYSTEM MENU
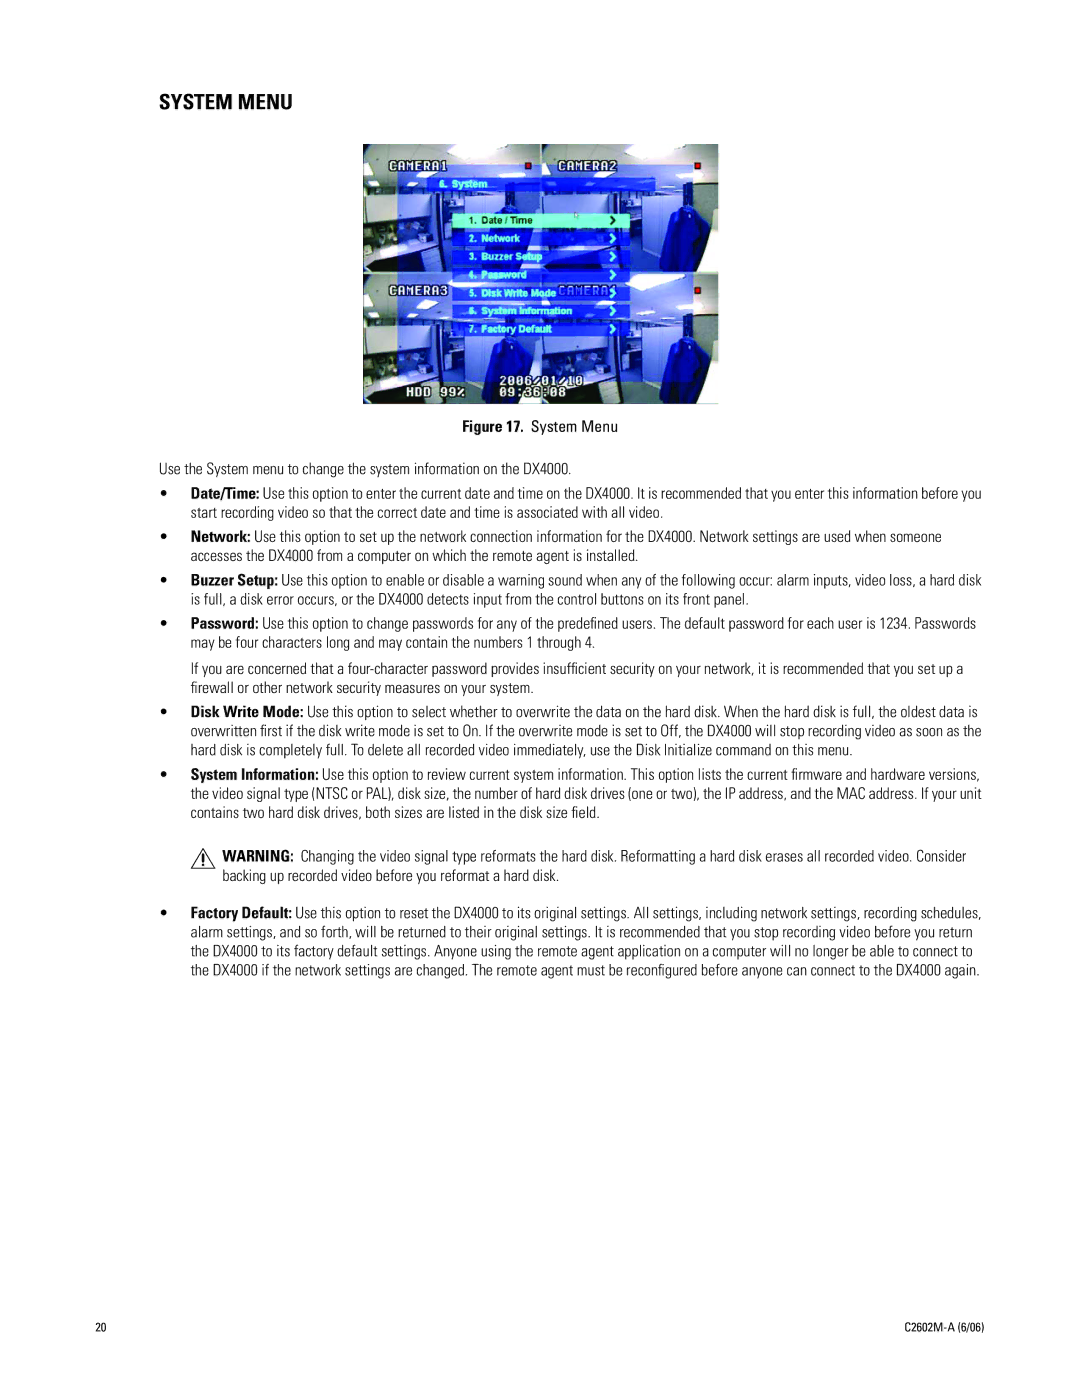
Figure 17. System Menu
Use the System menu to change the system information on the DX4000.
•Date/Time: Use this option to enter the current date and time on the DX4000. It is recommended that you enter this information before you start recording video so that the correct date and time is associated with all video.
•Network: Use this option to set up the network connection information for the DX4000. Network settings are used when someone accesses the DX4000 from a computer on which the remote agent is installed.
•Buzzer Setup: Use this option to enable or disable a warning sound when any of the following occur: alarm inputs, video loss, a hard disk is full, a disk error occurs, or the DX4000 detects input from the control buttons on its front panel.
•Password: Use this option to change passwords for any of the predefined users. The default password for each user is 1234. Passwords may be four characters long and may contain the numbers 1 through 4.
If you are concerned that a
•Disk Write Mode: Use this option to select whether to overwrite the data on the hard disk. When the hard disk is full, the oldest data is overwritten first if the disk write mode is set to On. If the overwrite mode is set to Off, the DX4000 will stop recording video as soon as the hard disk is completely full. To delete all recorded video immediately, use the Disk Initialize command on this menu.
•System Information: Use this option to review current system information. This option lists the current firmware and hardware versions, the video signal type (NTSC or PAL), disk size, the number of hard disk drives (one or two), the IP address, and the MAC address. If your unit contains two hard disk drives, both sizes are listed in the disk size field.
![]() WARNING: Changing the video signal type reformats the hard disk. Reformatting a hard disk erases all recorded video. Consider backing up recorded video before you reformat a hard disk.
WARNING: Changing the video signal type reformats the hard disk. Reformatting a hard disk erases all recorded video. Consider backing up recorded video before you reformat a hard disk.
•Factory Default: Use this option to reset the DX4000 to its original settings. All settings, including network settings, recording schedules, alarm settings, and so forth, will be returned to their original settings. It is recommended that you stop recording video before you return the DX4000 to its factory default settings. Anyone using the remote agent application on a computer will no longer be able to connect to the DX4000 if the network settings are changed. The remote agent must be reconfigured before anyone can connect to the DX4000 again.
20 |
