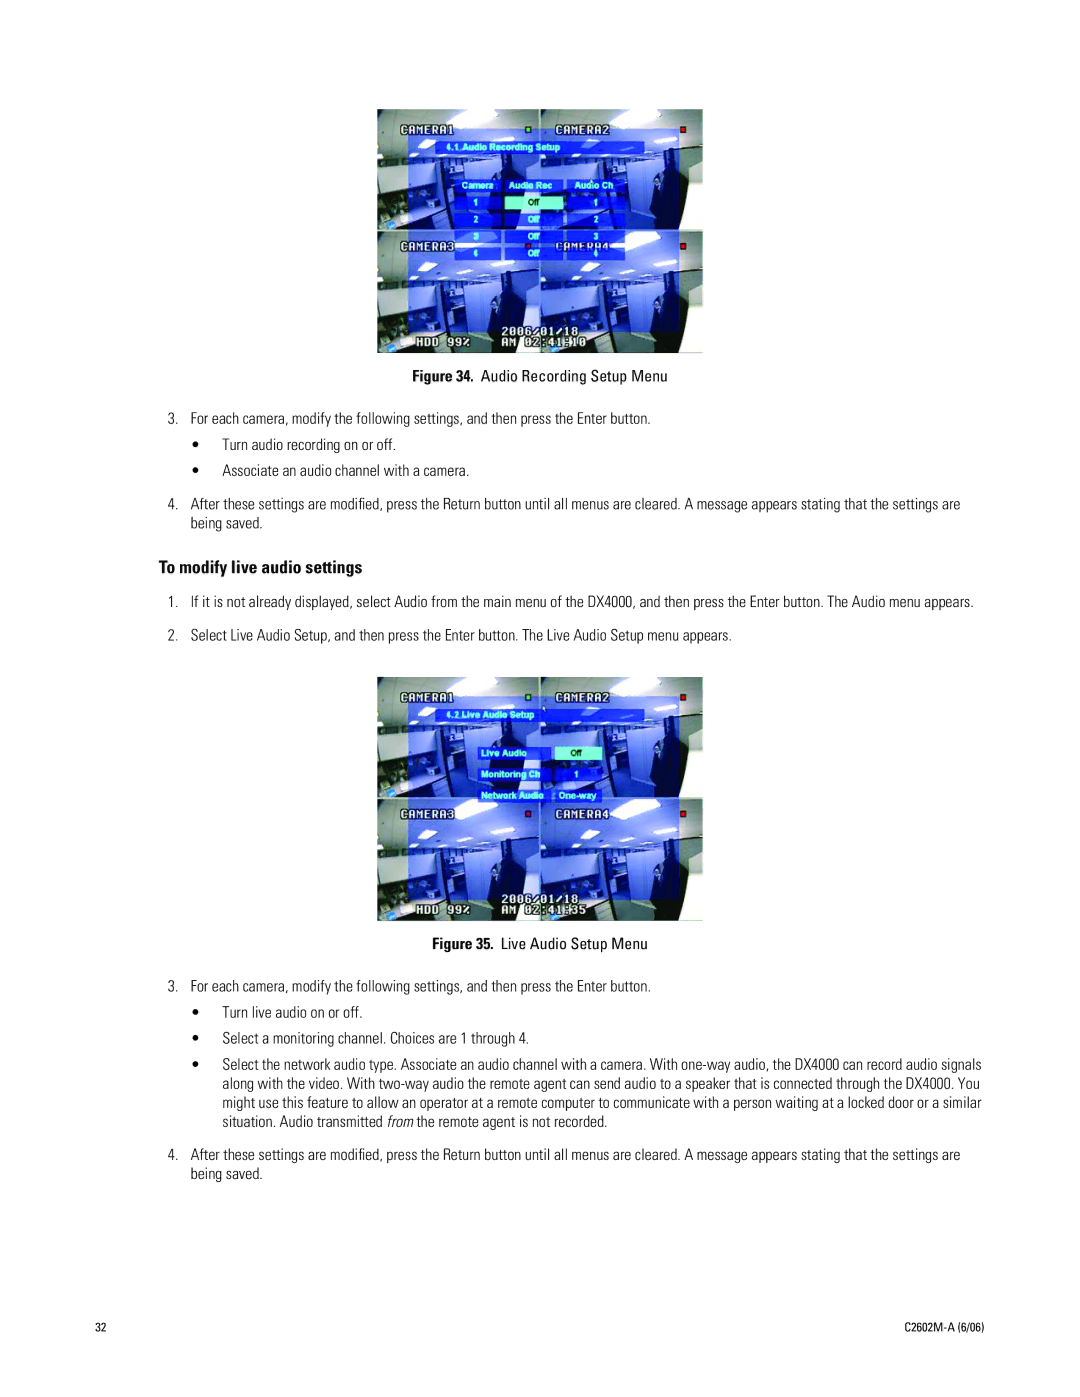
Figure 34. Audio Recording Setup Menu
3.For each camera, modify the following settings, and then press the Enter button.
•Turn audio recording on or off.
•Associate an audio channel with a camera.
4.After these settings are modified, press the Return button until all menus are cleared. A message appears stating that the settings are being saved.
To modify live audio settings
1.If it is not already displayed, select Audio from the main menu of the DX4000, and then press the Enter button. The Audio menu appears.
2.Select Live Audio Setup, and then press the Enter button. The Live Audio Setup menu appears.
Figure 35. Live Audio Setup Menu
3.For each camera, modify the following settings, and then press the Enter button.
•Turn live audio on or off.
•Select a monitoring channel. Choices are 1 through 4.
•Select the network audio type. Associate an audio channel with a camera. With
4.After these settings are modified, press the Return button until all menus are cleared. A message appears stating that the settings are being saved.
32 |
|