Creating Recording Schedules
By default, the DX4000 is set up for continuous recording. You can set up a schedule to record video only at certain times or to record video in response to motion or alarms.
WARNING: If you set up a recording schedule and also set up motion detection, the DX4000 will record video during the scheduled hours only when motion is detected.
SETTING UP A RECORDING SCHEDULE
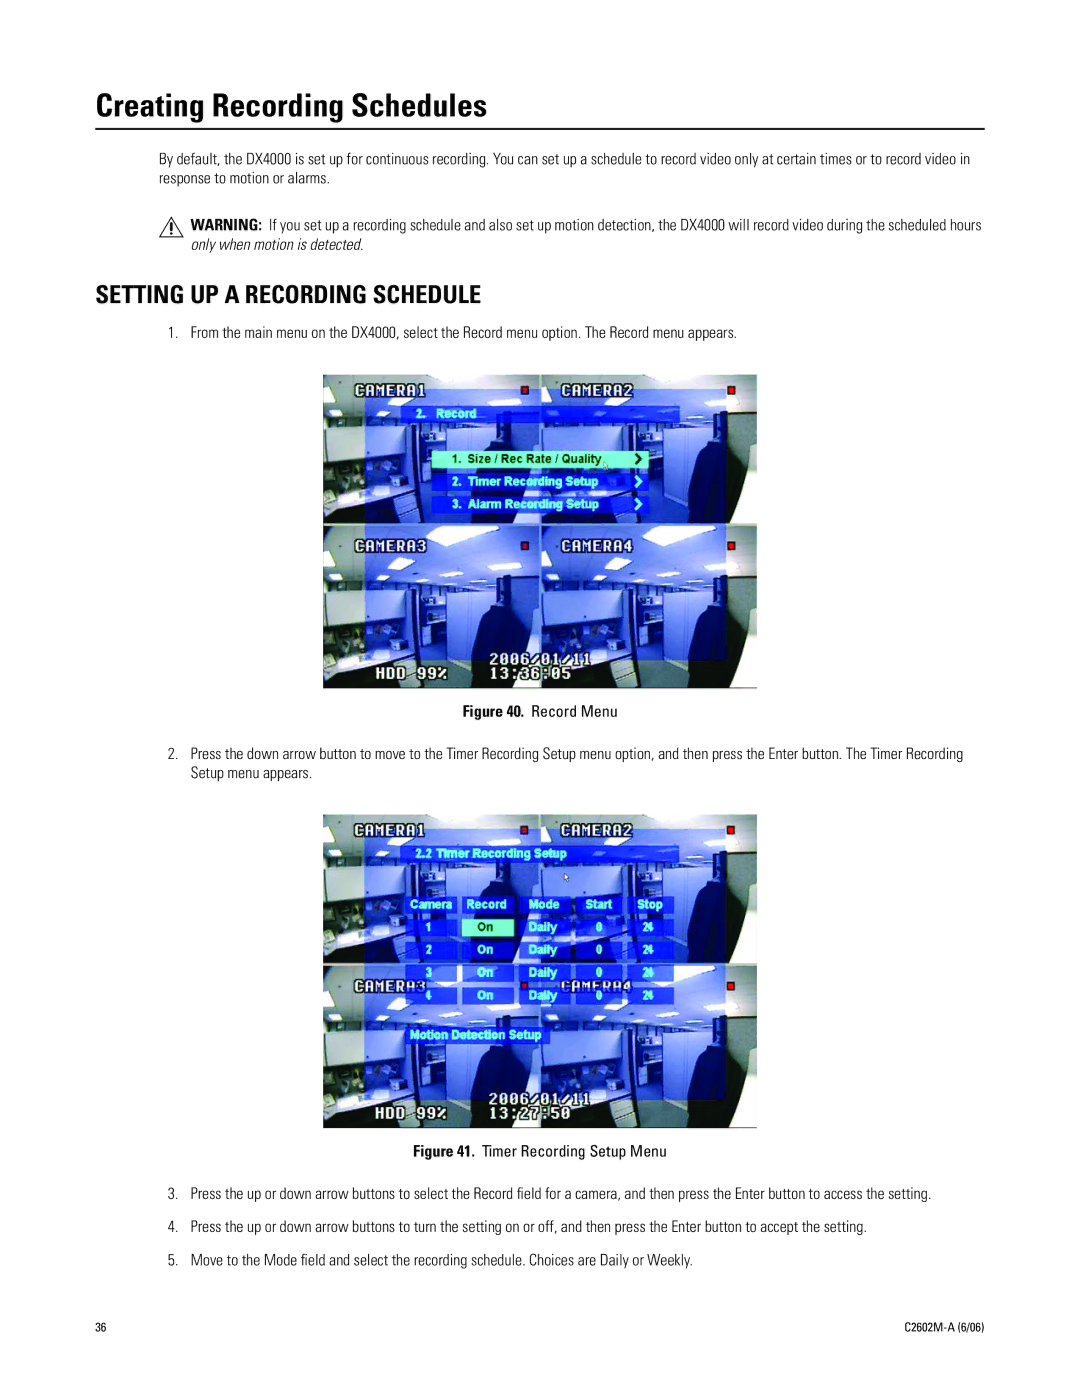
1. From the main menu on the DX4000, select the Record menu option. The Record menu appears.
Figure 40. Record Menu
2.Press the down arrow button to move to the Timer Recording Setup menu option, and then press the Enter button. The Timer Recording Setup menu appears.
Figure 41. Timer Recording Setup Menu
3.Press the up or down arrow buttons to select the Record field for a camera, and then press the Enter button to access the setting.
4.Press the up or down arrow buttons to turn the setting on or off, and then press the Enter button to accept the setting.
5.Move to the Mode field and select the recording schedule. Choices are Daily or Weekly.
36 |
|