C2602M-A (6/06) 41
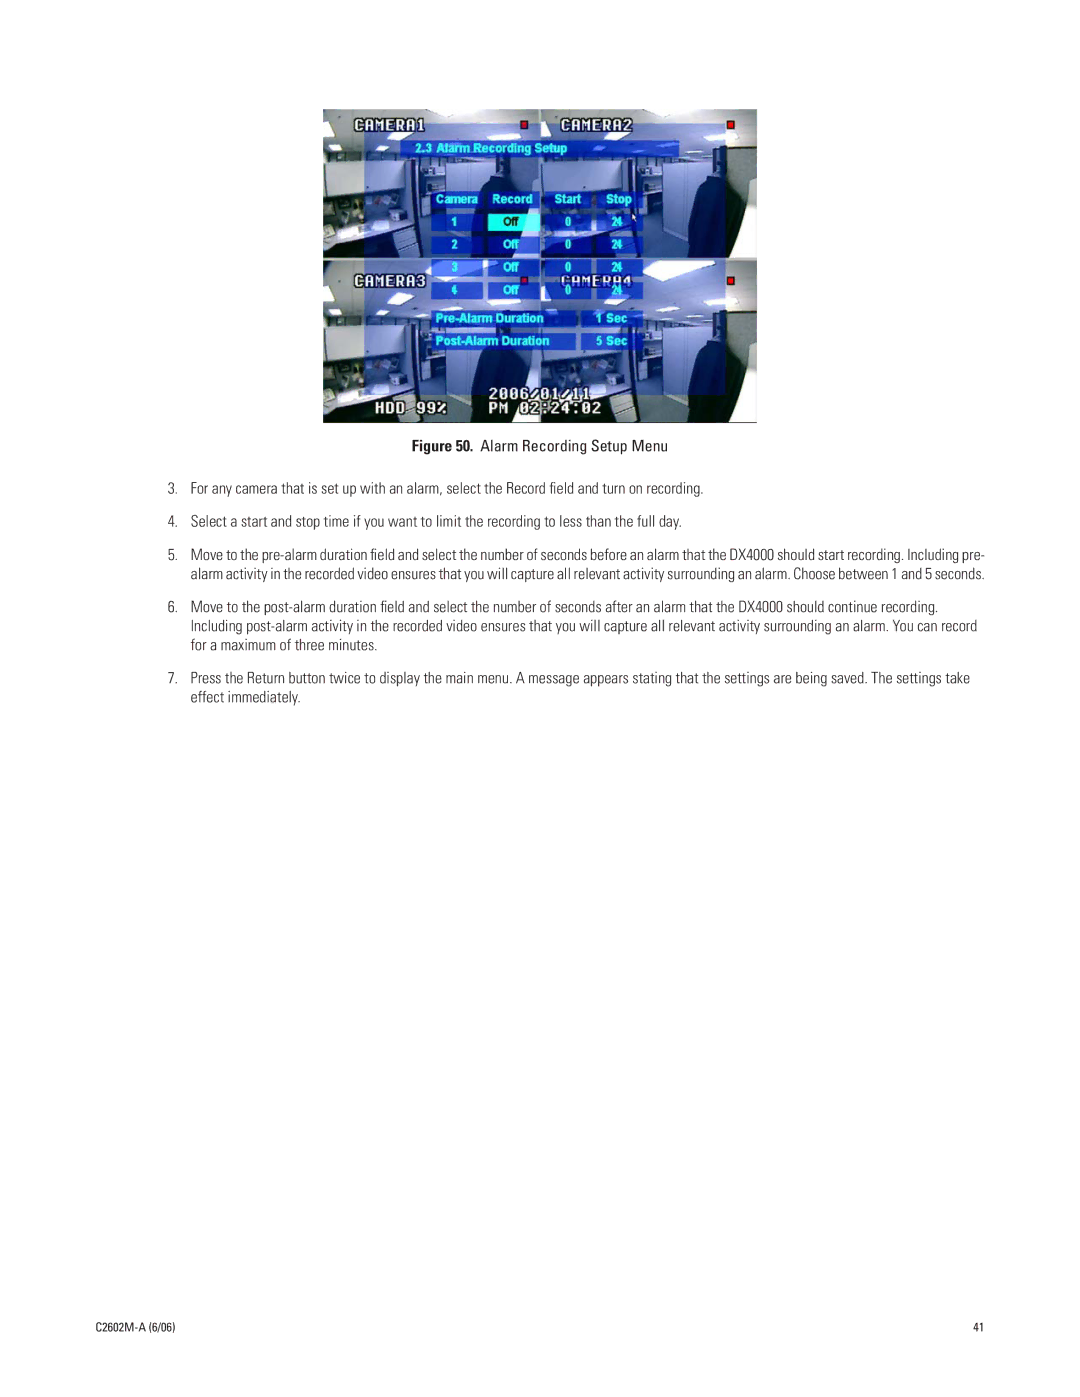
Figure 50. Alarm Recording Setup Menu
3. For any camera that is set up with an alarm, select the Record field and turn on recording.
4. Select a start and stop time if you want to limit the recording to less than the full day.
5. Move to the pre-alarm duration field and select the number of seconds before an alarm that the DX4000 should start recording. Including pre-
alarm activity in the recorded video ensures that you will capture all relevant activity surrounding an alarm. Choose between 1 and 5 seconds.
6. Move to the post-alarm duration field and select the number of seconds after an alarm that the DX4000 should continue recording.
Including post-alarm activity in the recorded video ensures that you will capture all relevant activity surrounding an alarm. You can record
for a maximum of three minutes.
7. Press the Return button twice to display the main menu. A message appears stating that the settings are being saved. The settings take
effect immediately.